
Around 8 ft / 2.44 m
Keep it close
Start with a flush or compact semi-flush design in walking areas. Check the complete installed height.


Buy 1
Buy 2
Buy 3+
Orders over $330
Orders over $500
 Free Shipping
 14-Day Returns
 Secure Payment
 Customer Service
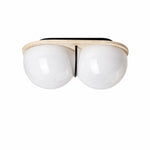
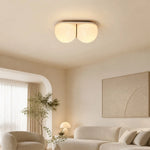
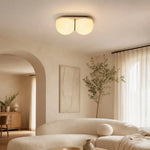
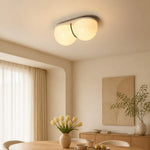
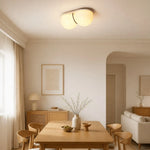
A compact ceiling lamp that pairs two rounded white glass shades with a warm travertine accent, bringing a quiet architectural note to hallways, entryways, and low-ceiling rooms.
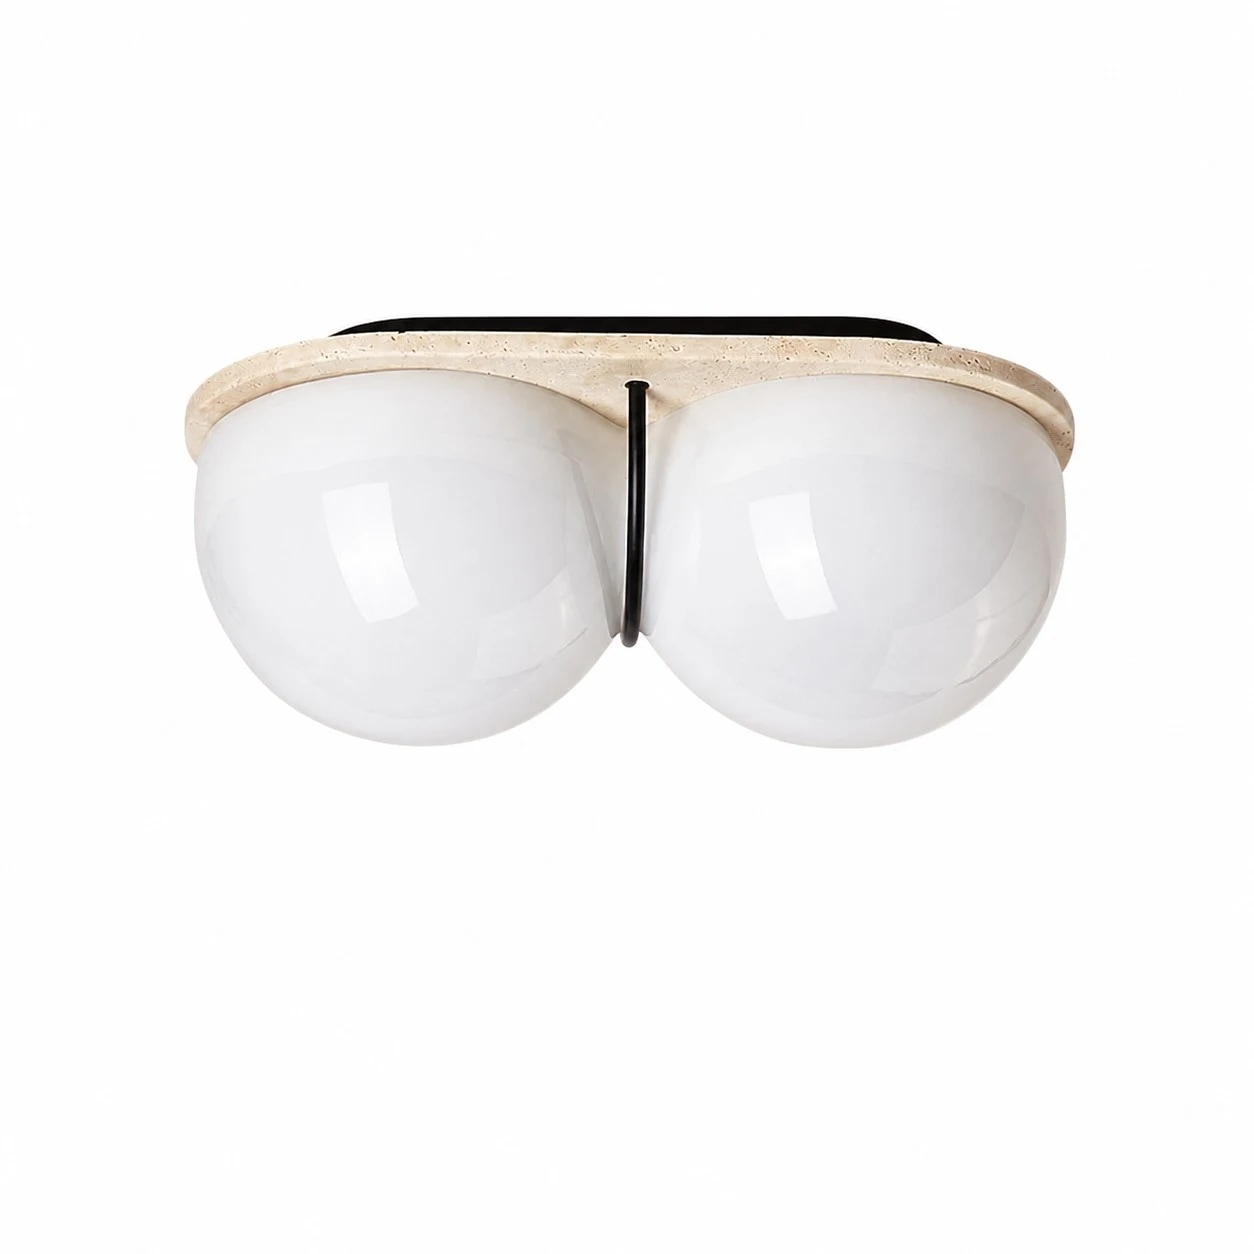
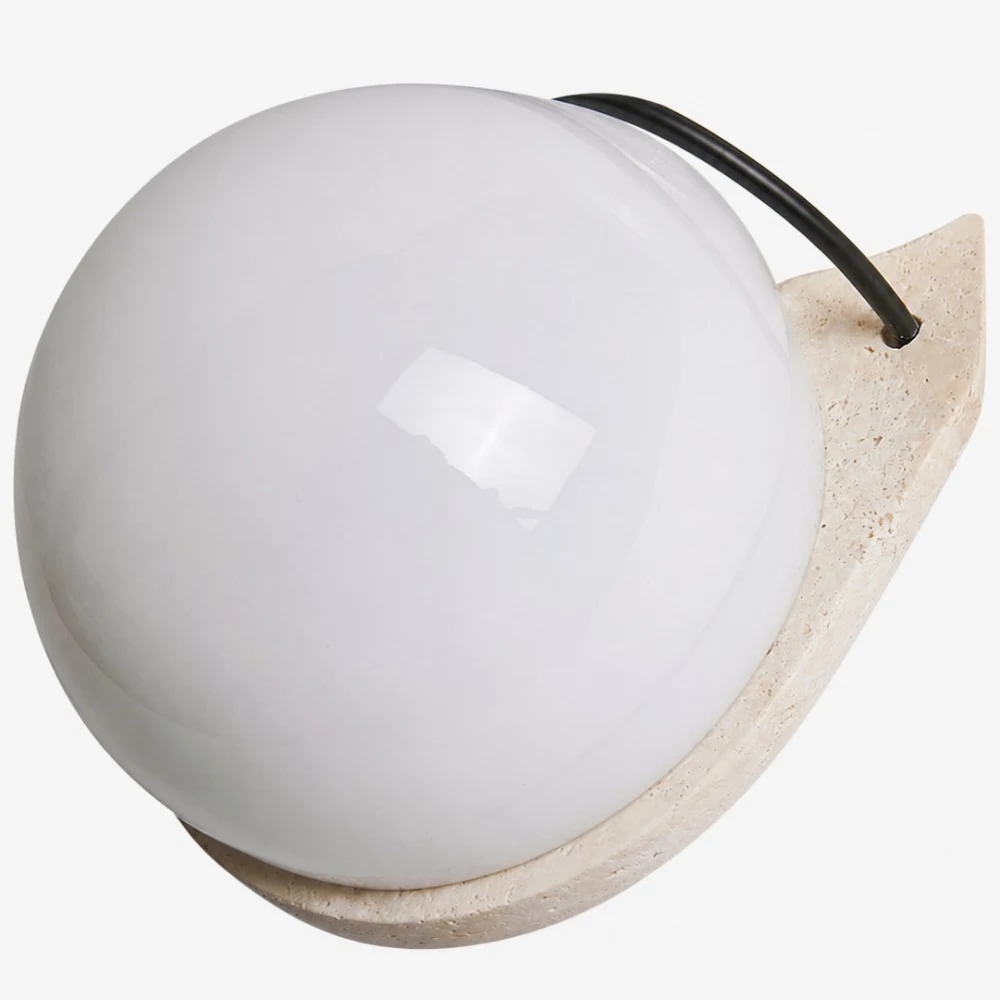
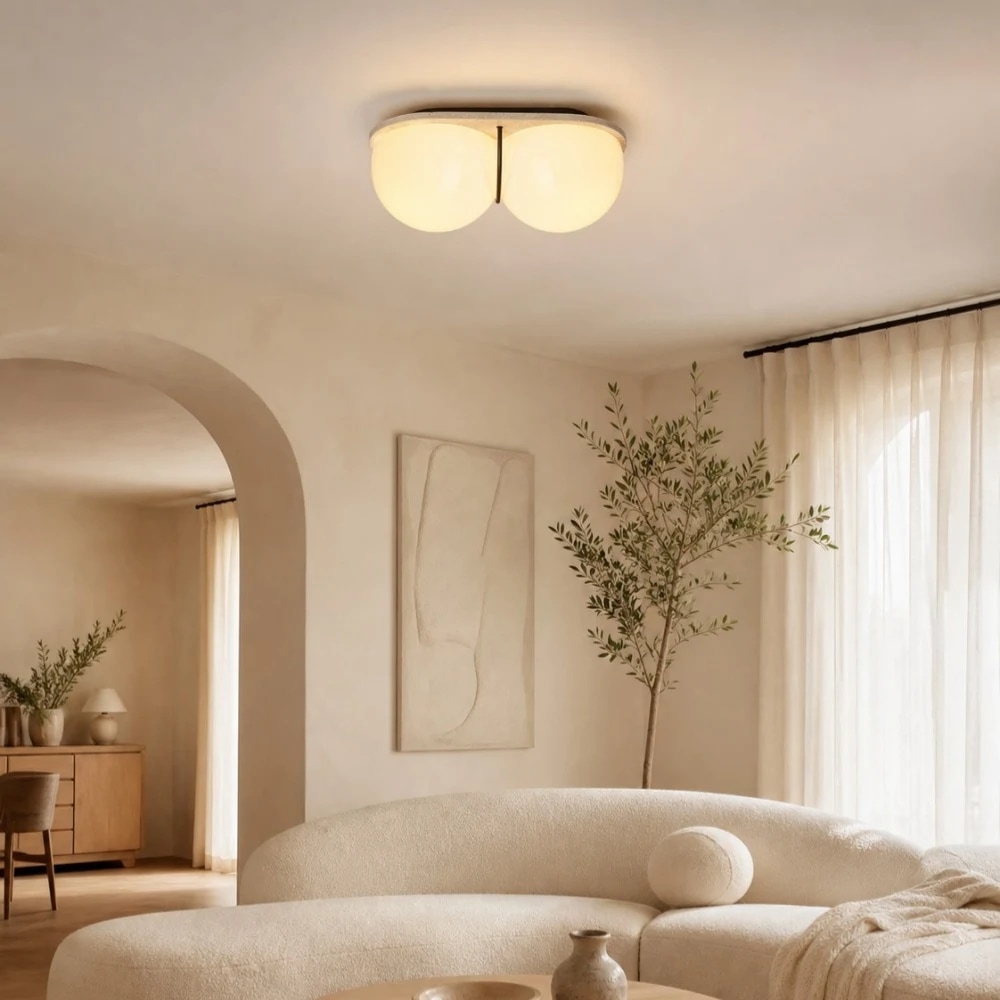
The low-profile form keeps the room open, while the travertine detail and rounded glass soften corners, corridors, and transitional spaces with a warmer finish.
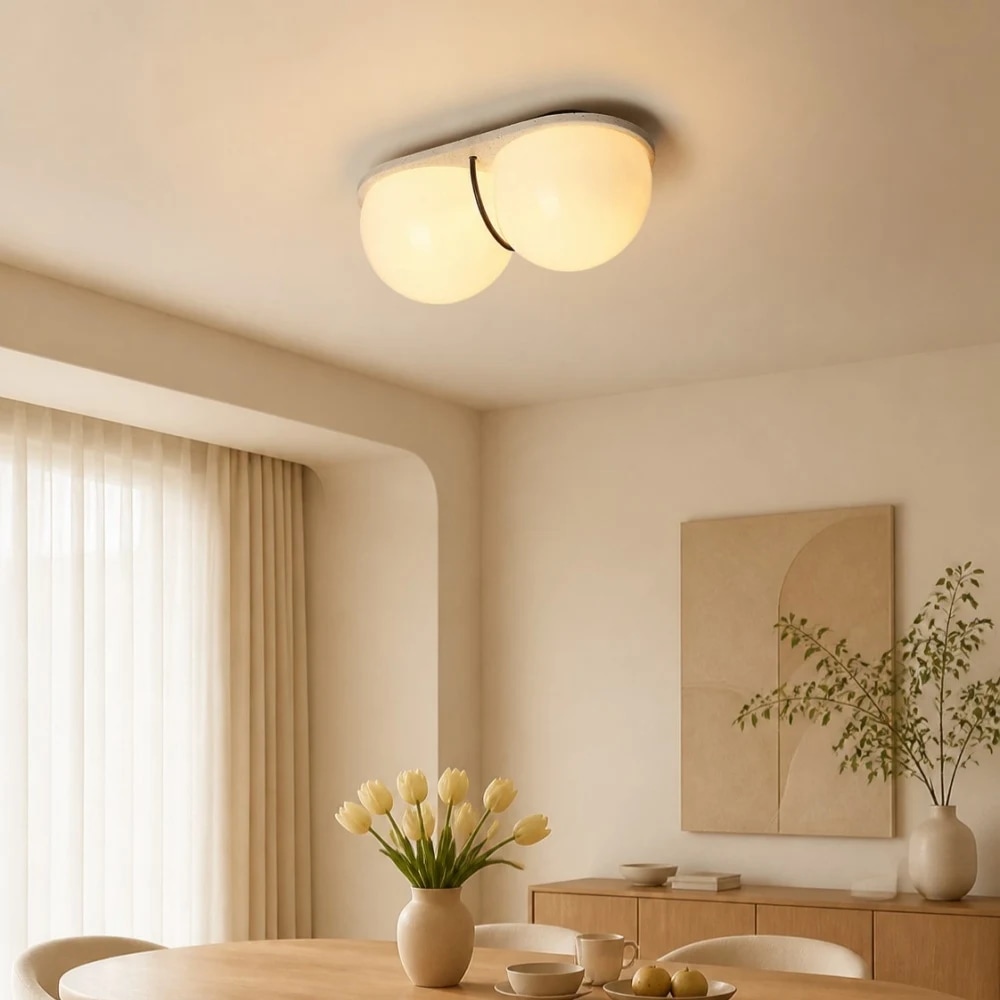
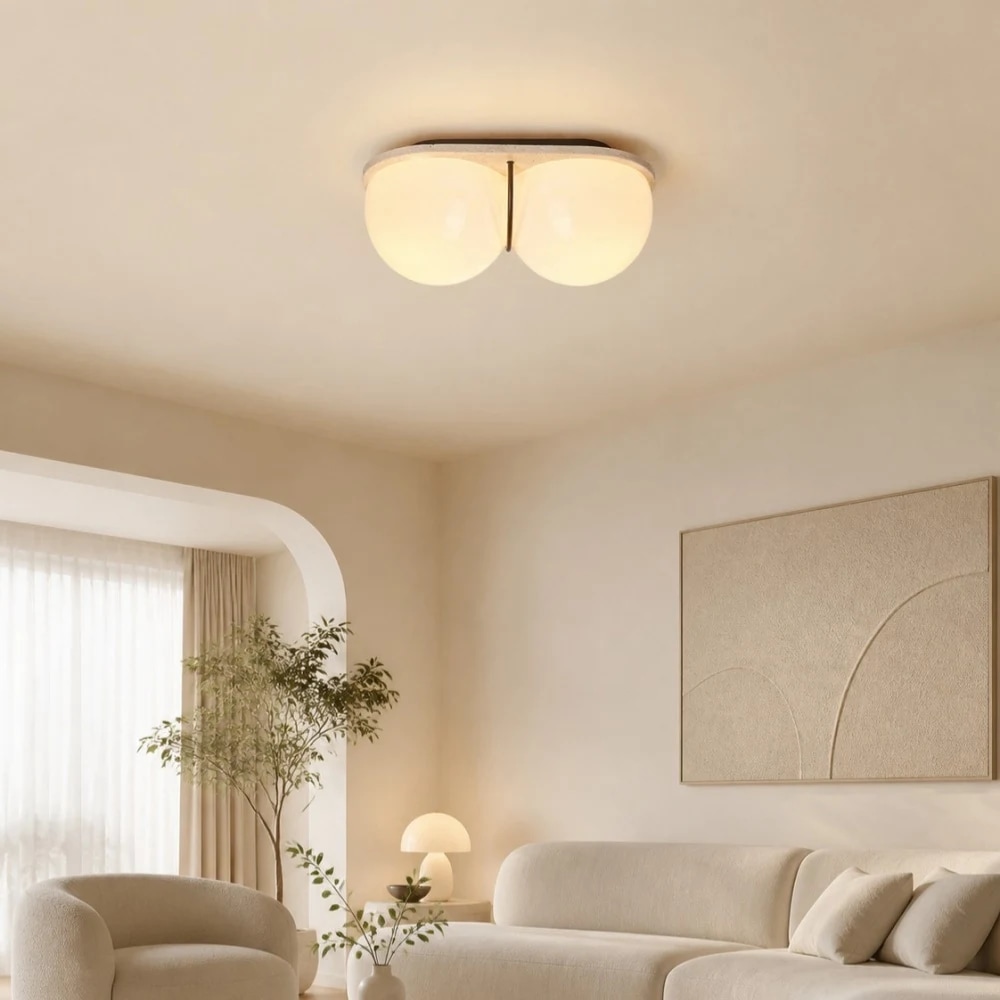
The selected option keeps one clean size and finish for straightforward specification.
| Color | White |
|---|---|
| Finish | Travertine |
| Size | L 12.6" x H 7.1" / L 32 cm x H 18 cm |
| Material | Travertine, Glass |
| Recommended spaces | Hallway, entryway, corridor, bedroom, low-ceiling living area |
| Care | Dust gently with a soft dry cloth |
Monulo · The practical guide
Find a starting size, see where to place it, and know what to check before installation.
Find your starting size01 · Get the scale right
For a central ceiling light, enter your room dimensions. For lights above furniture, use the table or island guide below instead.
Measure first, then mock up the actual shape. Suggested dimensions are design starting points; product instructions and applicable local requirements take priority.
02 · Look up
The available drop matters as much as the fixture diameter.
Around 8 ft / 2.44 m
Start with a flush or compact semi-flush design in walking areas. Check the complete installed height.
Around 9–10 ft / 2.74–3.05 m
Pendants become easier to accommodate. Reserve enough clearance below the lowest part of the fitting.
Above 10 ft / 3.05 m
Test larger forms or longer suspension. Confirm cable length, access for maintenance and ceiling support.
Sloped ceiling? Compatibility is model-specific. Confirm the canopy, suspension angle and required drop before ordering.
Room study 01
Let the furniture define the focal point.
Room study 02
Plan the whole row before choosing the quantity.
Room study 03
Use the room formula as a visual starting point.
Room study 04
A consistent rhythm works better than a crowded ceiling.
Room study 05
Put comfortable facial lighting first.
Room study 06
Choose the height from where you actually sit.
Room study 07
Light the page without exposing the source.
03 · Before the tools come out
Bring the product instructions, room measurements and fixture weight to your installer.
01 / Fit
Check door swings, seated views, shade gaps and the lowest point. Include the canopy and suspension in every drop measurement.
02 / Support
Have a qualified installer confirm the box, fixing points and structural support for the complete fixture weight.
03 / Compatibility
Confirm supply voltage, lamp or LED driver, dimmer compatibility, ceiling type and location rating for the exact model.
Hardwired fixtures should be installed by a qualified electrician following the supplied instructions and local requirements. This page explains planning and placement; it does not provide wiring instructions.
04 · The last few details
Measure vertically from the finished ceiling to the lowest point of the assembled fitting. Over a table or counter, measure the remaining gap from that point to the surface.
No. Diameter describes the physical size. Compare lumen output, shade opacity, beam direction and the room’s other light sources separately.
Start with the shade diameter, then draw the complete row to scale. Two larger shades and three small shades can both work; use actual edge gaps and counter-end clearances to decide.
Compare a shorter suspension or a flush alternative that the manufacturer supports. Never shorten a rigid stem or modify wiring without the appropriate product guidance.
No. Check the exact product specification and installation position. Ask a qualified installer to confirm the required damp or wet rating and canopy compatibility.
Include a room photo, ceiling height, room or furniture dimensions, the fixture link and your proposed installation location. For heavier fittings, include any available mounting information.
A story in stone
Formed by mineral-rich water over time, travertine carries the quiet marks of its origin. Its warm surface brings a grounded, natural presence to every lighting form.
Natural character
Open pores, soft layers and gentle tonal shifts are part of travertine's identity. Every piece reveals a different balance of texture, warmth and mineral detail.

Open pores
Small cavities and a softly honed face keep the stone tactile and honest.

Mineral layers
Flowing bands create depth through gentle shifts in cream, sand and ivory.

Cut surface
A cut edge shows the natural structure held inside every slab.

Natural depth
Fine mineral variation becomes more luminous as light moves across the surface.
Where it belongs

SCENE 01
Natural texture brings warmth to the places where we gather.

SCENE 02
Pair tactile stone with soft light for a calmer end to the day.

SCENE 03
A small pool of light gives everyday corners a sense of place.

SCENE 04
Warm stone and gentle illumination make every arrival feel inviting.
From quarry to creation
Each piece begins as raw stone and moves through careful, unhurried steps. The aim is to reveal the material's character while shaping it for everyday use.

Blocks are assessed for structure, tone and the natural depth of their pores.

Diamond tools follow the slab's grain to create clean, workable sections.

The stone is hollowed and formed until its profile feels balanced from every angle.

Finer abrasives refine the surface while keeping the stone's honest texture visible.

Lighting components and finished stone parts are fitted and checked one piece at a time.
Important · handling & care
Travertine is genuine natural stone. Handle every piece with care and keep the surface dry, clean and free from abrasive products.
Carry stone components with both hands and protect the edges from knocks during unpacking, styling or installation.
Natural stone has real weight. Use a second pair of hands for larger components and never place weight on a thin edge.
Use a dry, soft cloth. Avoid water, solvents, acids and abrasive cleaners, which can mark the porous surface.
Travertine, explained
A few simple answers before your natural stone piece arrives.
Yes. Pores, small voids, veining and tonal shifts are natural features of the stone. They may differ slightly from the photographs and from one piece to another.
Travertine can develop a gently warmer appearance as it settles into a room. Keep it away from prolonged moisture and direct chemical cleaners to preserve its finish.
Dust with a dry microfiber cloth. Do not spray cleaner directly onto the stone, wood trim or electrical components.
Natural variation is part of travertine, so a particular pore pattern, vein or tonal range cannot be selected or guaranteed.
No. Variation is part of the material's character and is expected in genuine natural stone.
Complete the collection
Discover coordinated ceiling, wall and pendant lights shaped by the same natural stone story.
Explore the Travertine series