
Around 8 ft / 2.44 m
Keep it close
Start with a flush or compact semi-flush design in walking areas. Check the complete installed height.


Buy 1
Buy 2
Buy 3+
Orders over $330
Orders over $500
Return Policy: You have 14 days after receiving your order to request a return.
Availability: We ship to the United States.
Processing Time: Order handling time is 1 – 2 business days (Monday to Friday).
 Free Shipping
 14-Day Returns
 Secure Payment
 Customer Service
The ivory shade uses softly gathered fabric to create a relaxed French country look, with a ruffled lower edge that keeps the silhouette light rather than formal.
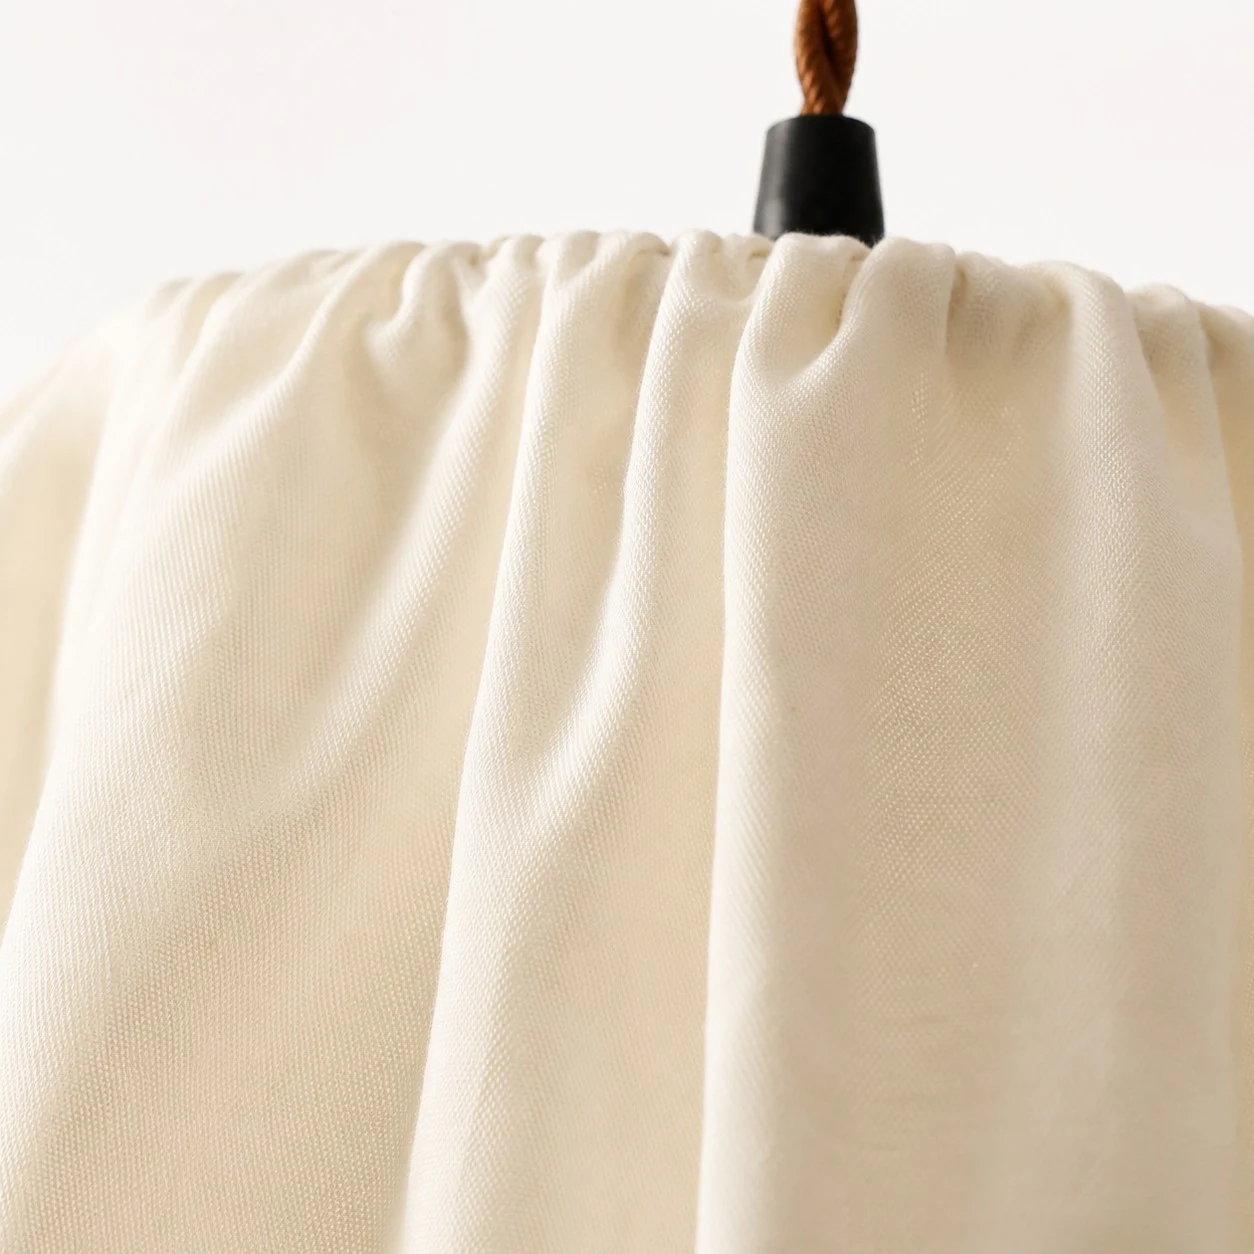
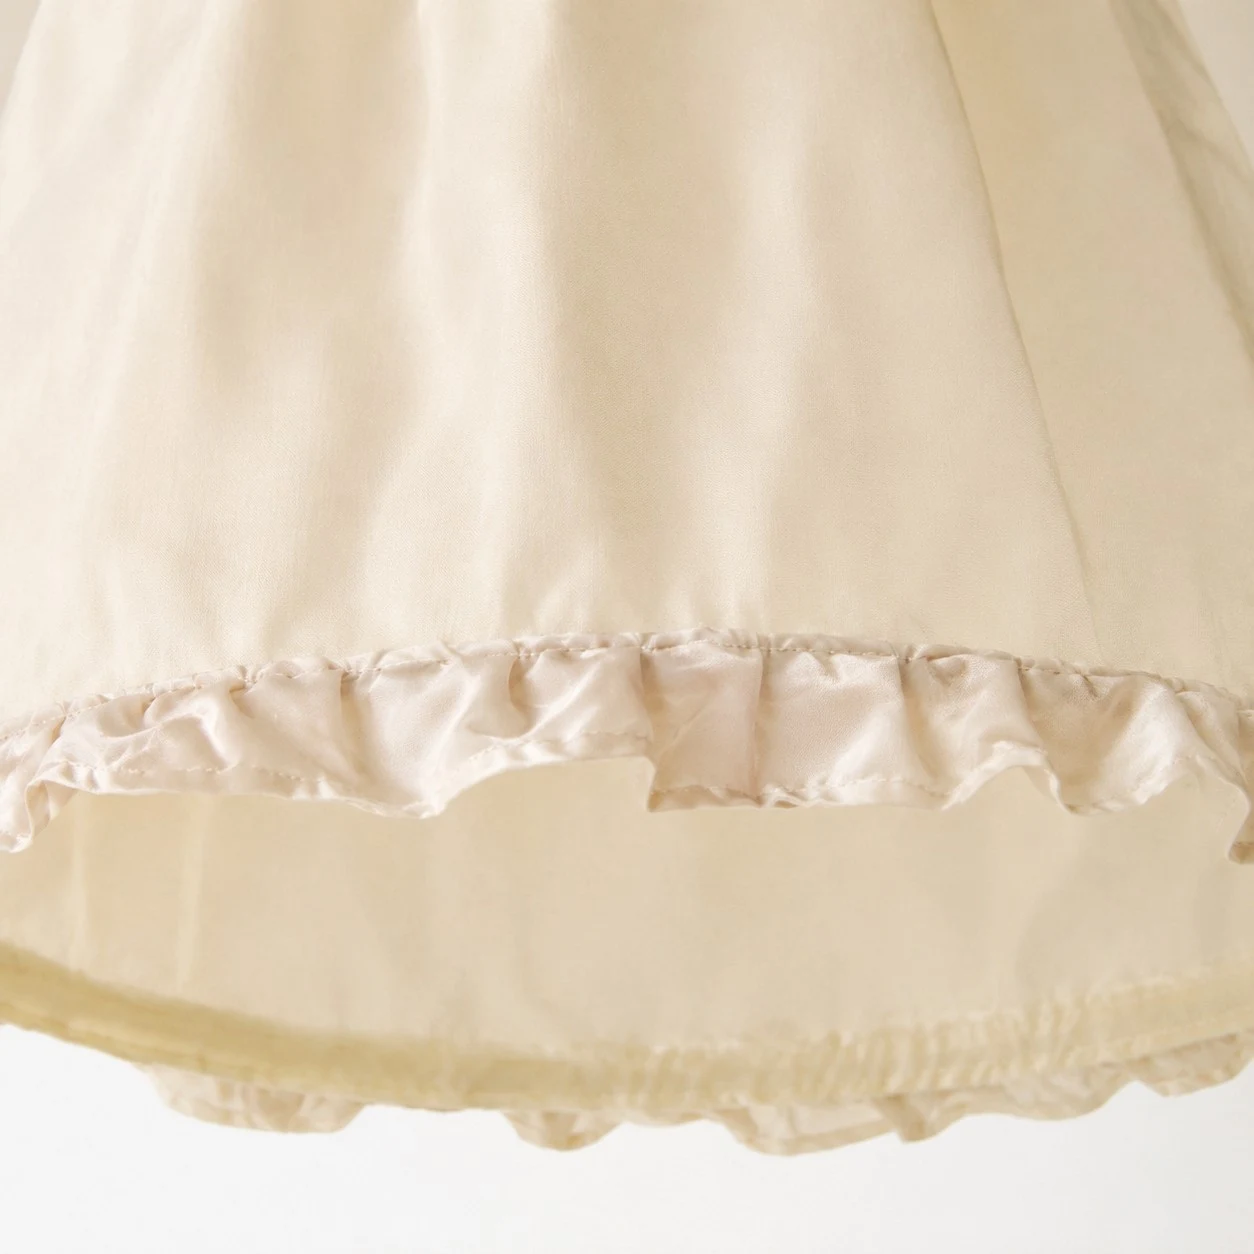
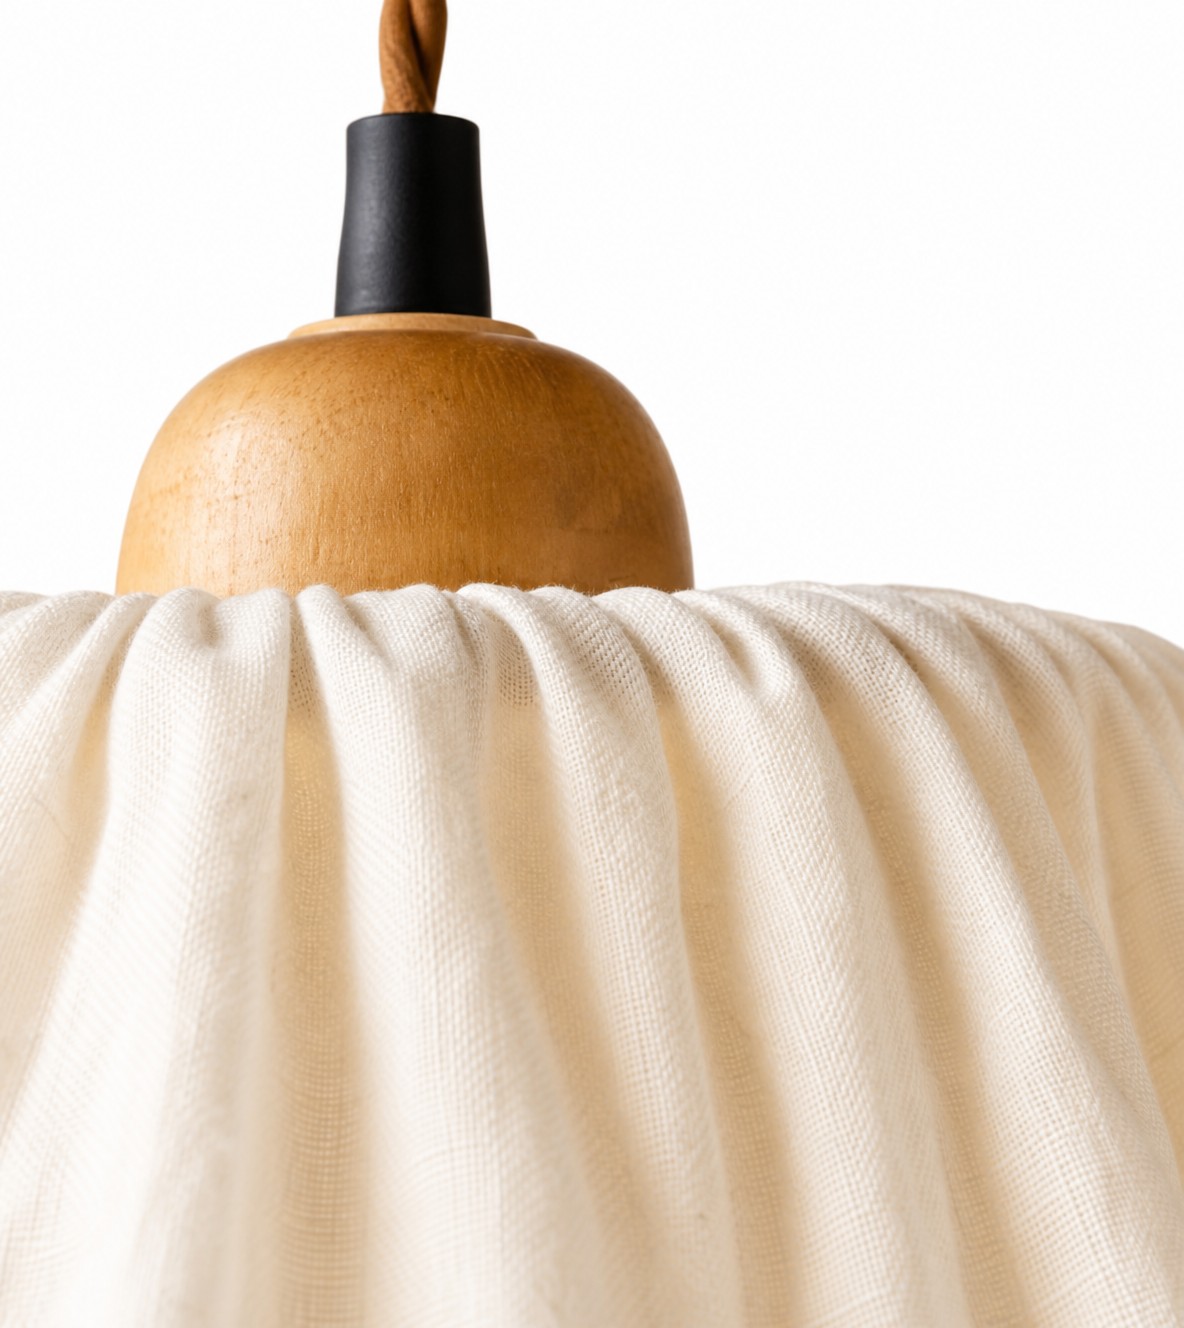
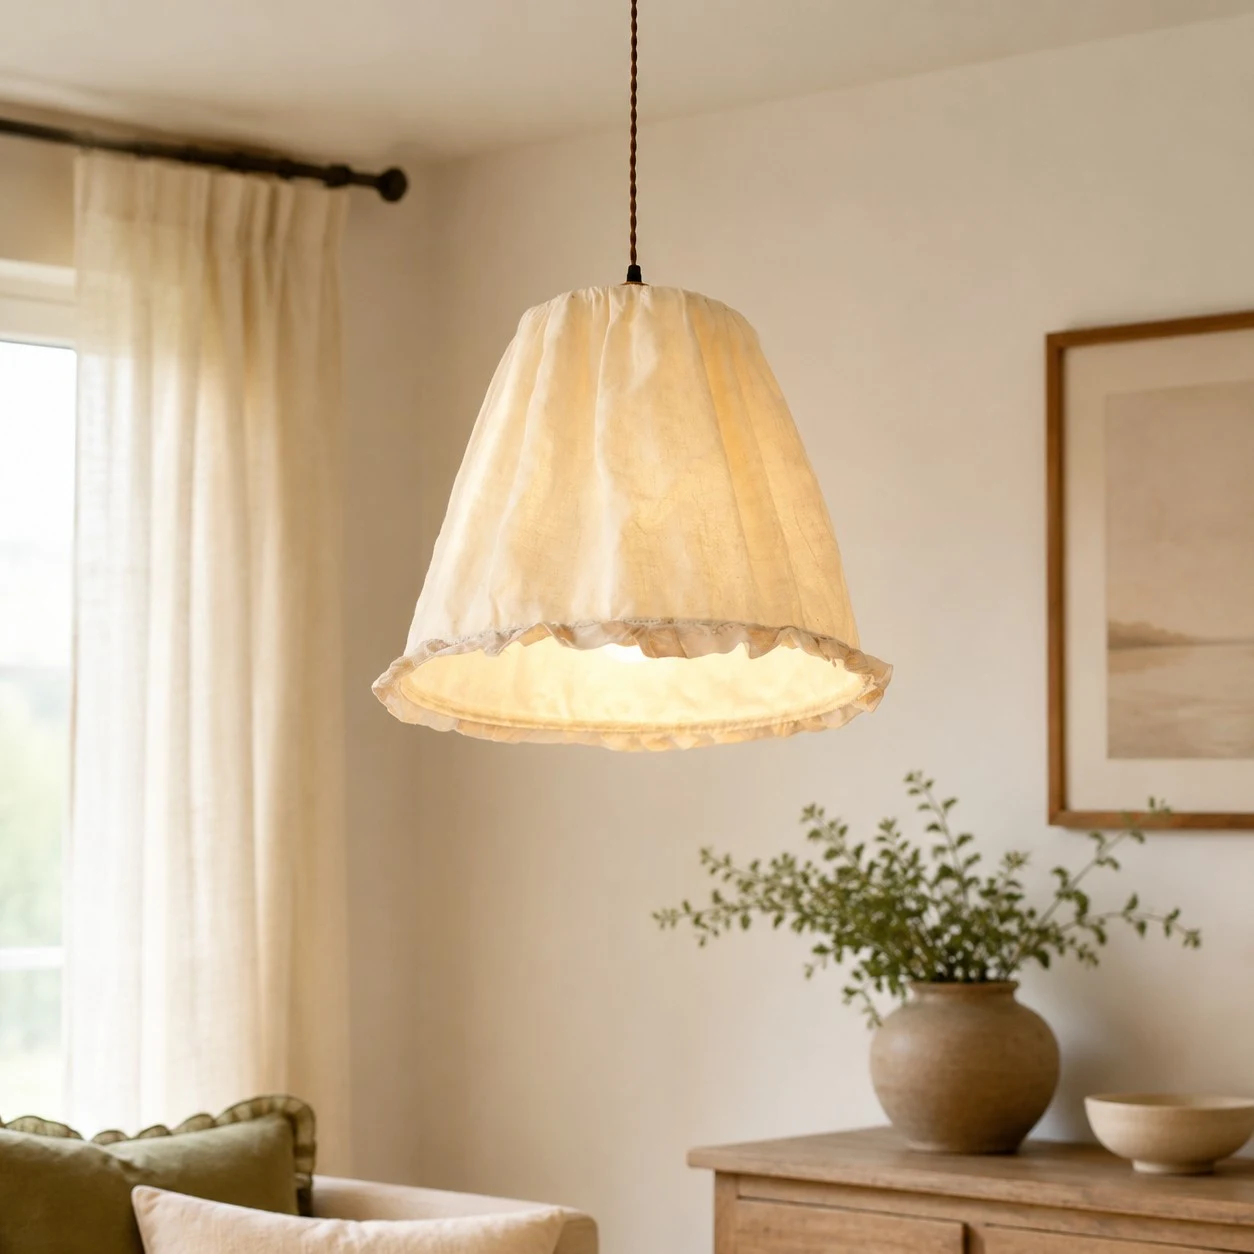
The fabric shade brings an easy, understated warmth to dining rooms, bedrooms, entries, and relaxed guest spaces, pairing naturally with wood furniture, linen curtains, and neutral walls.
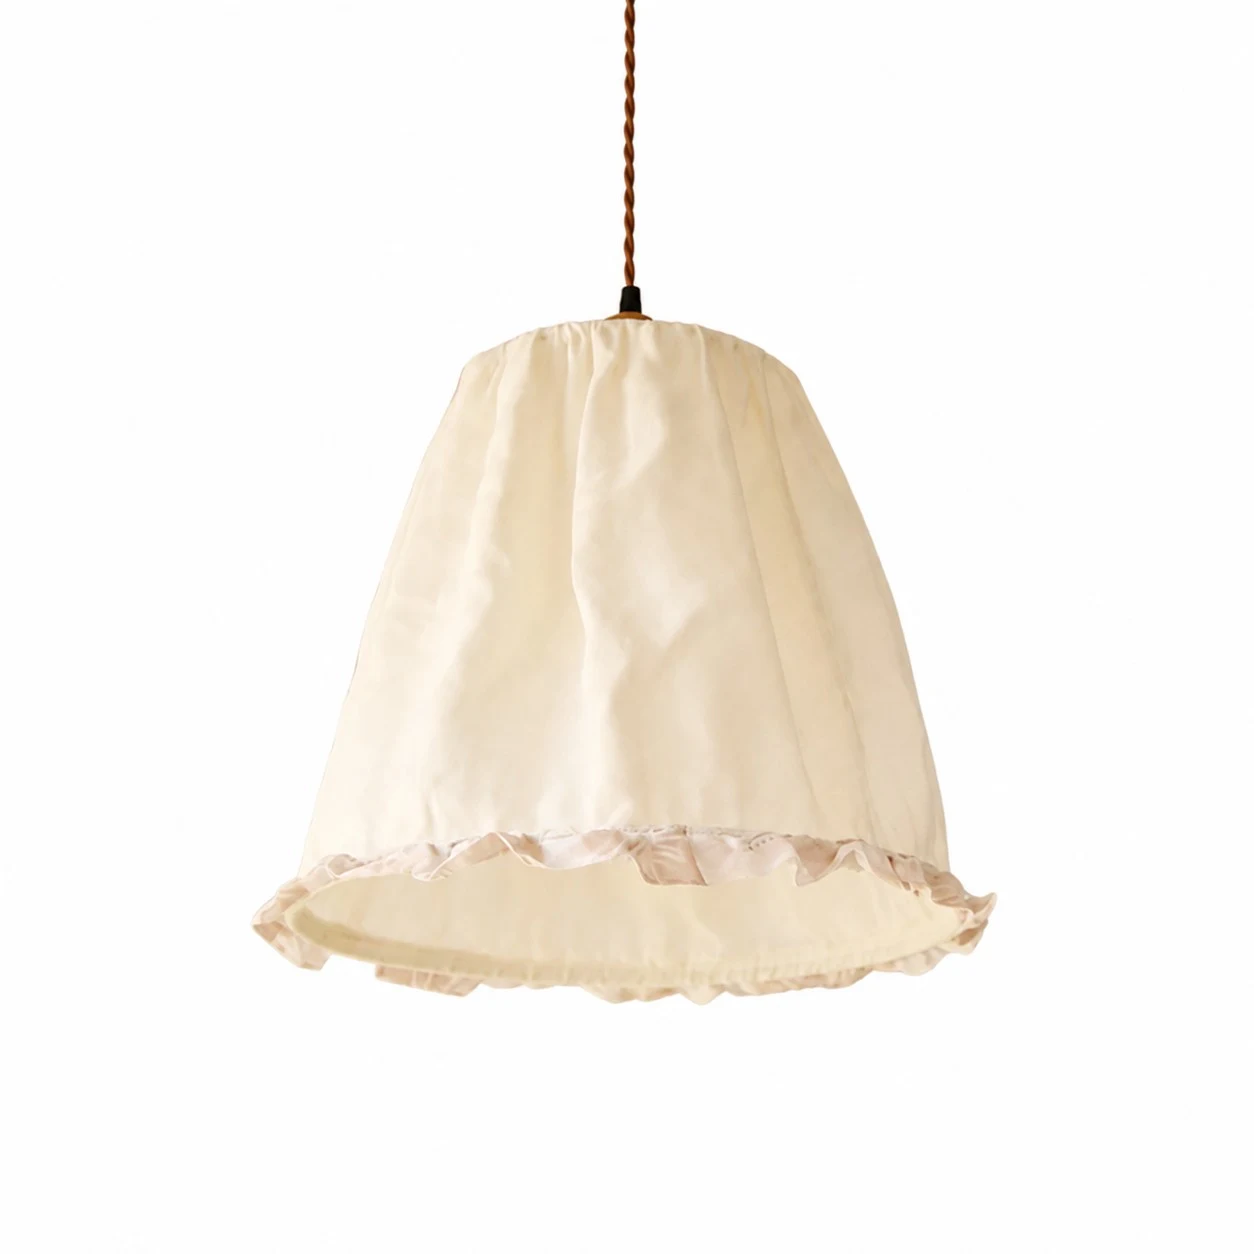
Confirm local wiring, ceiling support, voltage, and bulb requirements before purchase or installation.
Der elfenbeinfarbene Schirm nutzt weich gerafften Stoff für einen entspannten French-Country-Look.
Der Stoffschirm bringt zurückhaltende Wärme in Esszimmer, Schlafzimmer, Eingänge und Gästezimmer.
Prüfen Sie vor Kauf oder Installation lokale Verkabelung, Deckenhalt, Spannung und Leuchtmittelanforderungen.
La pantalla marfil usa tela suavemente fruncida para crear un estilo campestre francés relajado.
La pantalla de tela aporta calidez discreta a comedores, dormitorios, entradas y espacios de huéspedes.
Confirme el cableado, soporte del techo, voltaje y requisitos de bombilla antes de comprar o instalar.
L’abat-jour ivoire utilise un tissu doucement froncé pour créer une allure campagne française décontractée.
L’abat-jour en tissu apporte une chaleur discrète aux salles à manger, chambres, entrées et espaces invités.
Vérifiez le câblage, le support du plafond, la tension et les besoins en ampoule avant achat ou installation.
Il paralume avorio usa tessuto morbidamente arricciato per creare un look country francese rilassato.
Il paralume in tessuto porta calore discreto a sale da pranzo, camere, ingressi e spazi ospiti.
Verificare cablaggio, supporto del soffitto, tensione e requisiti della lampadina prima dell’acquisto o installazione.
アイボリーのシェードは柔らかく寄せた布で、力の抜けたフレンチカントリーの雰囲気を作ります。
布シェードはダイニング、寝室、玄関、ゲストスペースに控えめな温かさを加えます。
購入または設置前に、地域の配線、天井支持、電圧、電球条件をご確認ください。
De ivoorkleurige kap gebruikt zacht gerimpelde stof voor een ontspannen landelijke Franse uitstraling.
Monulo · The practical guide
Find a starting size, see where to place it, and know what to check before installation.
Find your starting size01 · Get the scale right
For a central ceiling light, enter your room dimensions. For lights above furniture, use the table or island guide below instead.
Measure first, then mock up the actual shape. Suggested dimensions are design starting points; product instructions and applicable local requirements take priority.
02 · Look up
The available drop matters as much as the fixture diameter.
Around 8 ft / 2.44 m
Start with a flush or compact semi-flush design in walking areas. Check the complete installed height.
Around 9–10 ft / 2.74–3.05 m
Pendants become easier to accommodate. Reserve enough clearance below the lowest part of the fitting.
Above 10 ft / 3.05 m
Test larger forms or longer suspension. Confirm cable length, access for maintenance and ceiling support.
Sloped ceiling? Compatibility is model-specific. Confirm the canopy, suspension angle and required drop before ordering.
Room study 01
Let the furniture define the focal point.
Room study 02
Plan the whole row before choosing the quantity.
Room study 03
Use the room formula as a visual starting point.
Room study 04
A consistent rhythm works better than a crowded ceiling.
Room study 05
Put comfortable facial lighting first.
Room study 06
Choose the height from where you actually sit.
Room study 07
Light the page without exposing the source.
03 · Before the tools come out
Bring the product instructions, room measurements and fixture weight to your installer.
01 / Fit
Check door swings, seated views, shade gaps and the lowest point. Include the canopy and suspension in every drop measurement.
02 / Support
Have a qualified installer confirm the box, fixing points and structural support for the complete fixture weight.
03 / Compatibility
Confirm supply voltage, lamp or LED driver, dimmer compatibility, ceiling type and location rating for the exact model.
Hardwired fixtures should be installed by a qualified electrician following the supplied instructions and local requirements. This page explains planning and placement; it does not provide wiring instructions.
04 · The last few details
Measure vertically from the finished ceiling to the lowest point of the assembled fitting. Over a table or counter, measure the remaining gap from that point to the surface.
No. Diameter describes the physical size. Compare lumen output, shade opacity, beam direction and the room’s other light sources separately.
Start with the shade diameter, then draw the complete row to scale. Two larger shades and three small shades can both work; use actual edge gaps and counter-end clearances to decide.
Compare a shorter suspension or a flush alternative that the manufacturer supports. Never shorten a rigid stem or modify wiring without the appropriate product guidance.
No. Check the exact product specification and installation position. Ask a qualified installer to confirm the required damp or wet rating and canopy compatibility.
Include a room photo, ceiling height, room or furniture dimensions, the fixture link and your proposed installation location. For heavier fittings, include any available mounting information.
