
Pleated Fabric Shade
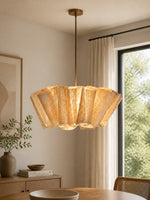
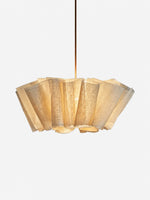
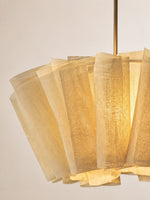
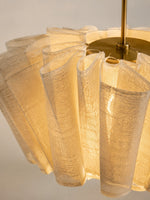
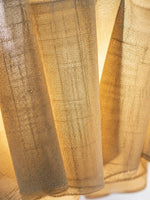
Fine pleats create a soft vertical texture and help spread the light gently.


Buy 1
Buy 2
Buy 3+
Orders over $330
Orders over $500
 Free Shipping
 14-Day Returns
 Secure Payment
 Customer Service
Oslan Series
Inspired by classic elegance, the Oslan Collection features scalloped linen shades that bring a soft, textured touch. Crafted with premium materials, this collection includes wall sconces, floor lamps, and pendant lights, perfect for living rooms, dining areas, and entryways.

Oslan Pendant Light
A pleated fabric pendant that brings a calm, tailored glow to dining rooms, bedrooms, and relaxed living spaces. Its simple silhouette lets the shade texture and warm light do the talking.
Design Inspiration
Inspired by the gentle rhythm of gathered fabric, Oslan pairs a clean pendant profile with a softly pleated shade. The result feels warm and familiar without looking heavy.
The textured shade diffuses the bulb into a comfortable glow, while the restrained form works easily above a dining table, beside a bed, or in a quiet reading corner.

Details
Look closer at the shade texture, proportions, and finish.
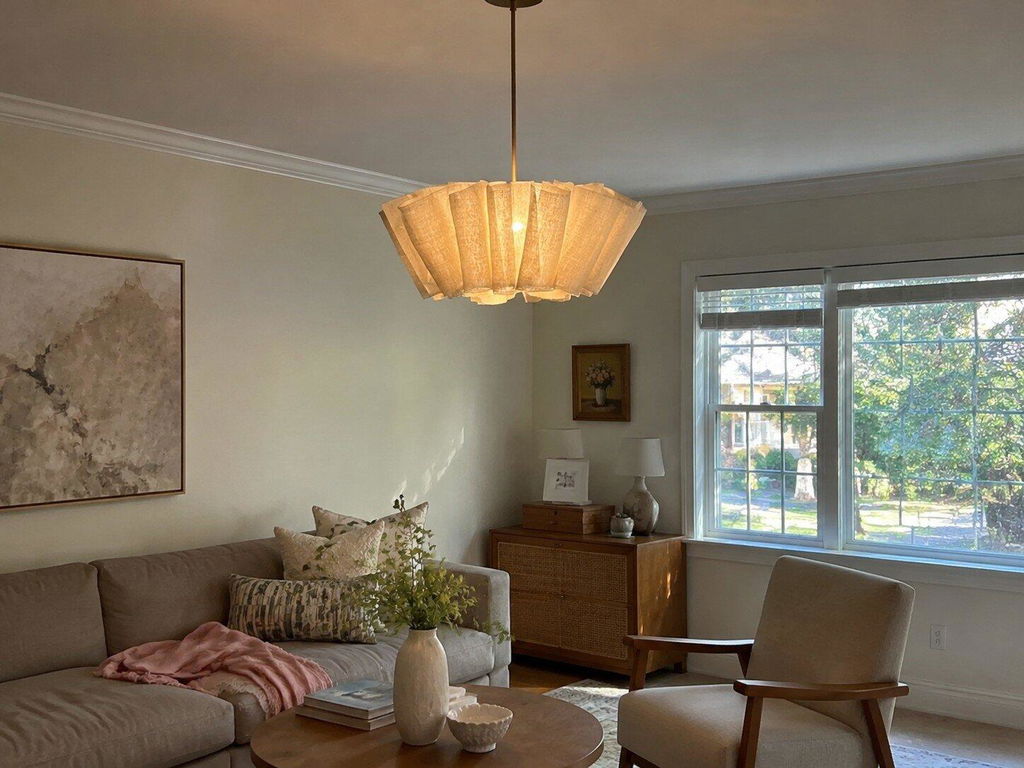
Fine pleats create a soft vertical texture and help spread the light gently.

A balanced frame keeps the shade looking neat from every angle.

The fabric filters direct brightness into a more comfortable room light.
In Your Space
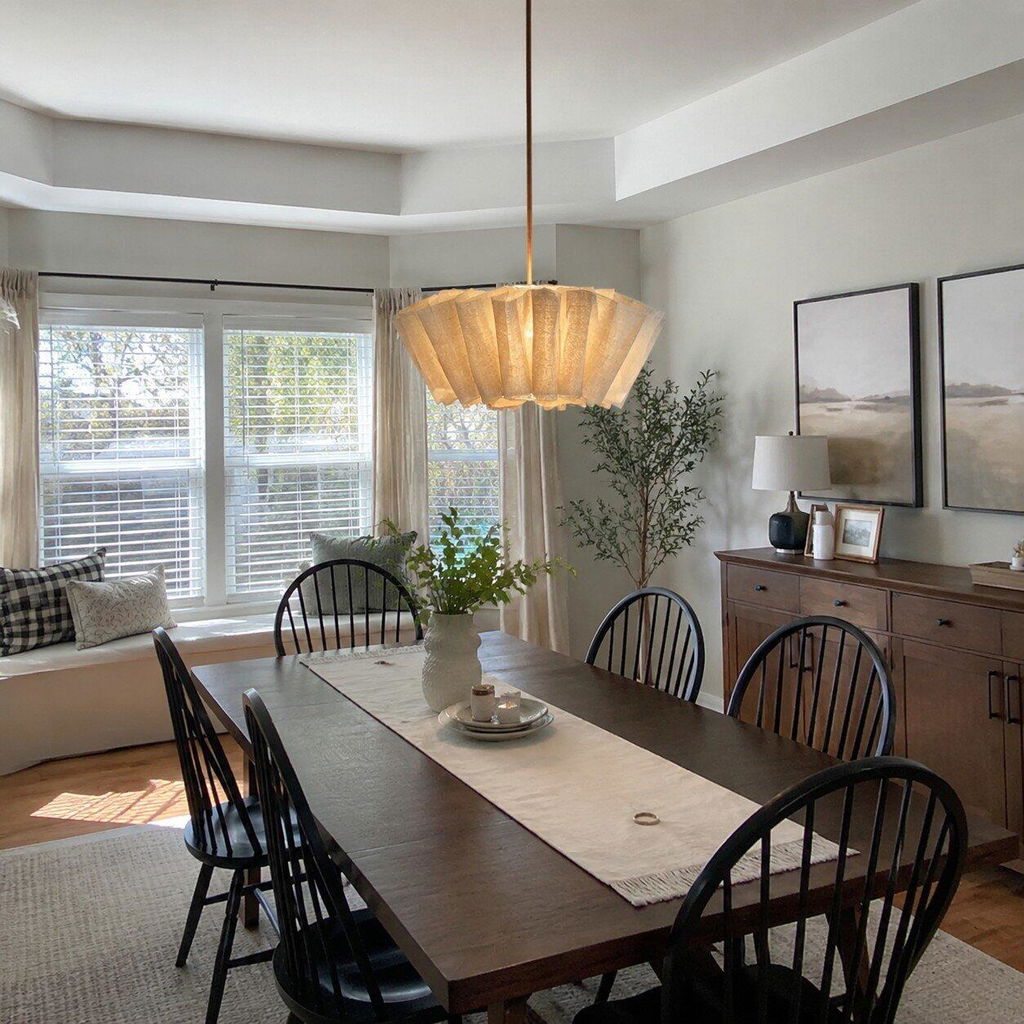
See how Oslan settles naturally into different parts of the home.

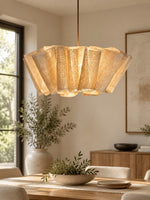
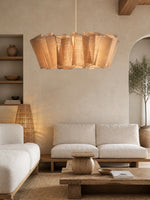
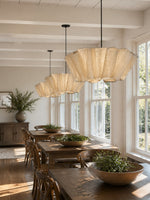
Hang it above the table for a warm, inviting meal-time glow.

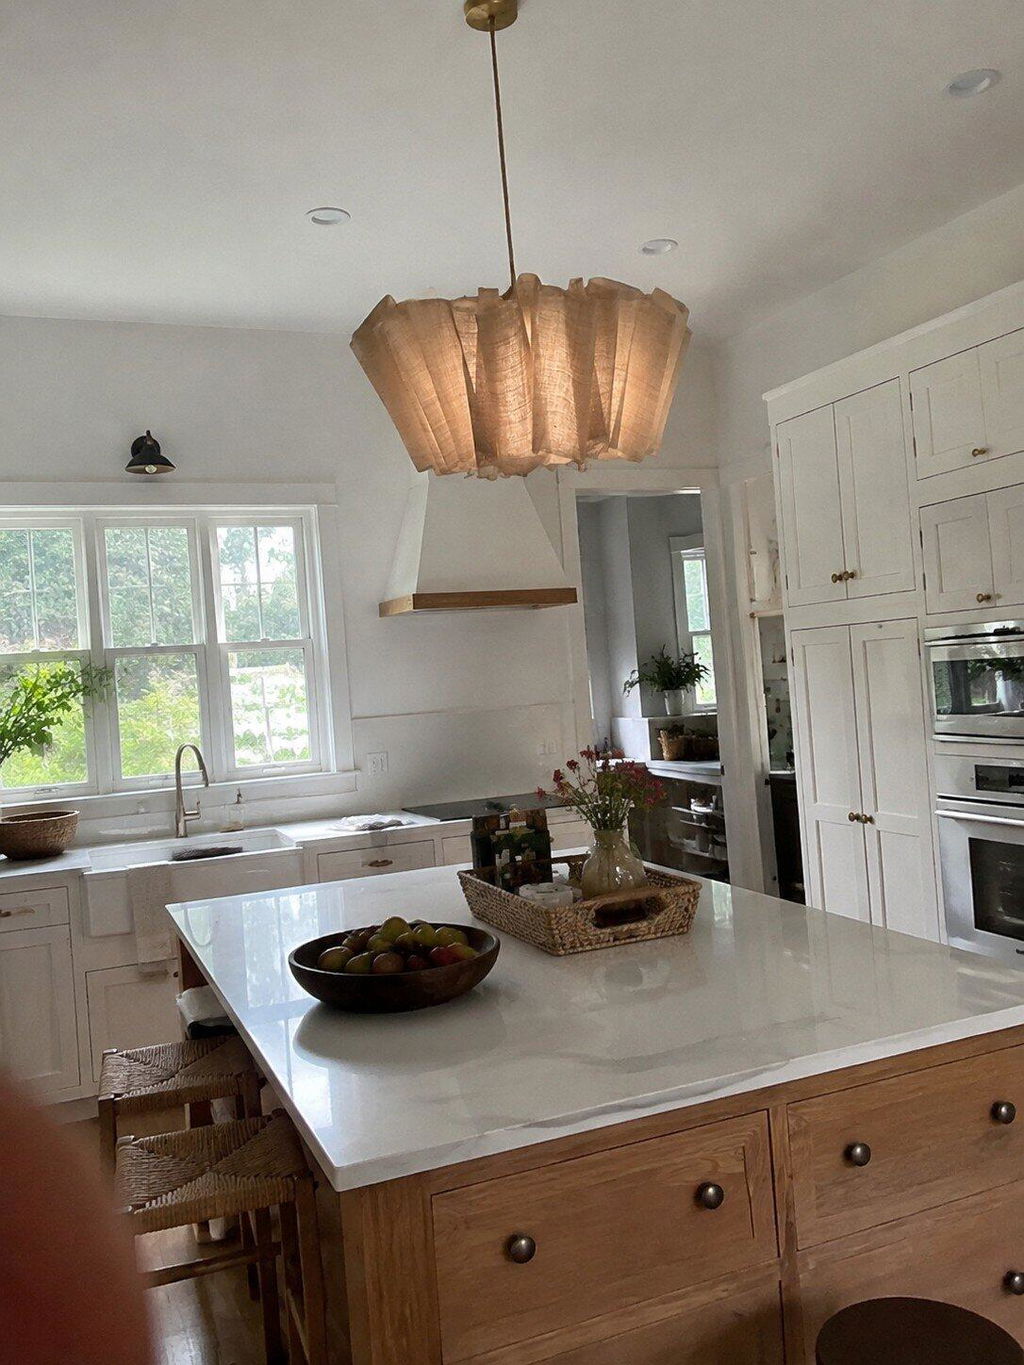
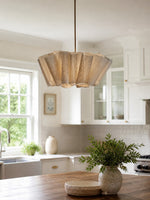
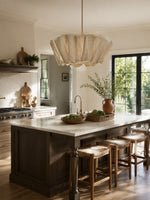
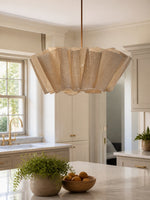
Hang it above the island to bring a warm, practical glow to prep and casual meals.

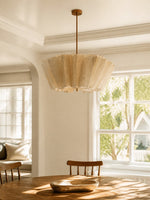
Bring a gentle layer of light to the sink and worktop in a bright kitchen.

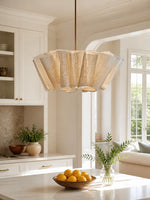
Add a soft focal point above a counter or breakfast area in an open kitchen.

Specifications
| Material | Fabric, Plastic, Brass Cord |
|---|---|
| Light Source | E26, E27 (bulb not included) |
| Finish | Fabric |
| Color | White |
| Weight | 3 kg / 6.6 lbs |
| Size | Dia 15.7 in x H 7.9 in / Dia 40 cm x H 20 cm |
| Size | Dia 23.6 in x H 10.2 in / Dia 60 cm x H 26 cm |
| Size | Dia 31.5 in x H 13.8 in / Dia 80 cm x H 35 cm |
Choose Your Size
The same soft pleated shade takes on a different presence at each size.
Best for bedrooms, compact dining nooks, entryways, and cozy reading corners where you want a lighter visual touch.
A versatile choice above a dining table, kitchen island, or seating area in an everyday-sized room.
Made for open dining rooms, generous living spaces, and larger tables where the pendant can become a clear focal point.
Gorgeous! Very easy to install and gives a lovely soft light.
Easy to use, looks great. Diffuses light well
I love this light so much. It adds a soft, warm glow to our bedroom and makes it feel so cozy. I love the mid-century vibe.
Monulo · The practical guide
Find a starting size, see where to place it, and know what to check before installation.
Find your starting size01 · Get the scale right
For a central ceiling light, enter your room dimensions. For lights above furniture, use the table or island guide below instead.
Measure first, then mock up the actual shape. Suggested dimensions are design starting points; product instructions and applicable local requirements take priority.
02 · Look up
The available drop matters as much as the fixture diameter.
Around 8 ft / 2.44 m
Start with a flush or compact semi-flush design in walking areas. Check the complete installed height.
Around 9–10 ft / 2.74–3.05 m
Pendants become easier to accommodate. Reserve enough clearance below the lowest part of the fitting.
Above 10 ft / 3.05 m
Test larger forms or longer suspension. Confirm cable length, access for maintenance and ceiling support.
Sloped ceiling? Compatibility is model-specific. Confirm the canopy, suspension angle and required drop before ordering.
Room study 01
Let the furniture define the focal point.
Room study 02
Plan the whole row before choosing the quantity.
Room study 03
Use the room formula as a visual starting point.
Room study 04
A consistent rhythm works better than a crowded ceiling.
Room study 05
Put comfortable facial lighting first.
Room study 06
Choose the height from where you actually sit.
Room study 07
Light the page without exposing the source.
03 · Before the tools come out
Bring the product instructions, room measurements and fixture weight to your installer.
01 / Fit
Check door swings, seated views, shade gaps and the lowest point. Include the canopy and suspension in every drop measurement.
02 / Support
Have a qualified installer confirm the box, fixing points and structural support for the complete fixture weight.
03 / Compatibility
Confirm supply voltage, lamp or LED driver, dimmer compatibility, ceiling type and location rating for the exact model.
Hardwired fixtures should be installed by a qualified electrician following the supplied instructions and local requirements. This page explains planning and placement; it does not provide wiring instructions.
04 · The last few details
Measure vertically from the finished ceiling to the lowest point of the assembled fitting. Over a table or counter, measure the remaining gap from that point to the surface.
No. Diameter describes the physical size. Compare lumen output, shade opacity, beam direction and the room’s other light sources separately.
Start with the shade diameter, then draw the complete row to scale. Two larger shades and three small shades can both work; use actual edge gaps and counter-end clearances to decide.
Compare a shorter suspension or a flush alternative that the manufacturer supports. Never shorten a rigid stem or modify wiring without the appropriate product guidance.
No. Check the exact product specification and installation position. Ask a qualified installer to confirm the required damp or wet rating and canopy compatibility.
Include a room photo, ceiling height, room or furniture dimensions, the fixture link and your proposed installation location. For heavier fittings, include any available mounting information.