
Around 8 ft / 2.44 m
Keep it close
Start with a flush or compact semi-flush design in walking areas. Check the complete installed height.


1 kaufen
2 kaufen
3 oder mehr kaufen
Bestellungen über 330 $
Bestellungen über 500 $
Rückgaberecht: Sie haben nach Erhalt Ihrer Bestellung 14 Tage Zeit, eine Rückgabe anzufordern.
Verfügbarkeit: Wir versenden in die Vereinigten Staaten.
Bearbeitungszeit: Die Bearbeitungszeit für Bestellungen beträgt 1–2 Werktage (Montag bis Freitag).
 Kostenloser Versand
 14 Tage Rückgaberecht
 Sichere Zahlung
 Kundenservice
Detailansicht
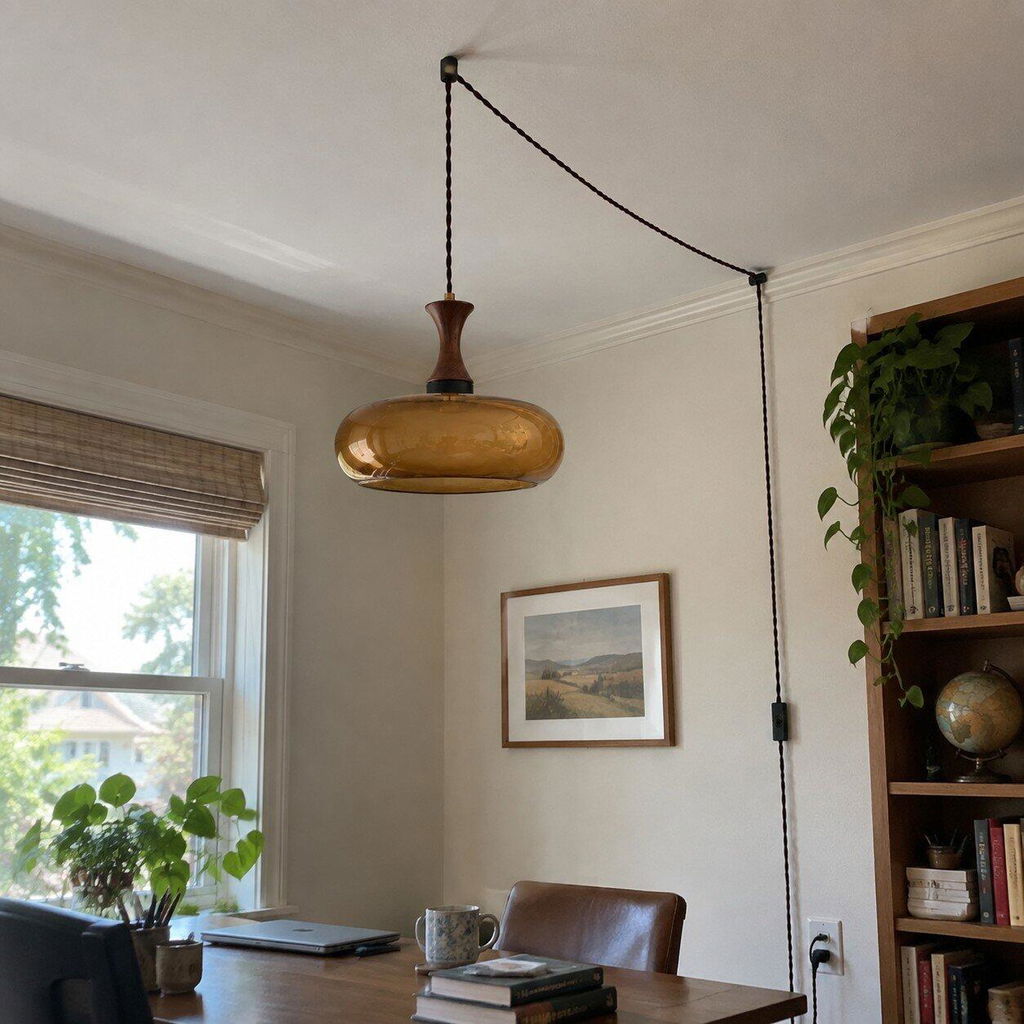
Ein weich abgerundeter brauner Glasschirm trifft auf einen skulpturalen Holzschaft und dunkler Metallring verleiht der Leuchte Tiefe und einen sanften Vintage-Charakter.


Inspirationsgeschichte
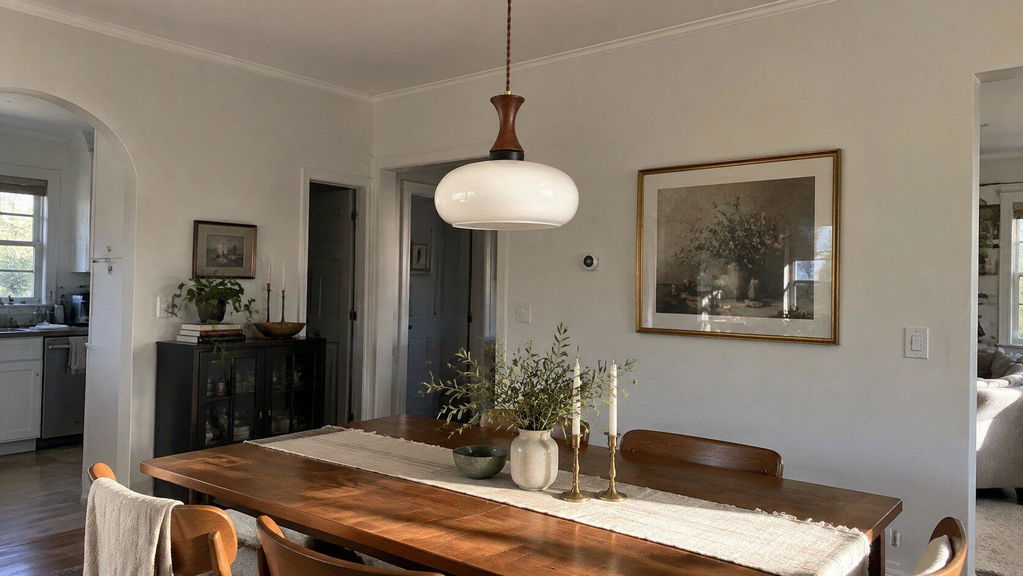
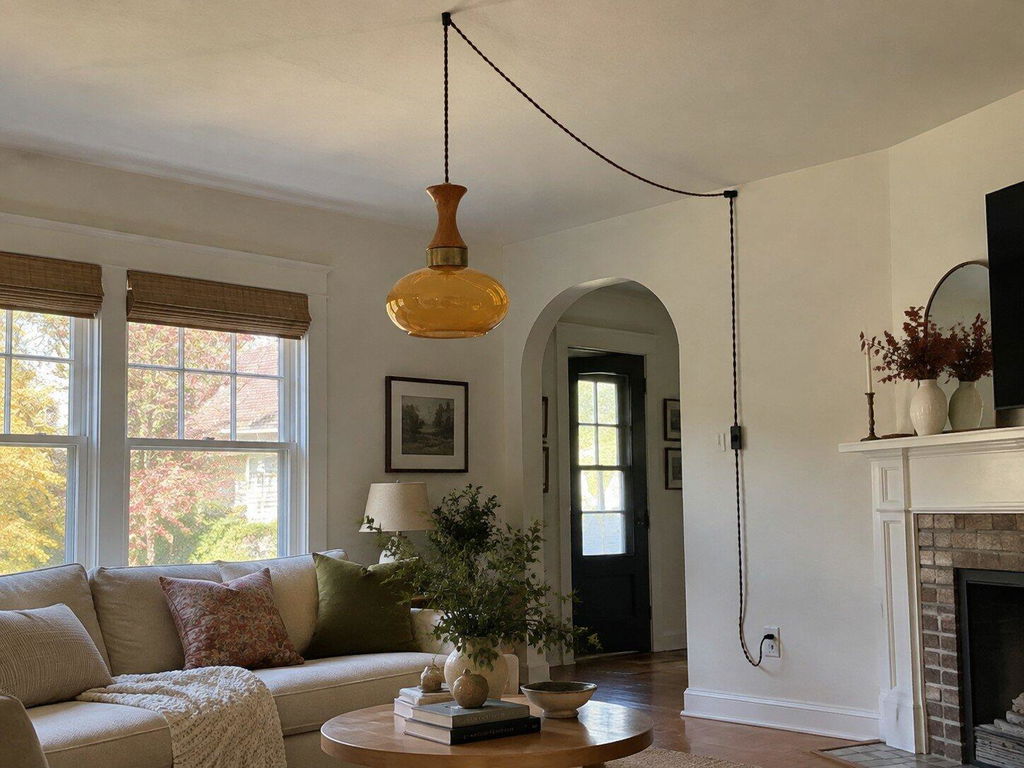
Inspiriert vom stillen Reichtum vintage-inspirierter Räume kombiniert Mayon honigfarbenem Glas mit Holz und dunklem Metall. Das Plug-in-Format ermöglicht es Ihnen, So erzeugen Sie ein fokussiertes Licht, ohne sich auf einen festen Deckenanschluss festzulegen.
Lesenischen, Bereiche neben dem Bett, Essnischen, Wohnzimmer und entspannten Bewirtungsbereichen.
Warm-modern, Mid-Century, Vintage, eklektisch und sanft traditionellen Einrichtungen.
Positionieren Sie das Kabel und die Befestigungspunkte sicher und halten Sie den Halten Sie den Schirm von Durchgängen und hitzeempfindlichen Oberflächen fern.
Spezifikationen & Stilvarianten
Zwei Schirmgrößen teilen dieselbe warme Materialpalette und verstellbarem Plug-in-Kabel.
| Produkttyp | Plug-in-Pendelleuchte |
|---|---|
| Materialien | Glas, Holz und Metall |
| Oberfläche | Bernsteinbraunes Glas, braunes Holz und schwarzes Metall |
| Modell A | Durchmesser 18 cm × H 24 cm / ∅ 7″ × H 9.4″ |
| Modell B | Durchmesser 28 cm × H 24 cm / ∅ 11″ × H 9.4″ |
| Lampenfassung | E26 oder E27, je nach Bestimmungsort (Glühbirne nicht enthalten) |
| Maximale Leistung | 40 W Glühlampe oder gleichwertige LED |
| Spannung | AC 110–240 V |
| Steuerung | Zwischenschalter zum Ein-/Ausschalten; kompatibel mit einer geeigneten dimmbare Glühbirne und Dimmschalter (nicht im Lieferumfang enthalten) |
| Kabellänge | 177″ / 450 cm; bei der Installation verstellbar |
| Zertifizierung | Entspricht den Anforderungen für Nordamerika, Australien, Europa und den Nahen Osten |
| Pflege | Schalten Sie die Leuchte aus und lassen Sie sie abkühlen. Wischen Sie Glas, Holz und Metall vorsichtig mit einem weichen, trockenen Tuch ab. |


Die Maße werden manuell ermittelt; geringfügige Abweichungen sind möglich. Der Glaston kann unter wechselnden Lichtverhältnissen unterschiedlich wirken. und die Einstellungen des Bildschirms.
Easy to put up, absolutely solid, beautiful, and the cord length is adjustable. I just coiled it up inside the ceiling plate. so thick and great quality. Definitely worth it!
Bought for my daughter’s home, she loves it and it is beautiful when lit. Very thick and heavy glass, and fittings look a good quality also.
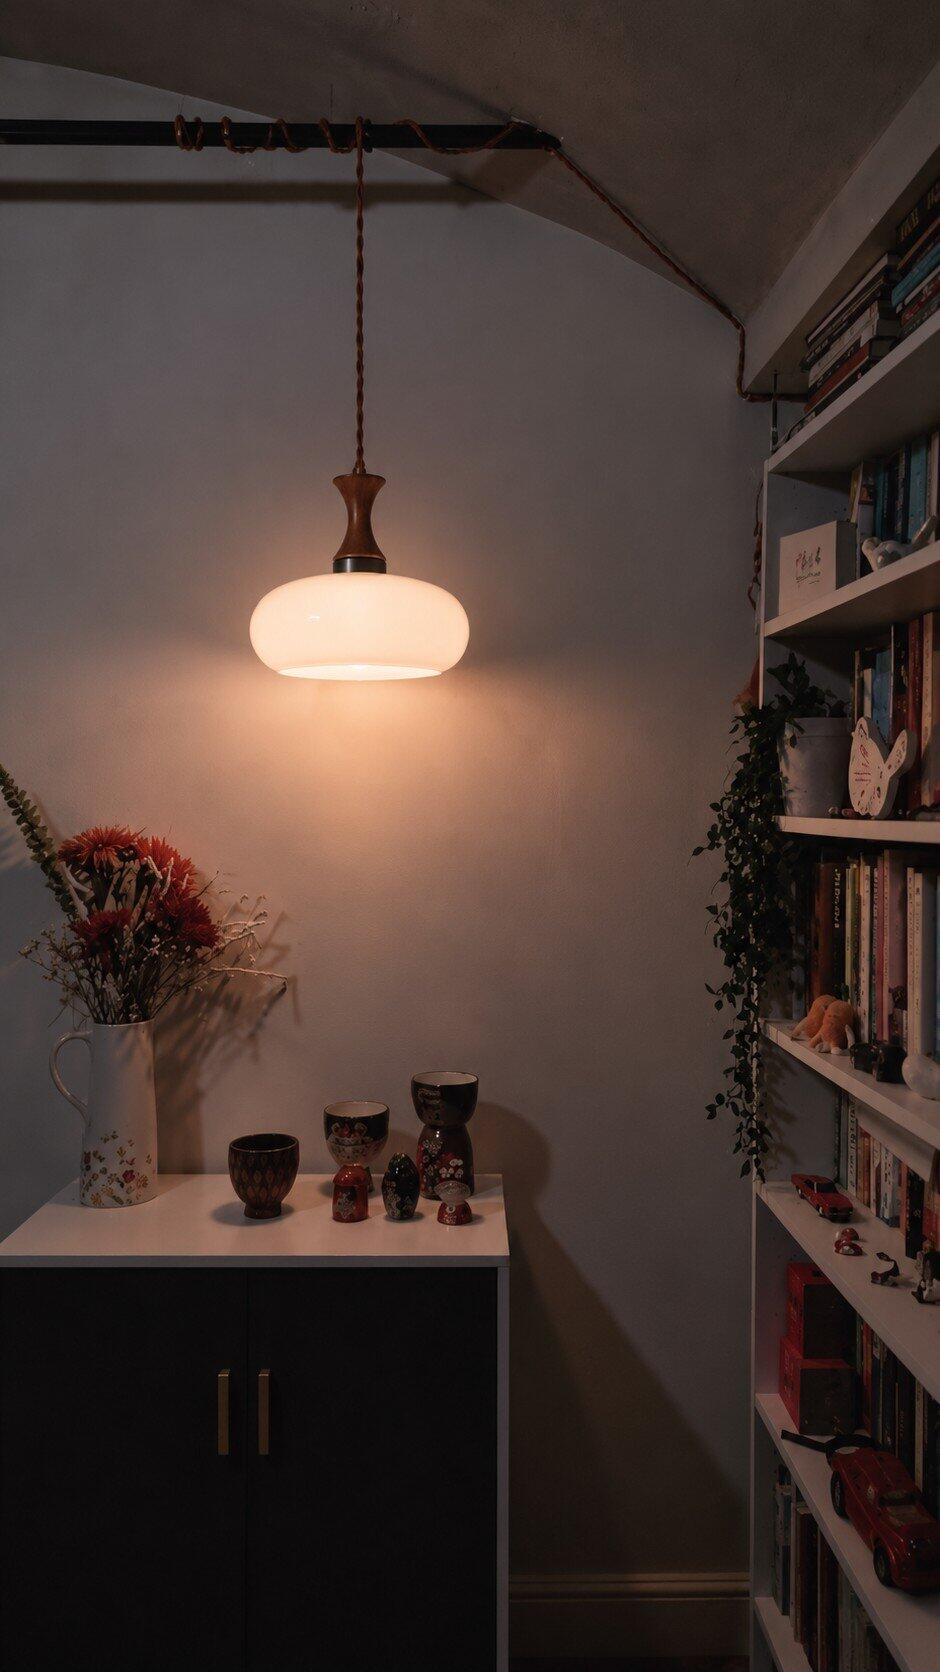
Bought this as part of my partners birthday gifts. She loves it. Must say I do too. Easy to install. I simply wrapped the cord around one of the ceiling bars we have in our lounge and attached the cable to the ceiling and wall using cable clips. Job done!
Highly recommended.
Perfectly described.
Easy to install and thrilled with the results .
Really nice quality
Monulo · The practical guide
Find a starting size, see where to place it, and know what to check before installation.
Find your starting size01 · Get the scale right
For a central ceiling light, enter your room dimensions. For lights above furniture, use the table or island guide below instead.
Measure first, then mock up the actual shape. Suggested dimensions are design starting points; product instructions and applicable local requirements take priority.
02 · Look up
The available drop matters as much as the fixture diameter.
Around 8 ft / 2.44 m
Start with a flush or compact semi-flush design in walking areas. Check the complete installed height.
Around 9–10 ft / 2.74–3.05 m
Pendants become easier to accommodate. Reserve enough clearance below the lowest part of the fitting.
Above 10 ft / 3.05 m
Test larger forms or longer suspension. Confirm cable length, access for maintenance and ceiling support.
Sloped ceiling? Compatibility is model-specific. Confirm the canopy, suspension angle and required drop before ordering.
Room study 01
Let the furniture define the focal point.
Room study 02
Plan the whole row before choosing the quantity.
Room study 03
Use the room formula as a visual starting point.
Room study 04
A consistent rhythm works better than a crowded ceiling.
Room study 05
Put comfortable facial lighting first.
Room study 06
Choose the height from where you actually sit.
Room study 07
Light the page without exposing the source.
03 · Before the tools come out
Bring the product instructions, room measurements and fixture weight to your installer.
01 / Fit
Check door swings, seated views, shade gaps and the lowest point. Include the canopy and suspension in every drop measurement.
02 / Support
Have a qualified installer confirm the box, fixing points and structural support for the complete fixture weight.
03 / Compatibility
Confirm supply voltage, lamp or LED driver, dimmer compatibility, ceiling type and location rating for the exact model.
Hardwired fixtures should be installed by a qualified electrician following the supplied instructions and local requirements. This page explains planning and placement; it does not provide wiring instructions.
04 · The last few details
Measure vertically from the finished ceiling to the lowest point of the assembled fitting. Over a table or counter, measure the remaining gap from that point to the surface.
No. Diameter describes the physical size. Compare lumen output, shade opacity, beam direction and the room’s other light sources separately.
Start with the shade diameter, then draw the complete row to scale. Two larger shades and three small shades can both work; use actual edge gaps and counter-end clearances to decide.
Compare a shorter suspension or a flush alternative that the manufacturer supports. Never shorten a rigid stem or modify wiring without the appropriate product guidance.
No. Check the exact product specification and installation position. Ask a qualified installer to confirm the required damp or wet rating and canopy compatibility.
Include a room photo, ceiling height, room or furniture dimensions, the fixture link and your proposed installation location. For heavier fittings, include any available mounting information.
