Beleuchtungsverkauf zum Tag der Arbeit: 20 % Rabatt sichern
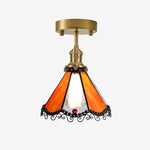
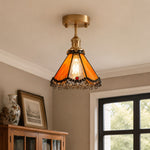
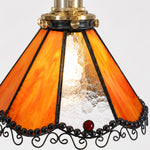
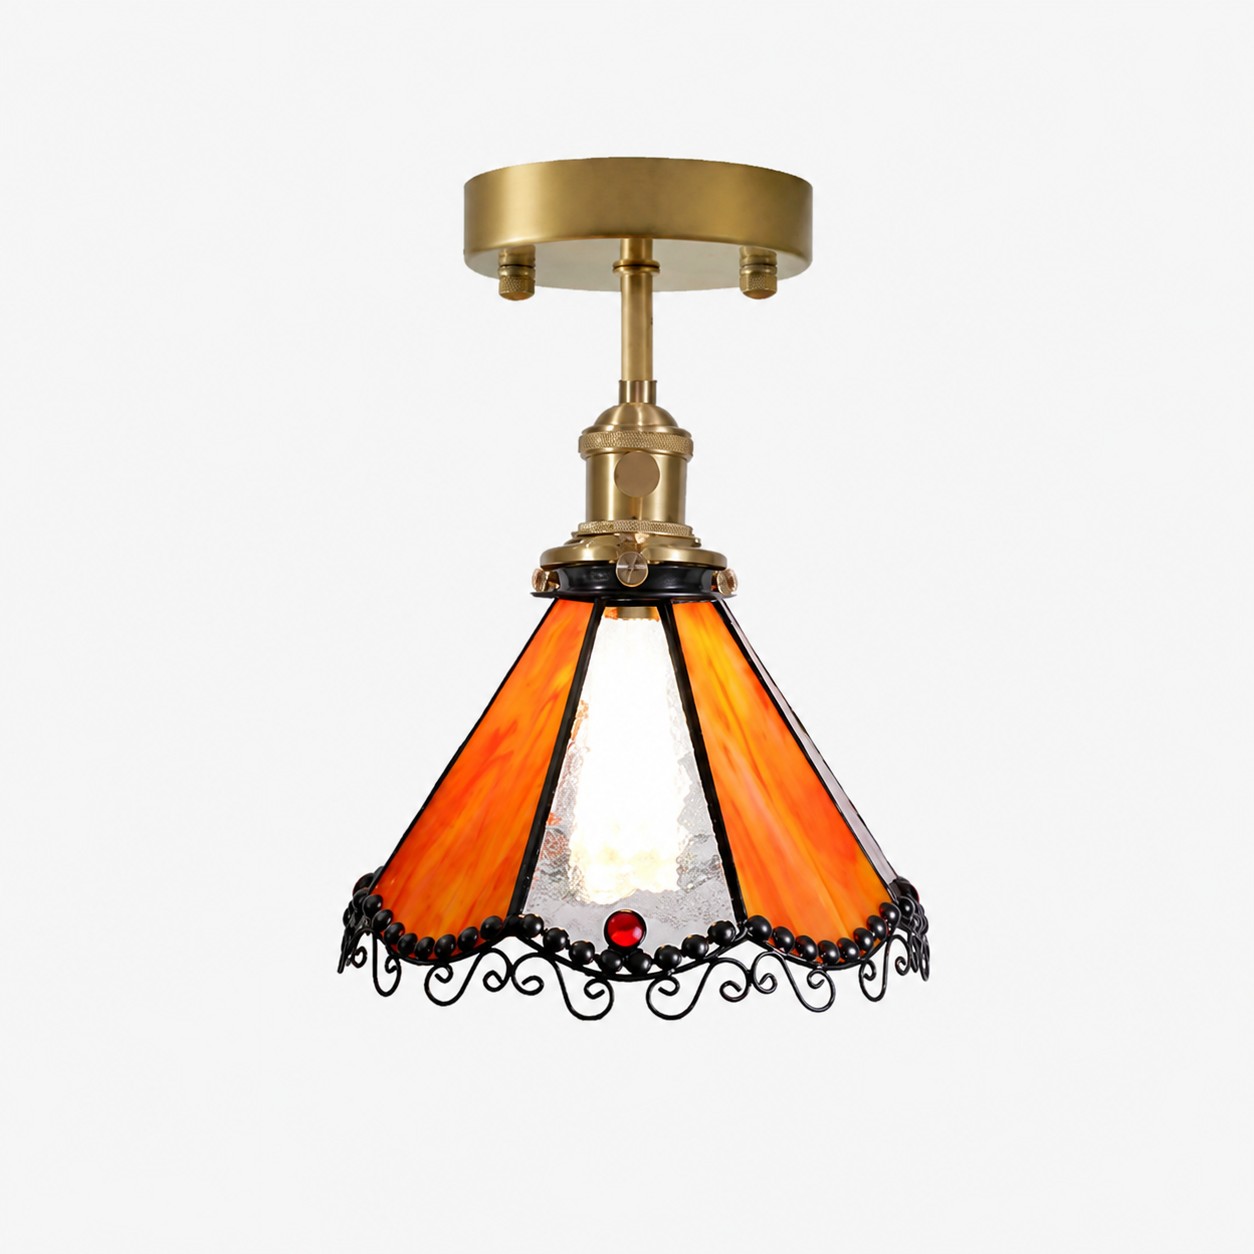
Orange stained glass flush mount ceiling light
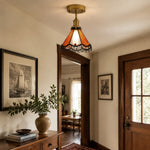
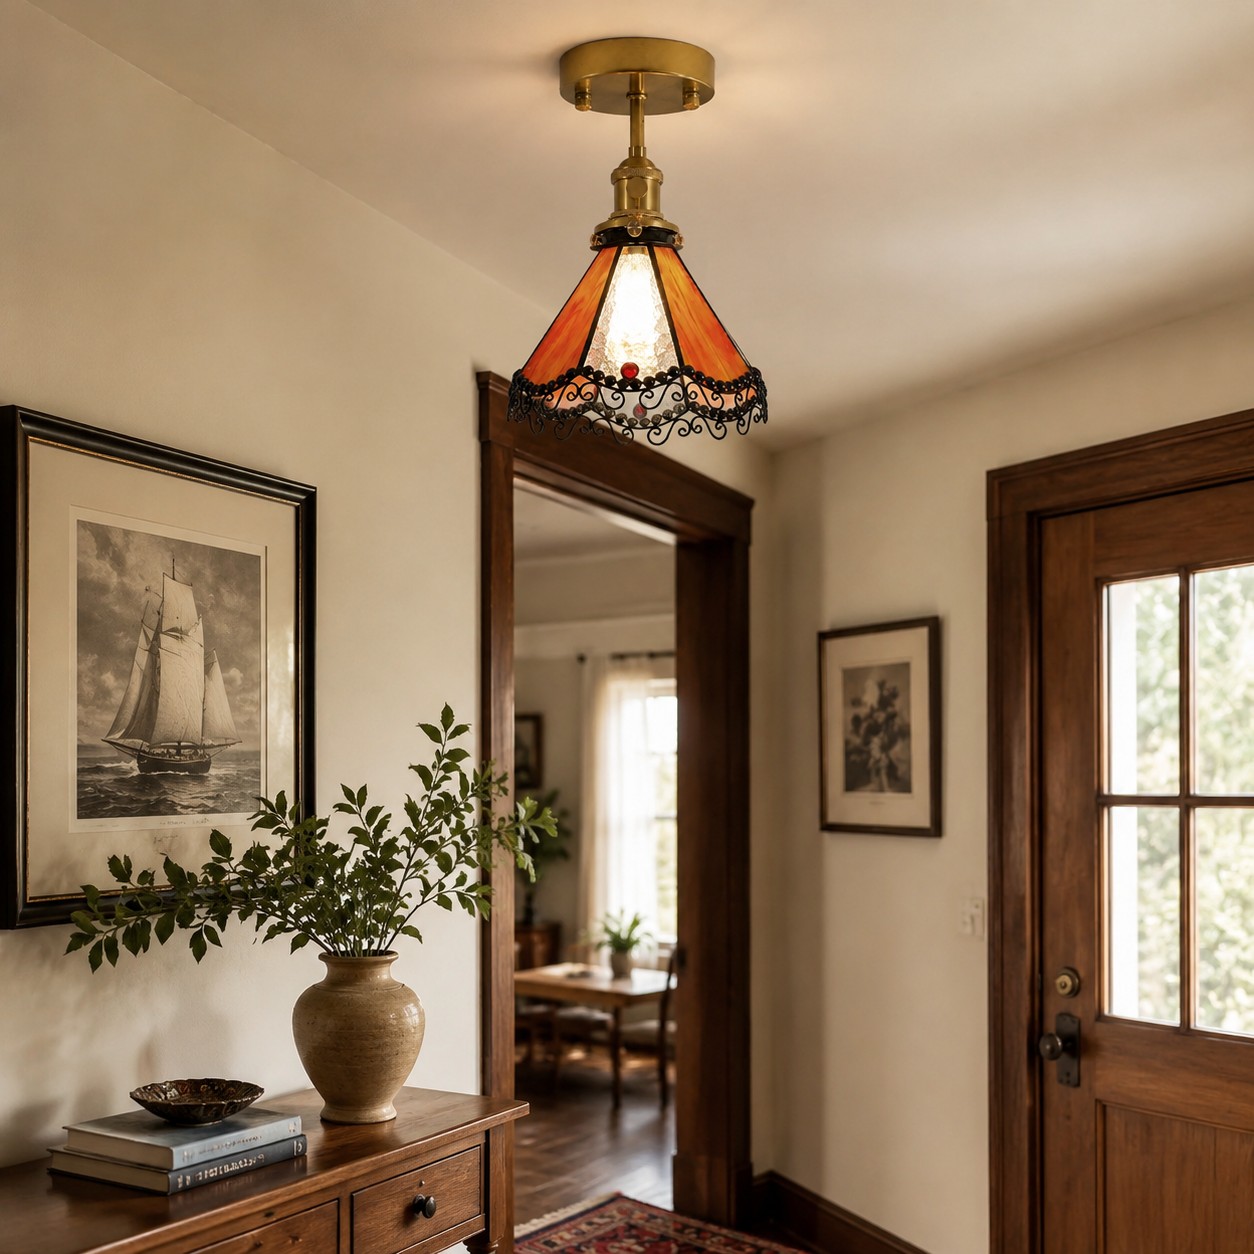
Orange stained glass ceiling light in an entry console scene
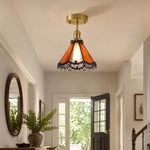
Orange stained glass ceiling light in a hallway
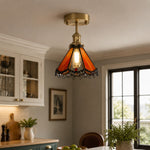
Orange stained glass ceiling light near a kitchen corner
Orange stained glass ceiling light above a cabinet corner
Orangefarbene Buntglas-Deckenleuchte zum Aufputz
Bild in Gallery-Viewer laden, Orange stained glass flush mount ceiling light
Bild in Gallery-Viewer laden, Orange stained glass ceiling light in an entry console scene
Bild in Gallery-Viewer laden, Orange stained glass ceiling light in a hallway
Bild in Gallery-Viewer laden, Orange stained glass ceiling light near a kitchen corner
Bild in Gallery-Viewer laden, Orange stained glass ceiling light above a cabinet corner
Bild in Gallery-Viewer laden, Orangefarbene Buntglas-Deckenleuchte zum Aufputz

Orangefarbene Buntglas-Deckenleuchte zum Aufputz

$268.99

12% RABATT

1 kaufen

M12

15% RABATT

2 kaufen

M15

18% RABATT

3 oder mehr kaufen

M18

$60 RABATT

Bestellungen über 330 $

M60

$100 RABATT

Bestellungen über 500 $

M100
Nur noch 9999 Artikel auf Lager
Frage

Frage

Versandinformationen

Versandinformationen

Rückgaberecht: Sie haben nach Erhalt Ihrer Bestellung 14 Tage Zeit, eine Rückgabe anzufordern.

Verfügbarkeit: Wir versenden in die Vereinigten Staaten.

Bearbeitungszeit: Die Bearbeitungszeit für Bestellungen beträgt 1–2 Werktage (Montag bis Freitag).

Kostenloser Versand
14 Tage Rückgaberecht
Sichere Zahlung
Kundenservice

Orange stained glass, antique brass character

Orange stained glass flush mount ceiling light for entries, hallways, kitchens, and cottage-style nooks.

A compact ceiling-mounted fixture with orange stained glass, black decorative trim, red bead accents, and antique brass-tone hardware for rooms that need a small vintage focal point. Bulbs are not included, so customers can choose compatible bulbs separately according to local requirements.

Orange stained glass flush mount ceiling light for entries, hallways, kitchens, and cottage-style nooks.
Warm orange glass with black decorative trim and antique brass-tone hardware.

A small vintage accent for rooms that need color and character.

The compact shade works with wood furniture, cream walls, framed artwork, mirrors, botanical arrangements, and brass hardware.

Styled in real rooms

Ceiling scenes for entries, hallways, kitchens, and small room corners.

Use the fixture as a decorative focal point rather than a plain utility light.
Kitchen corner

Scene inspiration

See how the orange glass changes the mood of compact spaces.

Kitchen corner

Entry console moment

Let the fixture sit above an entry console with art and greenery.
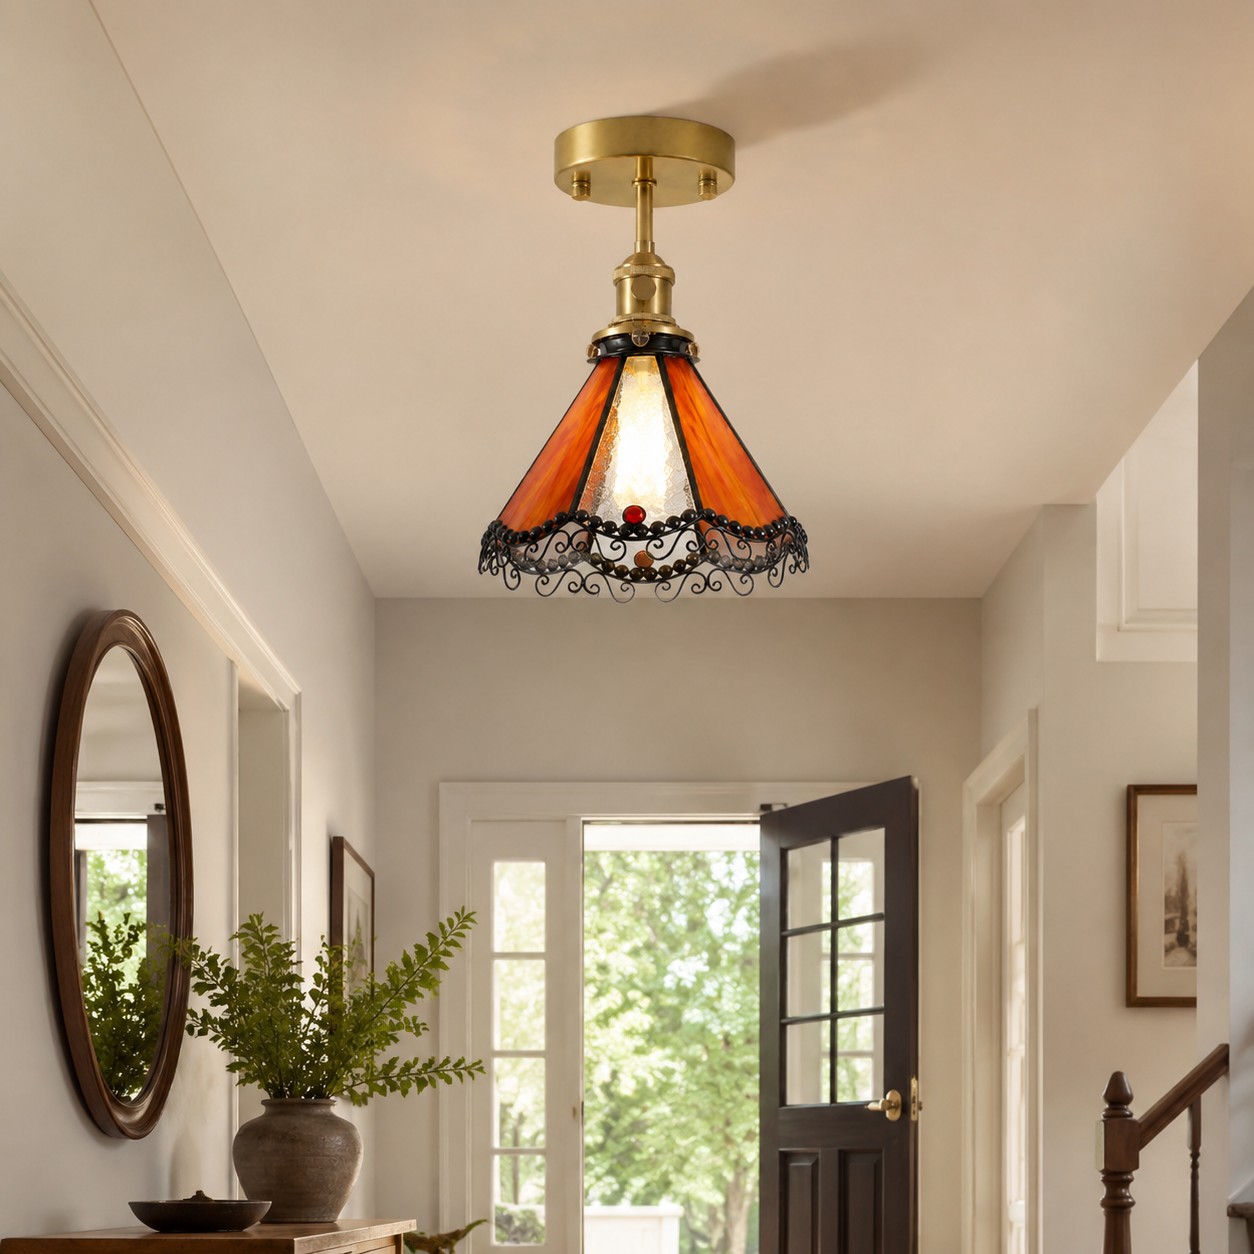
Hallway focal point

Hallway focal point

Add color to a corridor, stair landing, or transition space.
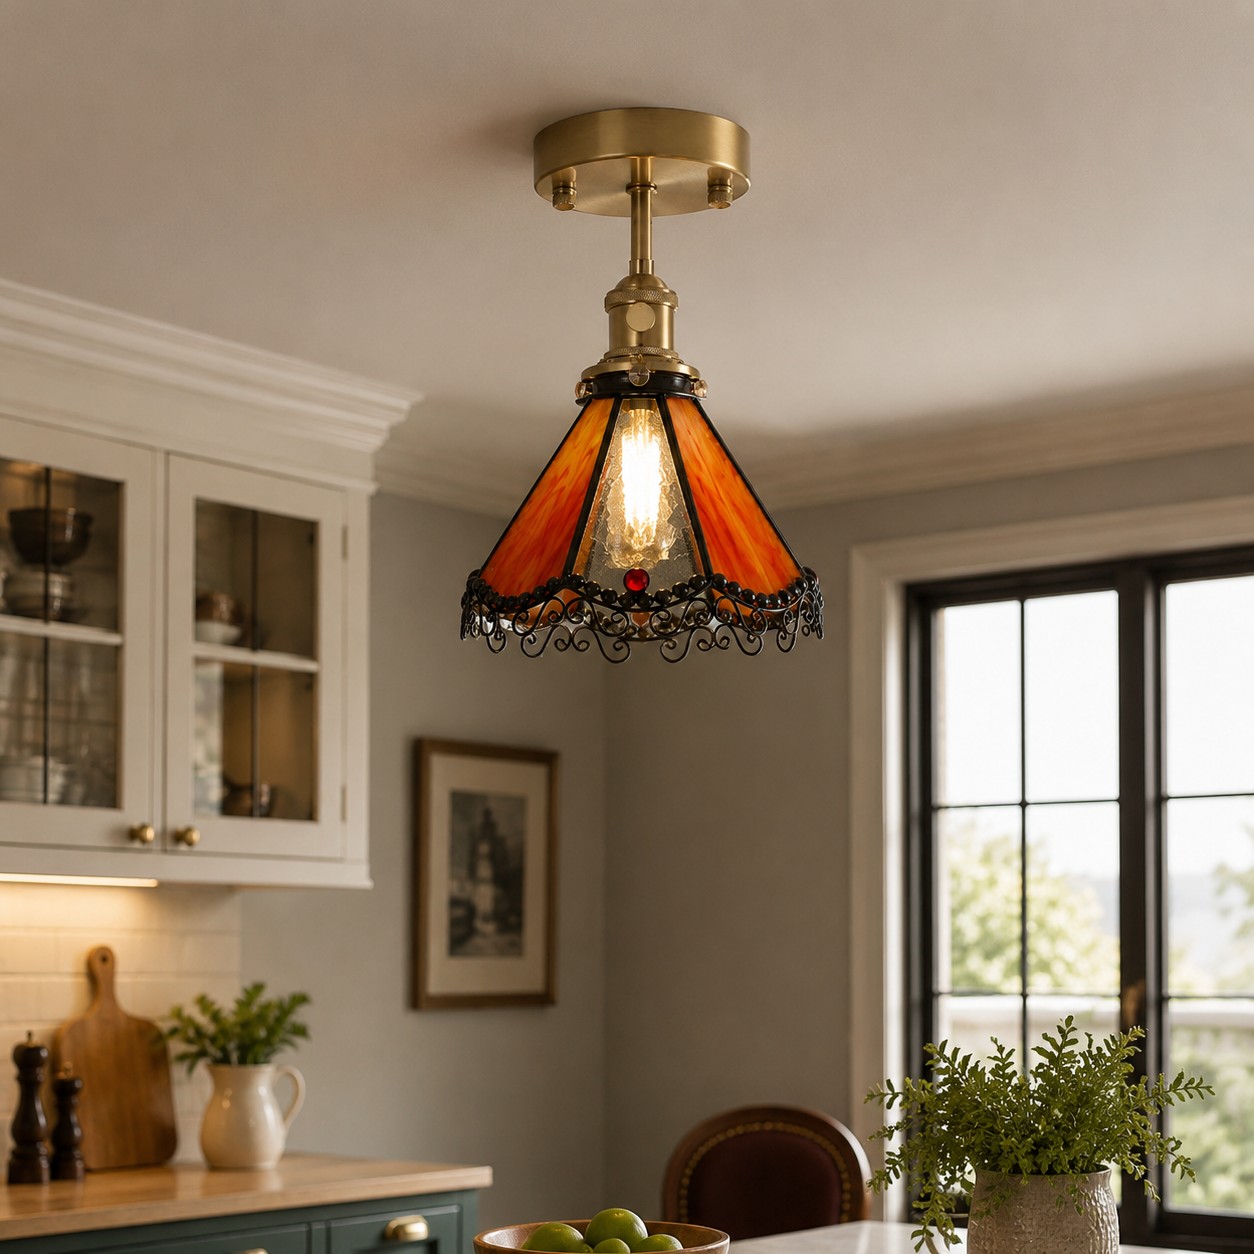
Entry console moment

Kitchen corner

Use it near cabinetry, windows, and dining furniture.
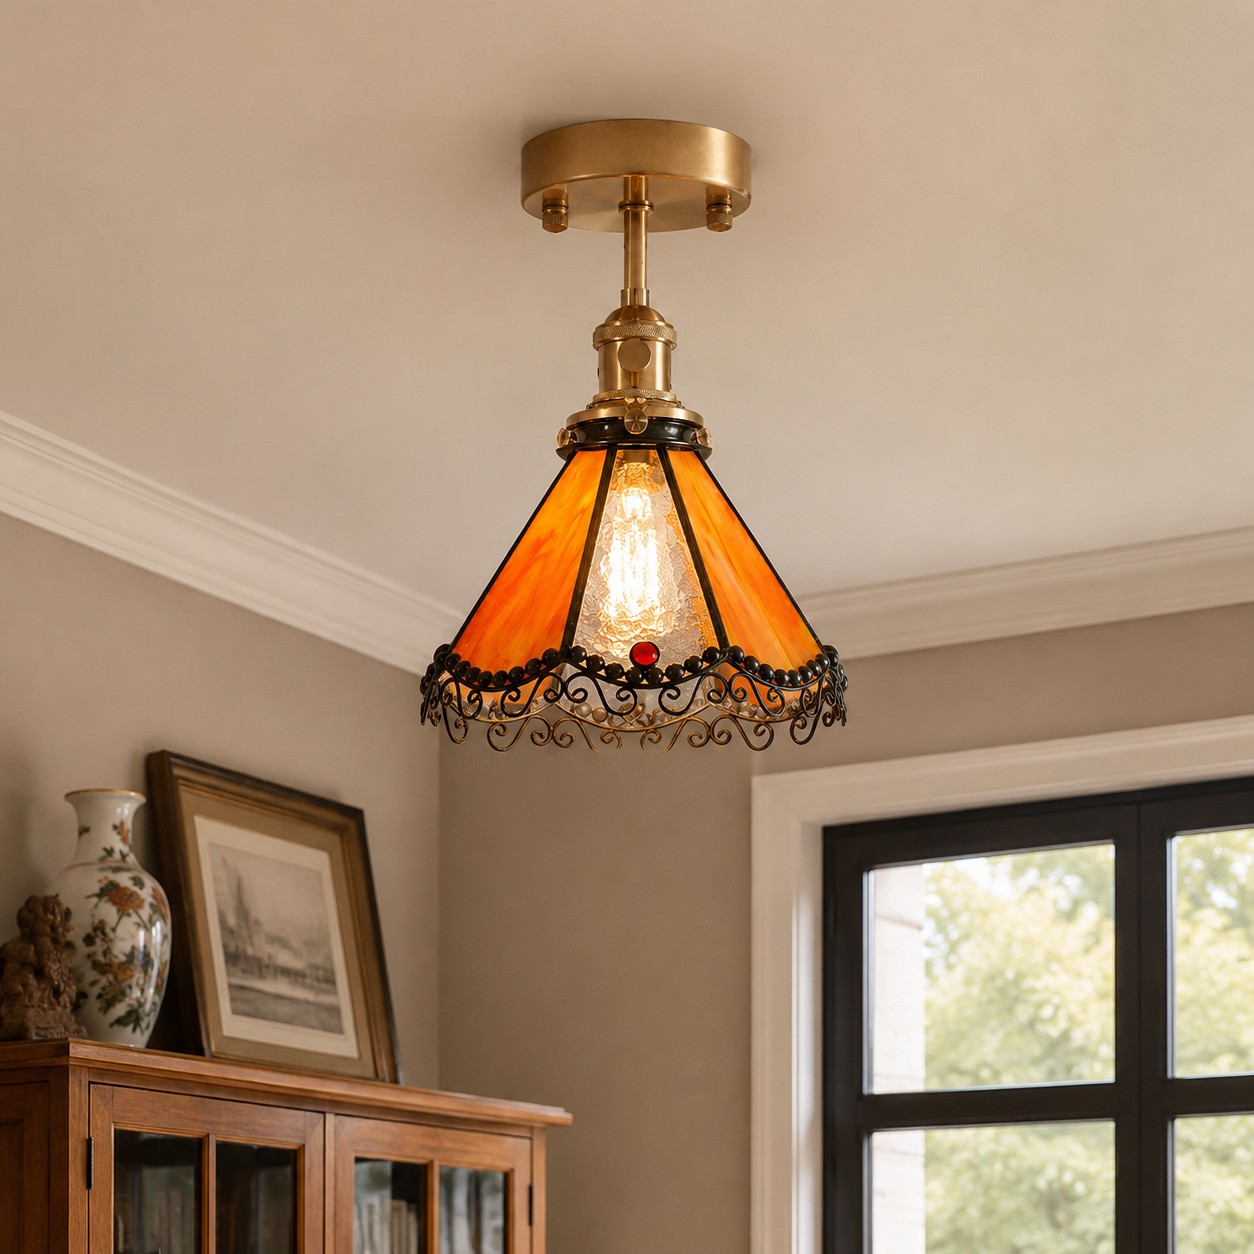
Cabinet and window styling

Cabinet and window styling

Bring a warm accent above a cabinet or compact room corner.

Material, size, and installation

Fixture details for international buyers.

Dimensions are listed in centimeters and inches for multi-country European and North American campaigns.

Product type Flush mount ceiling light fixture
Color Orange stained glass
Finish
Antique Brass
Size Dia 26 cm × H 19 cm / ∅ 10.2″ × H 7.5″
Light Source E27
Recommended spaces Entryway, hallway, stair landing, pantry, breakfast nook, cottage kitchen, small dining corner
Bulb included No. Choose compatible bulbs separately according to local electrical requirements.
Installation note Ceiling-mounted flush mount fixture. Install according to local electrical code and use a qualified electrician when required.

Customer Reviews

Be the first to write a review
0%
(0)
0%
(0)
0%
(0)
0%
(0)
0%
(0)

Monulo · The practical guide

Lighting that fits.
A room that feels right.

Find a starting size, see where to place it, and know what to check before installation.

Find your starting size
CLEARANCESIZE↔PROPORTION · PLACEMENT

01 · Get the scale right

A useful starting point, in seconds.

For a central ceiling light, enter your room dimensions. For lights above furniture, use the table or island guide below instead.

Starting fixture diameter

26 in / 66 cm

With a 9 ft ceiling, a 7 ft clear path leaves about 24 in for the complete drop.

Complete drop = canopy + suspension + fixture body. This is a planning allowance, not a product specification.

Measure first, then mock up the actual shape. Suggested dimensions are design starting points; product instructions and applicable local requirements take priority.

02 · Look up

Work with your ceiling.

The available drop matters as much as the fixture diameter.

Around 8 ft / 2.44 m

Keep it close

Start with a flush or compact semi-flush design in walking areas. Check the complete installed height.

Around 9–10 ft / 2.74–3.05 m

Balance the drop

Pendants become easier to accommodate. Reserve enough clearance below the lowest part of the fitting.

Above 10 ft / 3.05 m

Scale with intention

Test larger forms or longer suspension. Confirm cable length, access for maintenance and ceiling support.

Sloped ceiling? Compatibility is model-specific. Confirm the canopy, suspension angle and required drop before ordering.

30–36 inTABLETOP → LOWEST POINT
30–36 in / 76–91 cm above the tabletop

Room study 01

Dining table

Let the furniture define the focal point.

Measure
Measure the tabletop, including its width at the widest point.
Size & place
For a round fixture, test a diameter around ½–⅔ of the table width. For a linear design, start with ½–⅔ of its length.
Check
Center on the table and check the view across it while seated.
30–36 inEVEN CENTERS · CLEAR SHADE GAPSCHECK THE FULL ROW BEFORE DRILLING
30–36 in / 76–91 cm above the counter

Room study 02

Kitchen island

Plan the whole row before choosing the quantity.

Measure
Record counter length, width and the working area below.
Size & place
Try two or three paper shade outlines. Adjust their widths until adjacent edges and both island ends have breathing room.
Check
Mark equal centers; verify the actual gap between shades rather than using center spacing alone.
ROOM LENGTH12 ft + 14 ft → ABOUT 26 in WIDE
Start with at least 7 ft / 213 cm walking clearance

Room study 03

Room center

Use the room formula as a visual starting point.

Measure
Record length, width and finished ceiling height.
Size & place
Add length and width in feet; use that total as a starting diameter in inches. Example: 12 + 14 → 26 in / 66 cm.
Check
Check the furniture plan and the fixture’s visual weight. This formula does not determine brightness.
LAY OUT EQUAL BAYSEND OFFSET ≈ HALF THE CENTER SPACING
Keep doors, stairs and walking routes unobstructed

Room study 04

Hallway & entry

A consistent rhythm works better than a crowded ceiling.

Measure
Mark the full walking route, doors and changes in ceiling height.
Size & place
Divide the usable corridor into equal bays. Place each light near a bay center, leaving half a bay at each end.
Check
Choose the final distance from the fixture’s light output and beam spread; test the layout after dark.
MATCH THE USER’S FACE LEVELSCONCE CENTER ≈ 65–70 in ABOVE FLOOR
Position paired lights symmetrically beside the mirror

Room study 05

Bathroom vanity

Put comfortable facial lighting first.

Measure
Record mirror dimensions, side wall space and cabinet swing.
Size & place
For side sconces, trial the luminous center around 65–70 in / 165–178 cm above the floor.
Check
Adjust to the actual user and mirror. Check for bright reflections and confirm the correct location rating.
TEST FROM A SEATED POSITIONSHADE HIDES THE BULB · SWITCH WITHIN REACH
Use an adjustable mock-up before fixing wall lights

Room study 06

Bedroom & bedside

Choose the height from where you actually sit.

Measure
Measure the mattress, nightstand and your seated position.
Size & place
Try the shade at seated eye or shoulder height so the bright source is screened and the page is lit.
Check
Check reach to the switch, head movement, pillows and any adjustable arm.
LIGHT FROM BESIDE OR BEHINDKEEP THE BULB OUT OF DIRECT VIEW
A deeper or diffused shade can improve comfort

Room study 07

Reading & living

Light the page without exposing the source.

Measure
Sit in your usual chair with a book before locating the lamp.
Size & place
Place task lighting beside or slightly behind the shoulder. Add separate ambient lighting to soften contrast.
Check
Keep the base and cord out of traffic; check glare from both the chair and nearby seats.

03 · Before the tools come out

One installation checklist.

Bring the product instructions, room measurements and fixture weight to your installer.

01 / Fit

Mock up the final position

Check door swings, seated views, shade gaps and the lowest point. Include the canopy and suspension in every drop measurement.

02 / Support

Verify the mounting

Have a qualified installer confirm the box, fixing points and structural support for the complete fixture weight.

03 / Compatibility

Match the electrical details

Confirm supply voltage, lamp or LED driver, dimmer compatibility, ceiling type and location rating for the exact model.

Hardwired fixtures should be installed by a qualified electrician following the supplied instructions and local requirements. This page explains planning and placement; it does not provide wiring instructions.

04 · The last few details

Questions before you choose.

Which measurement should I use for the drop?

Measure vertically from the finished ceiling to the lowest point of the assembled fitting. Over a table or counter, measure the remaining gap from that point to the surface.

Does a larger light always mean a brighter room?

No. Diameter describes the physical size. Compare lumen output, shade opacity, beam direction and the room’s other light sources separately.

How do I choose between two or three island pendants?

Start with the shade diameter, then draw the complete row to scale. Two larger shades and three small shades can both work; use actual edge gaps and counter-end clearances to decide.

What if my ceiling is too low for the light I like?

Compare a shorter suspension or a flush alternative that the manufacturer supports. Never shorten a rigid stem or modify wiring without the appropriate product guidance.

Can any fixture go in a bathroom or on a sloped ceiling?

No. Check the exact product specification and installation position. Ask a qualified installer to confirm the required damp or wet rating and canopy compatibility.

What should I send when asking for sizing advice?

Include a room photo, ceiling height, room or furniture dimensions, the fixture link and your proposed installation location. For heavier fittings, include any available mounting information.