
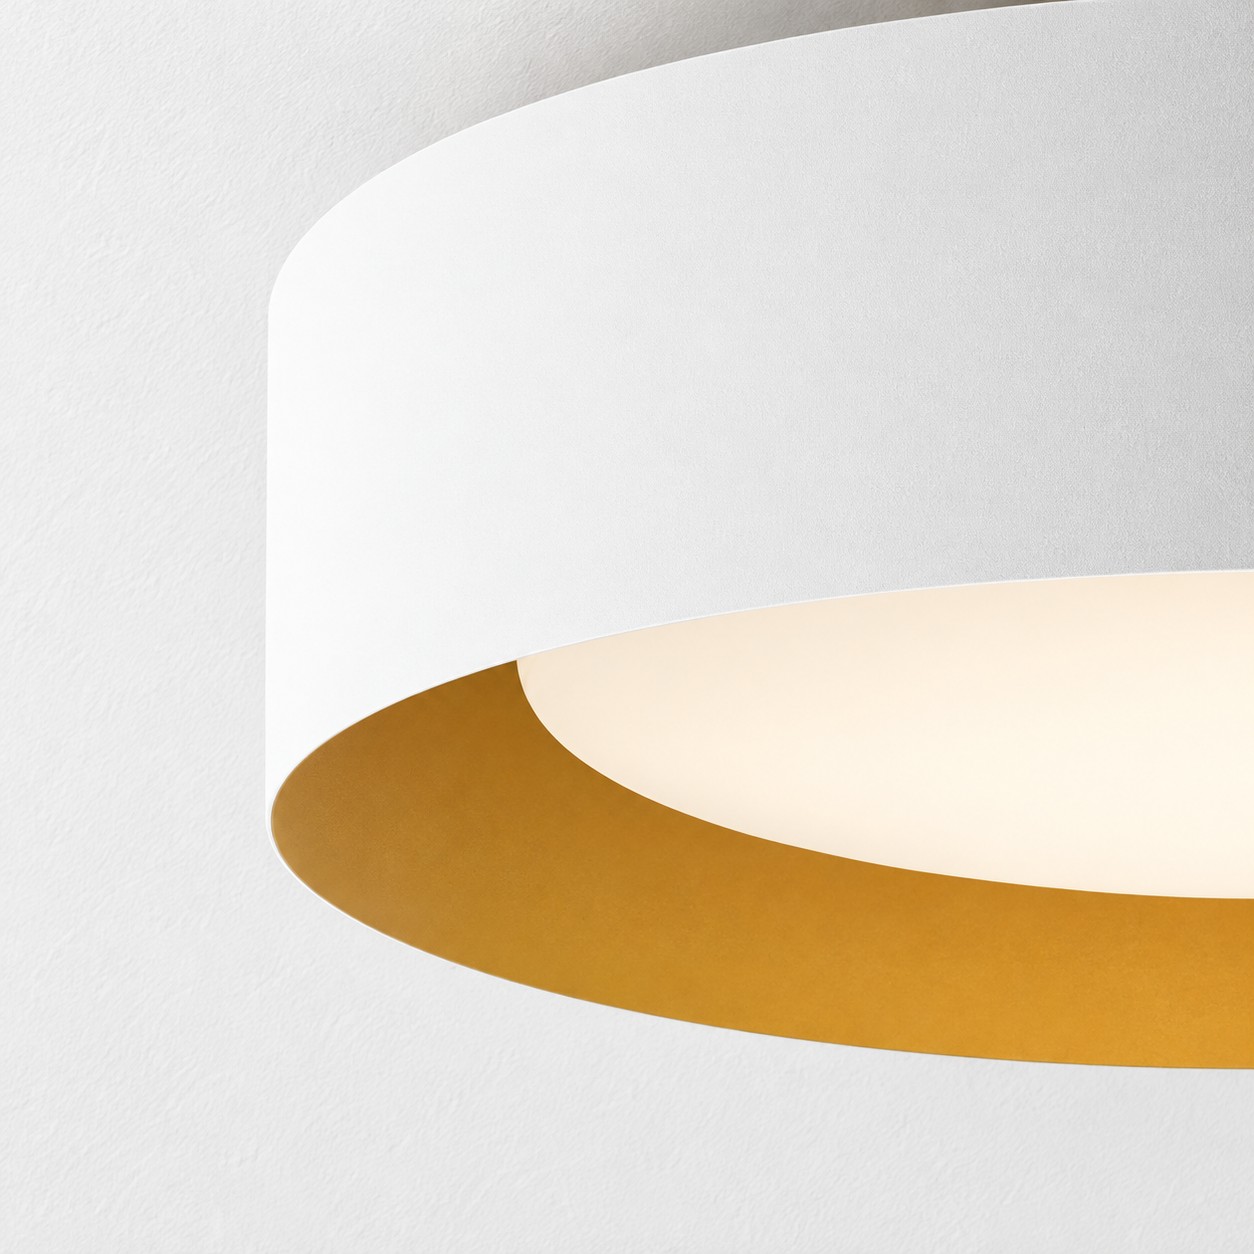
Simple Drum Shade
Across the room, a soft glow comes off this shade. The clean, uncluttered form keeps the fixture visually light.


1 kaufen
2 kaufen
3 oder mehr kaufen
Bestellungen über 330 $
Bestellungen über 500 $
Rückgaberecht: Sie haben nach Erhalt Ihrer Bestellung 14 Tage Zeit, eine Rückgabe anzufordern.
Verfügbarkeit: Wir versenden in die Vereinigten Staaten.
Bearbeitungszeit: Die Bearbeitungszeit für Bestellungen beträgt 1–2 Werktage (Montag bis Freitag).
 Kostenloser Versand
 14 Tage Rückgaberecht
 Sichere Zahlung
 Kundenservice
The silhouette stays clean, and the glow stays softly diffused. Bedrooms, entries, and living spaces get a polished finish from this modern round drum.
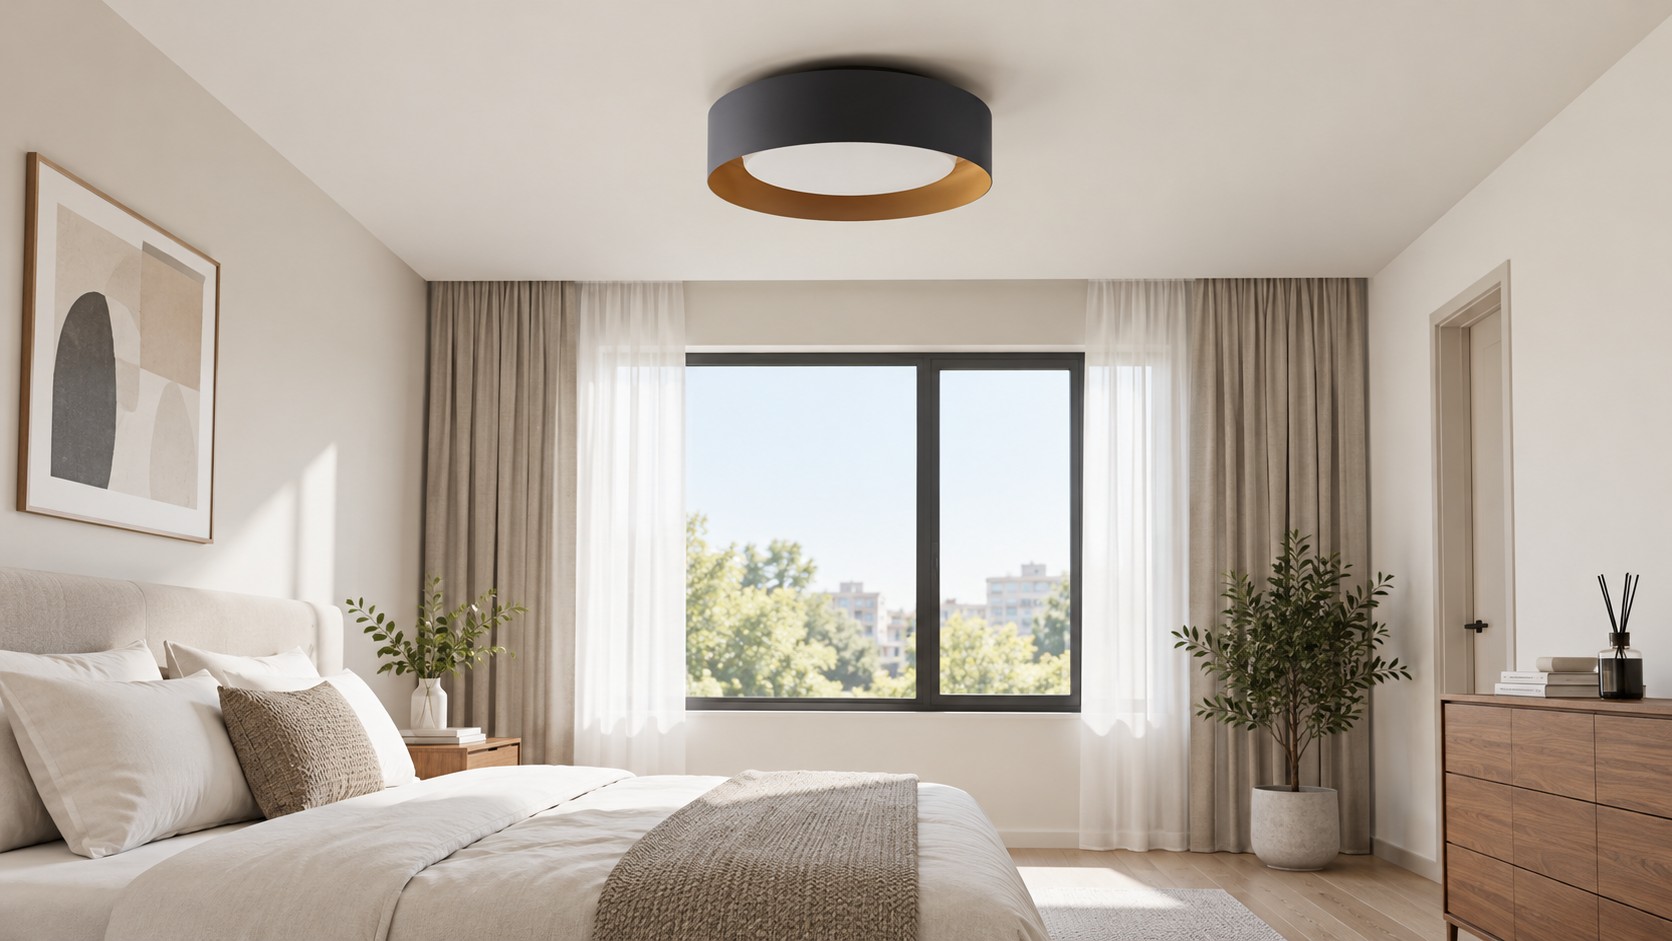
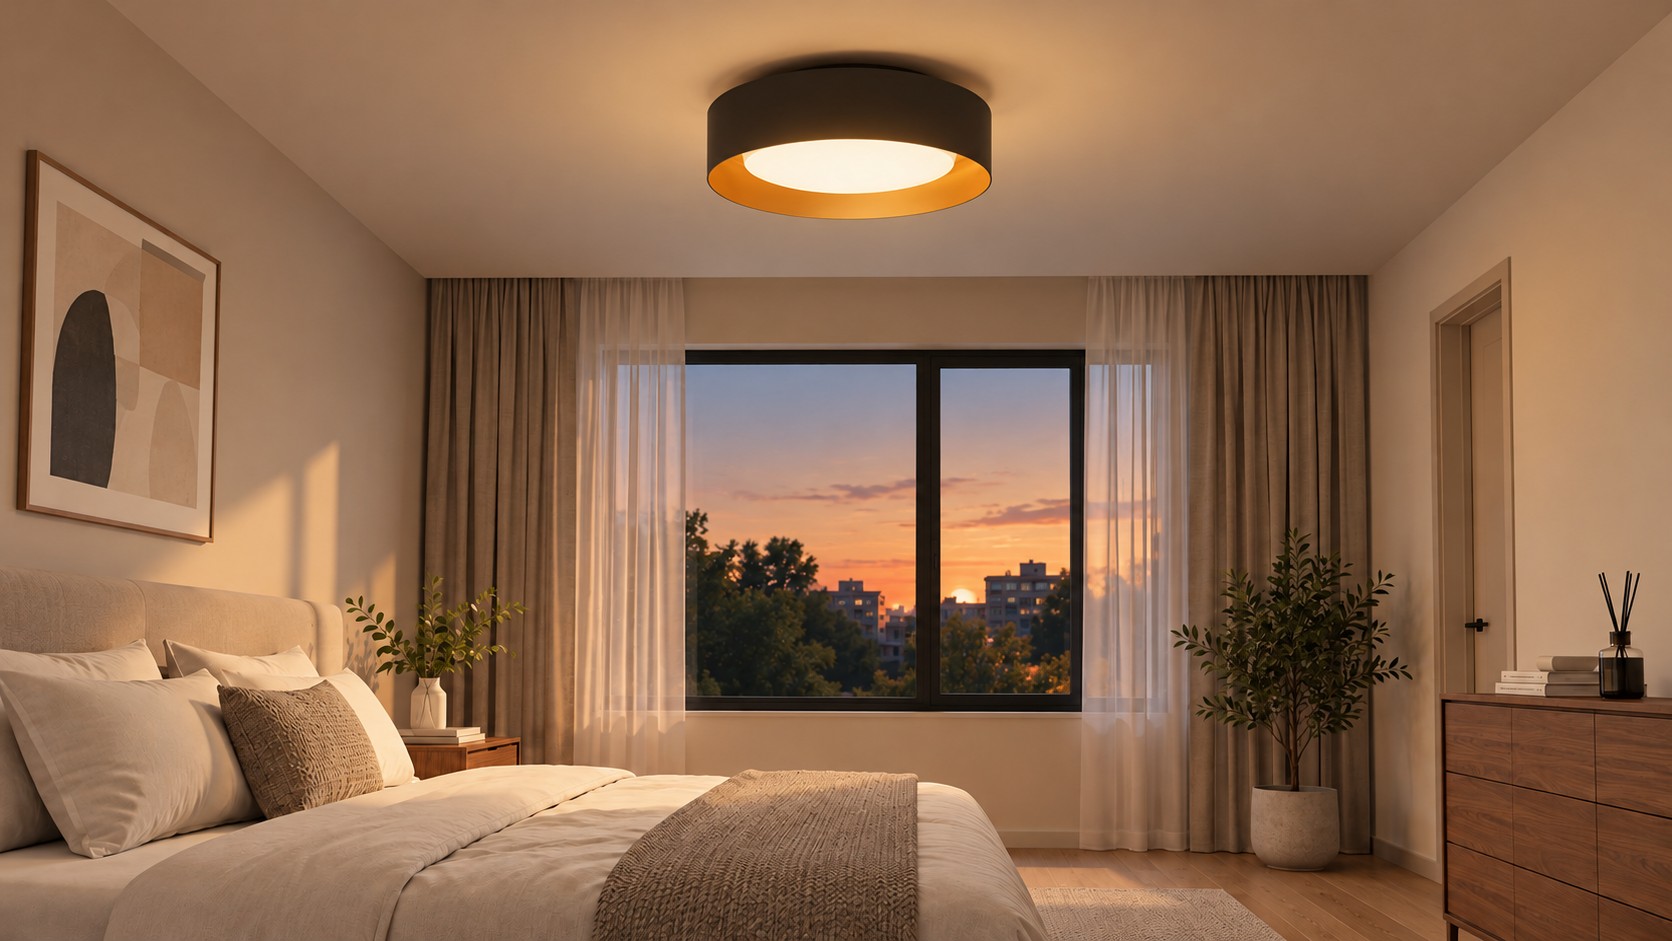
Bright, comfortable light that is easy to style comes from thoughtful materials and a low-profile form.
Across the room, a soft glow comes off this shade. The clean, uncluttered form keeps the fixture visually light.
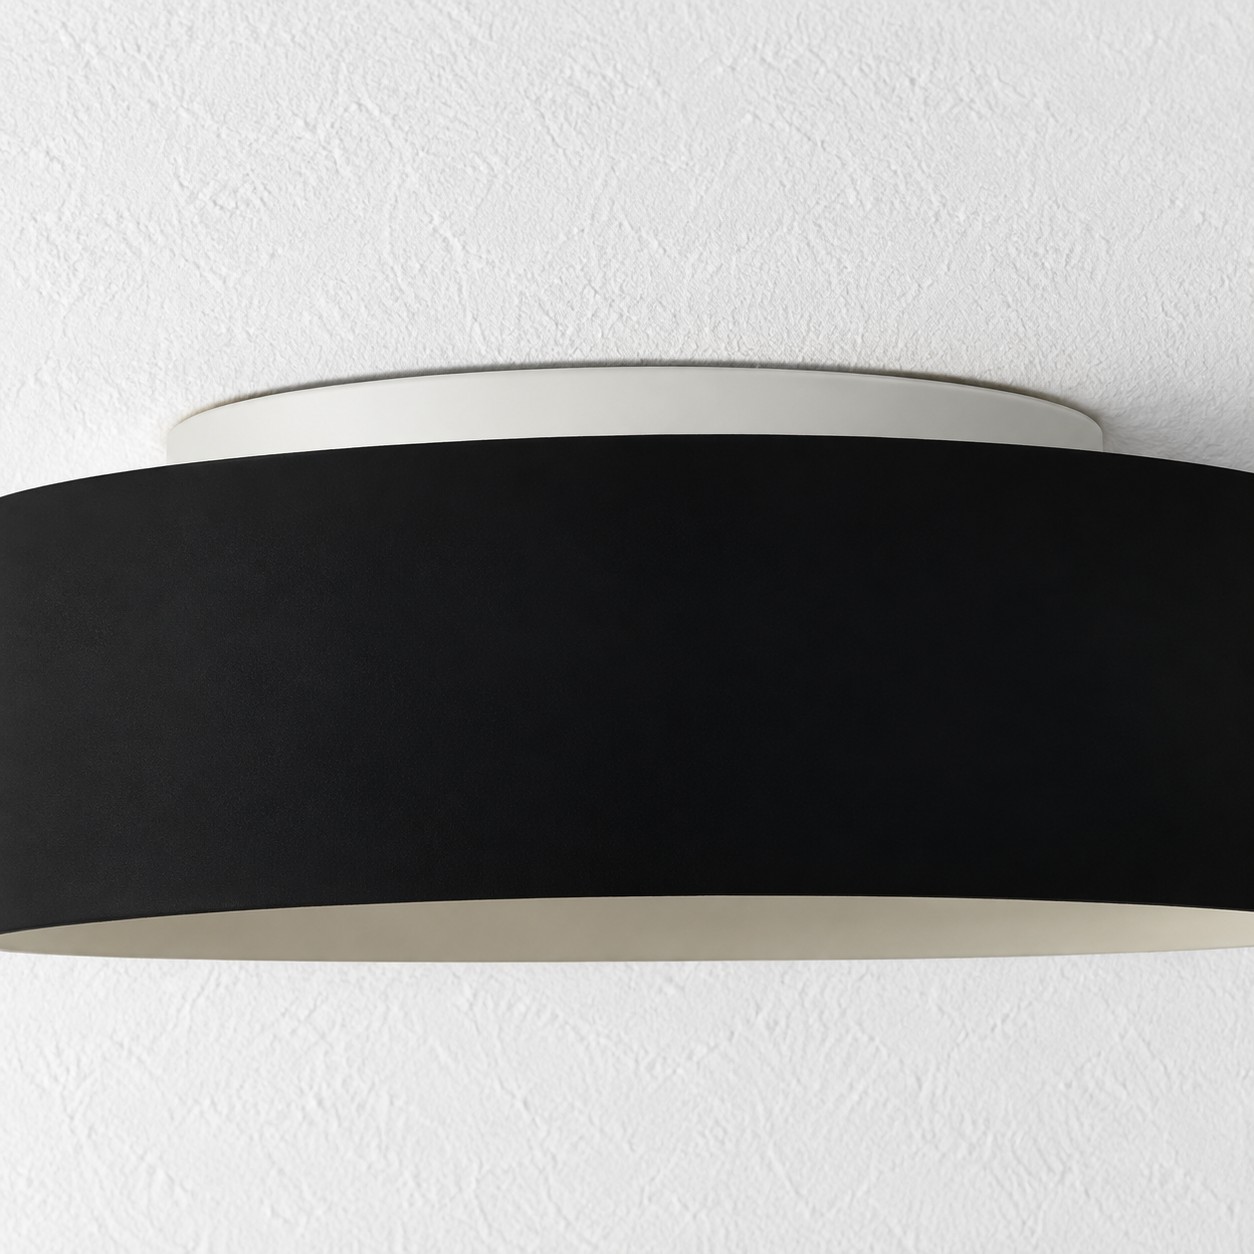
The reinforced canopy makes that connection secure and finished. A neat seat against the ceiling is the result.
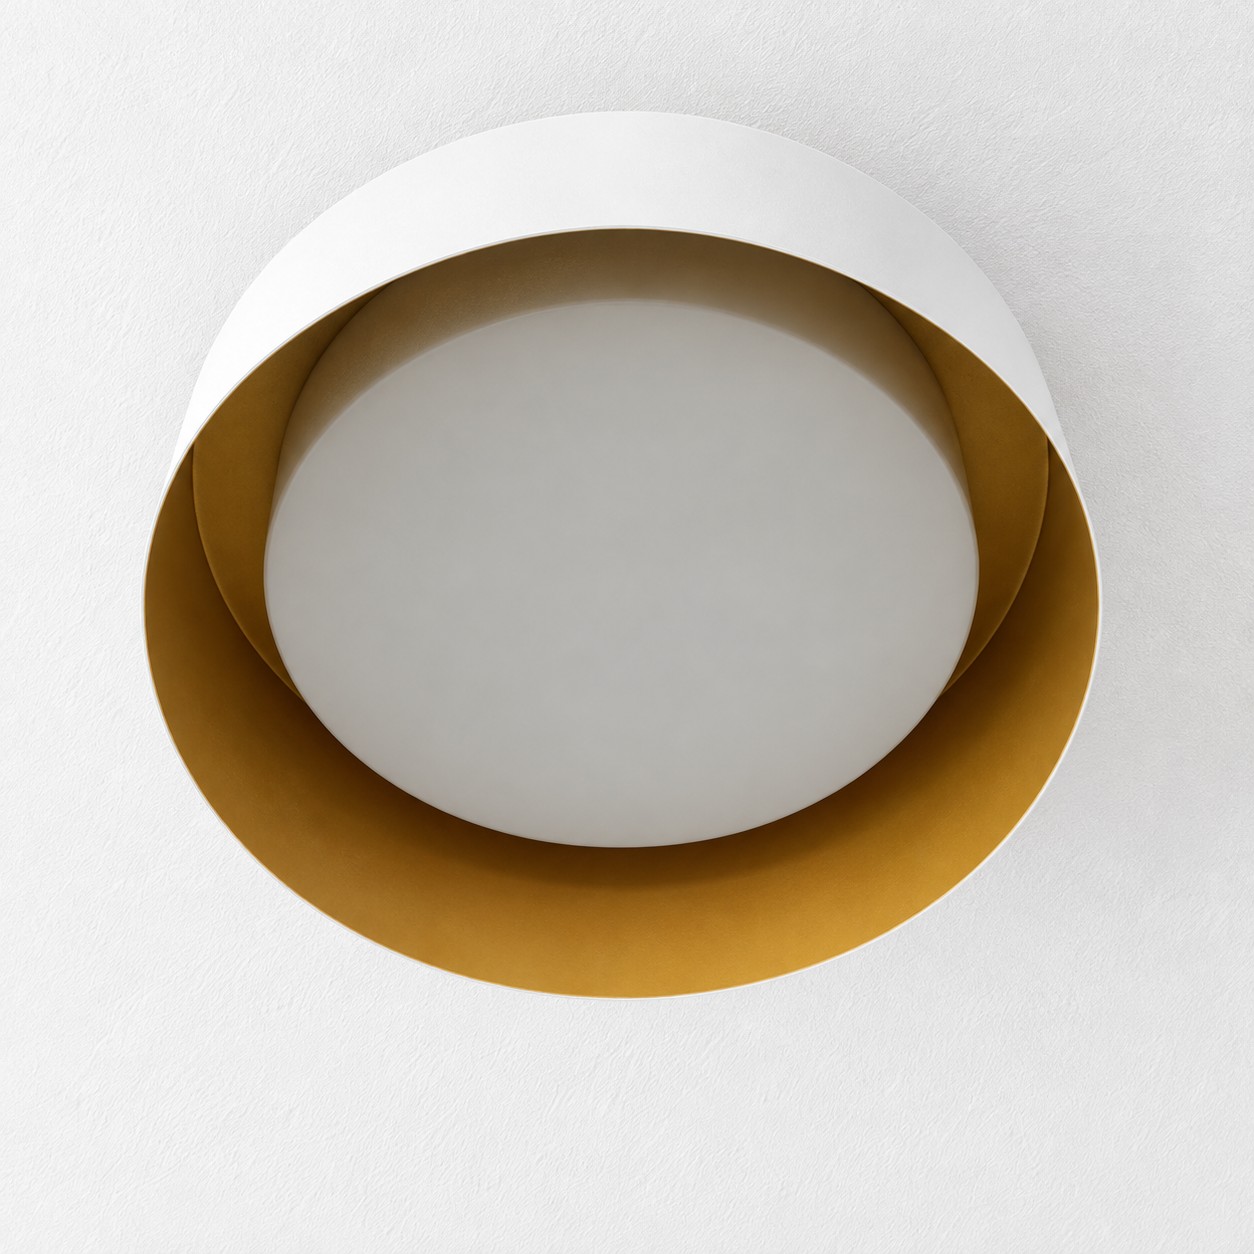
Modern and transitional interiors get a soft architectural accent from this balanced circular silhouette.
The clean, uncluttered form keeps the fixture visually light. Across the room, a soft glow comes off this shade.
The fixture then sits neatly in place. The ceiling connection stays secure and finished because the canopy is reinforced.
A soft architectural accent for modern and transitional rooms starts with this balanced circular silhouette.
Other everyday spaces can take it too. Bedrooms, entryways, living rooms, kitchens, and hallways can all take this neutral round silhouette.
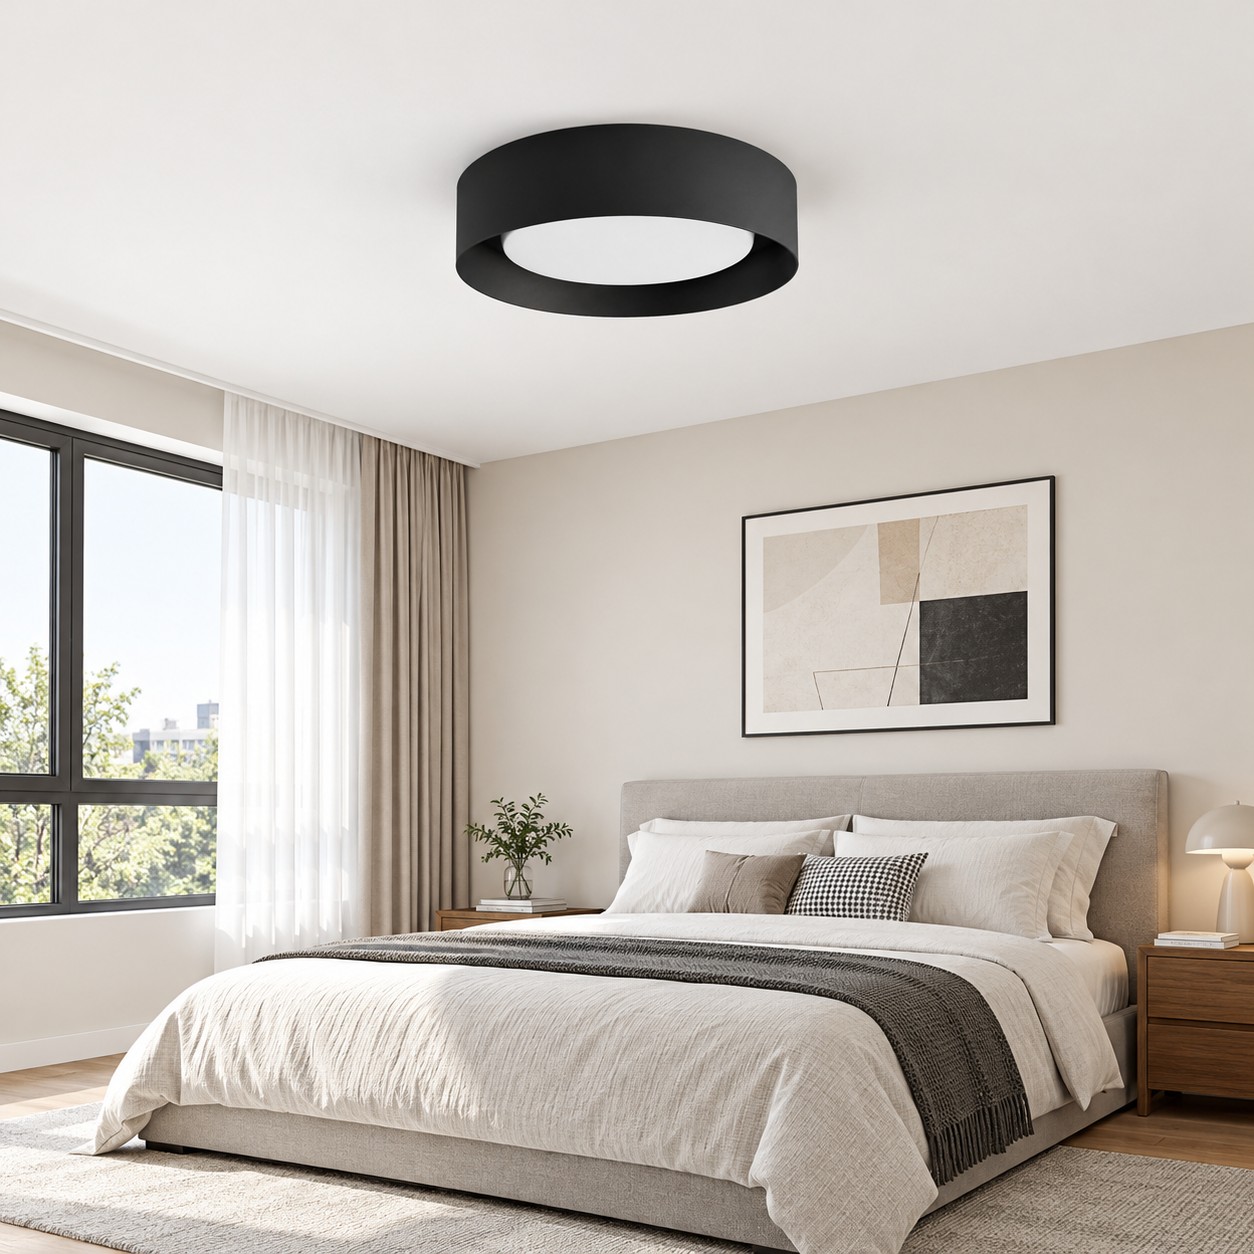
Beside warm bedding and soft textiles, the gentle downward glow builds a restful layer of light. Balance is the point of that glow.
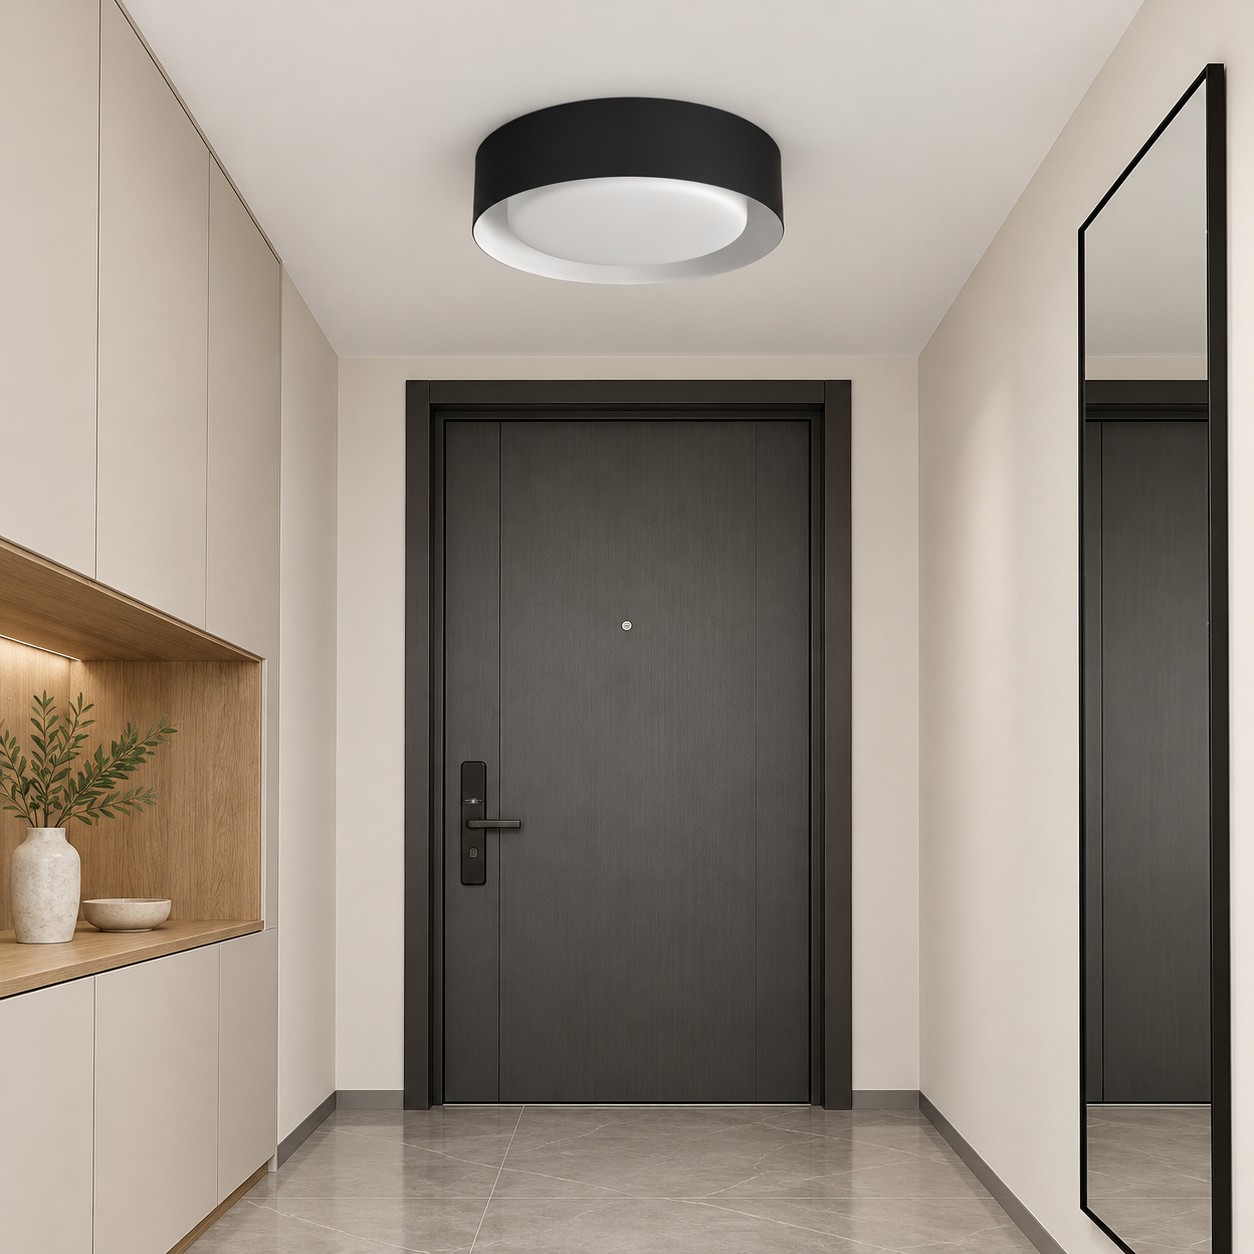
The entrance stays open because the profile is compact. The drum shade is the composed focal point as guests arrive.
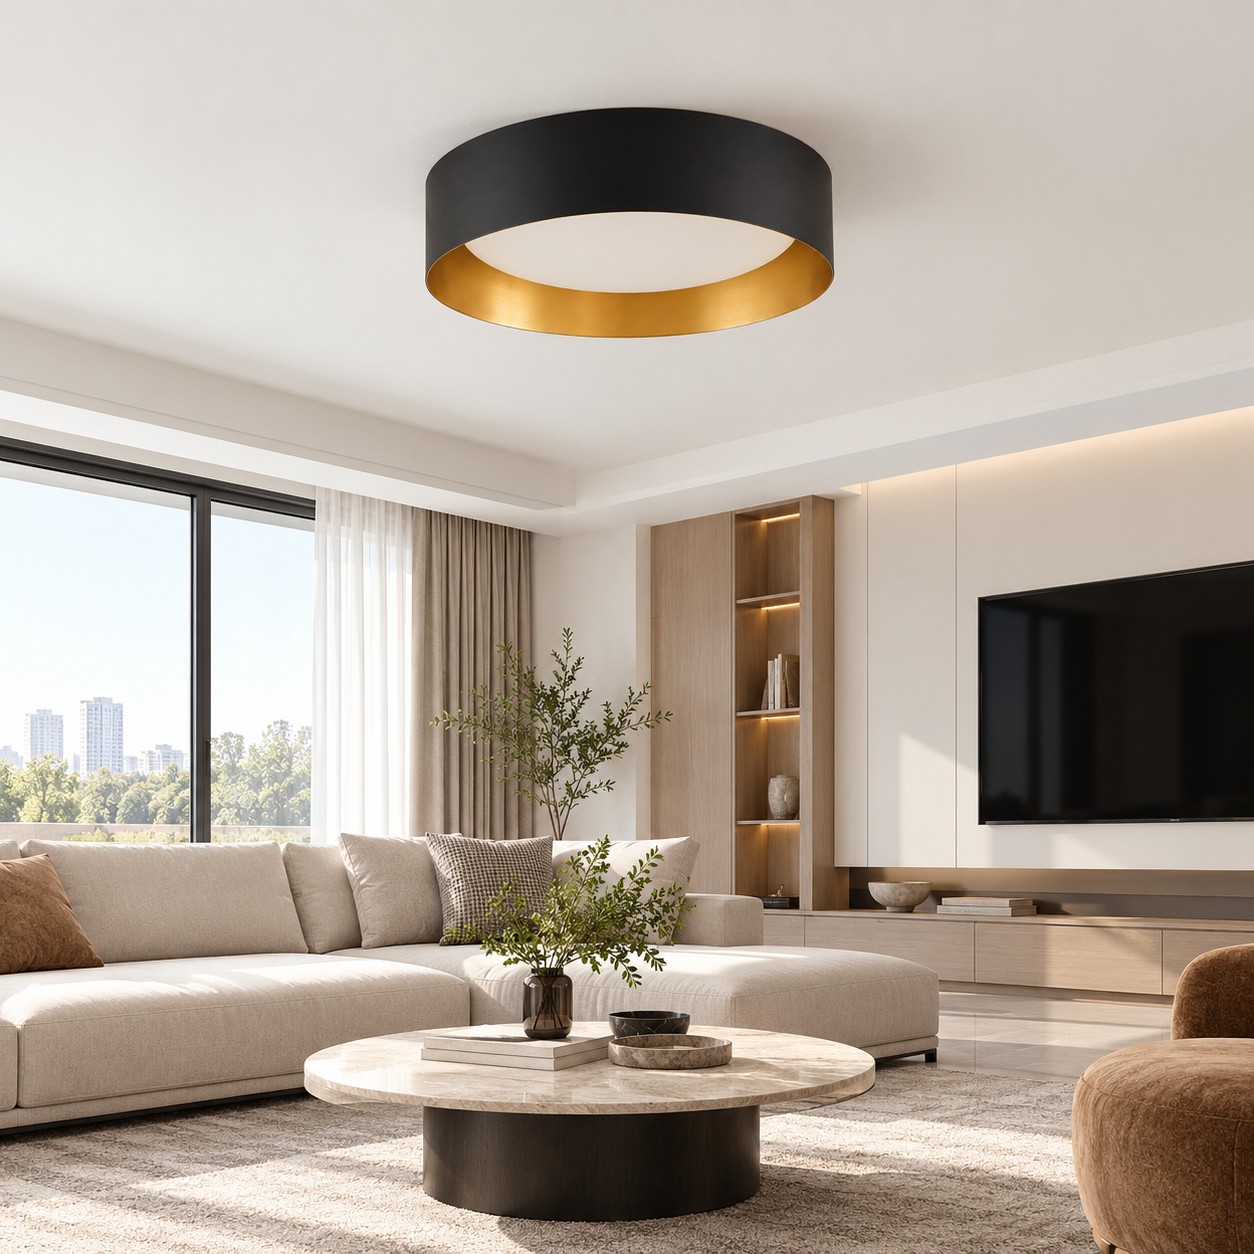
Contemporary or transitional furniture is the right company for this clean shape in a bright living area.
Balance is the point of that glow. Beside warm bedding and soft textiles, the gentle downward glow builds a restful layer of light.
As guests arrive, the drum shade becomes the focal point. A compact profile leaves the entrance open.
Bright living space, clean shape, furniture that is contemporary or transitional.
The fixture stays visually light, while a refined glow and useful everyday brightness cover the wall or the ceiling.
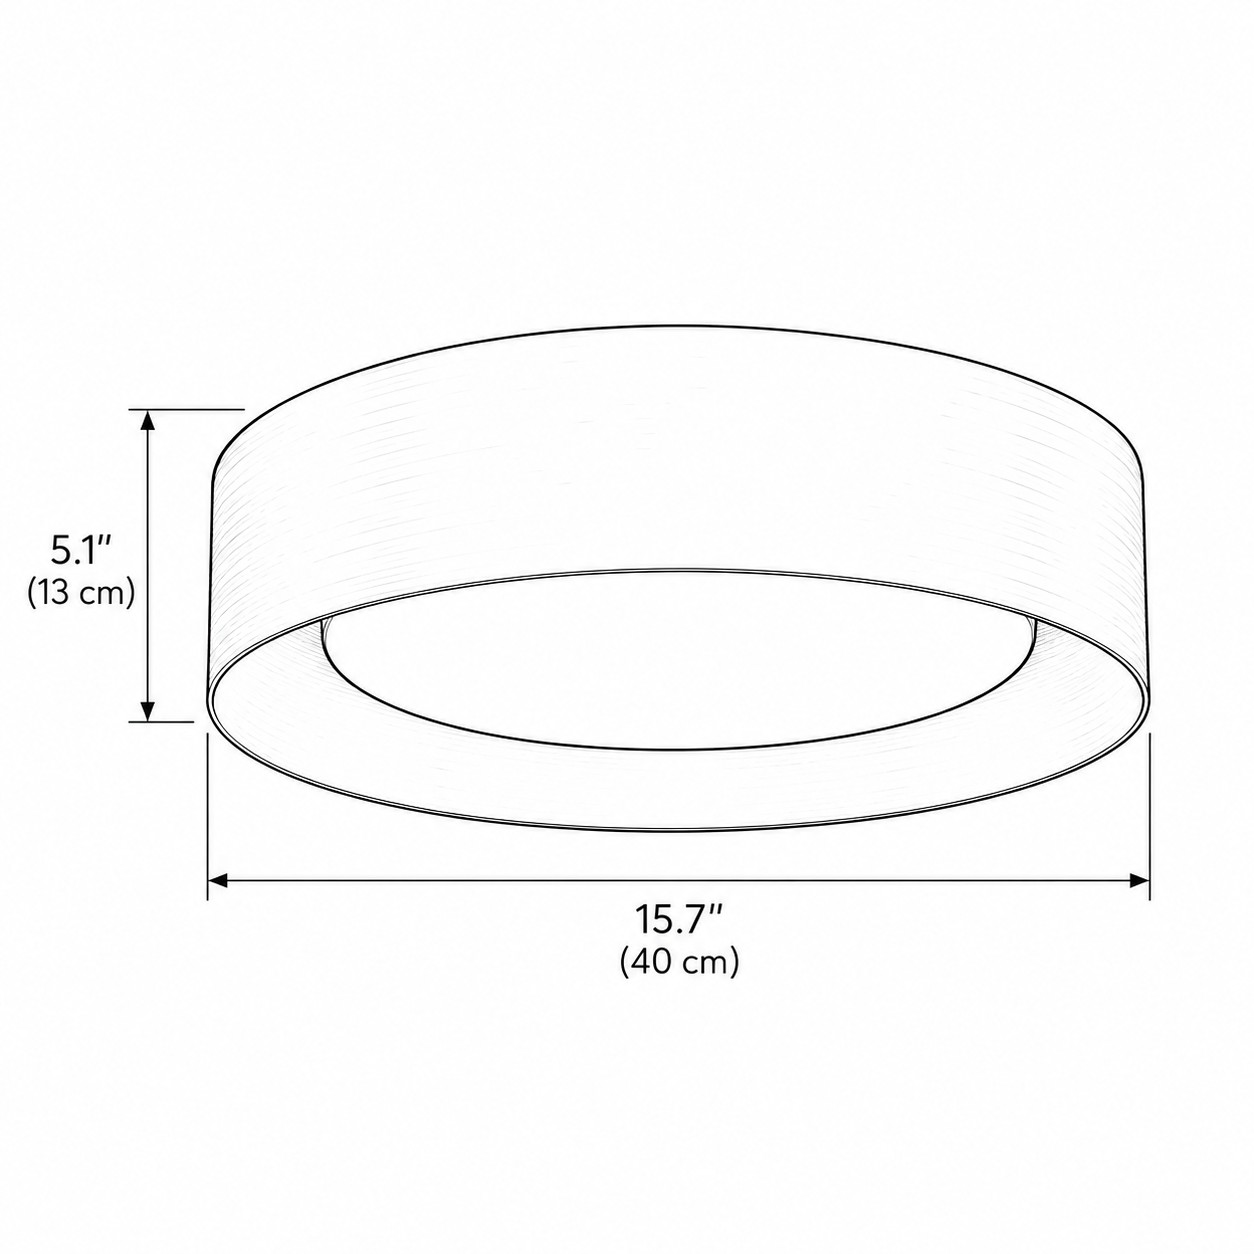
Before the finish is chosen, review the size and the key electrical details.
| Overall Size | W 15.7 in × H 5.1 in × D 15.7 in / W 40 cm × H 13 cm × D 40 cm |
|---|---|
| Shade | Approx. W 12.4 in × H 2.4 in × D 12.4 in / W 31.5 cm × H 6.1 cm × D 31.5 cm |
| Canopy / Backplate | Approx. W 15.7 in × H 1 in / W 39.9 cm × H 2.5 cm |
| Bulb Base | E26 / Medium (standard) |
| Bulbs Included | No, bulbs not included |
| Number of Lights | 3 bulbs |
| Maximum Wattage | 60W per bulb |
| Voltage | 100-240V |
| Material | Metal frame with frosted glass shade |
| Dimmable | Yes, with compatible bulbs and dimmer (dimmer not included) |
| Installation | Hardwired flush mount; assembly required |
Monulo · The practical guide
Find a starting size, see where to place it, and know what to check before installation.
Find your starting size01 · Get the scale right
For a central ceiling light, enter your room dimensions. For lights above furniture, use the table or island guide below instead.
Measure first, then mock up the actual shape. Suggested dimensions are design starting points; product instructions and applicable local requirements take priority.
02 · Look up
The available drop matters as much as the fixture diameter.
Around 8 ft / 2.44 m
Start with a flush or compact semi-flush design in walking areas. Check the complete installed height.
Around 9–10 ft / 2.74–3.05 m
Pendants become easier to accommodate. Reserve enough clearance below the lowest part of the fitting.
Above 10 ft / 3.05 m
Test larger forms or longer suspension. Confirm cable length, access for maintenance and ceiling support.
Sloped ceiling? Compatibility is model-specific. Confirm the canopy, suspension angle and required drop before ordering.
Room study 01
Let the furniture define the focal point.
Room study 02
Plan the whole row before choosing the quantity.
Room study 03
Use the room formula as a visual starting point.
Room study 04
A consistent rhythm works better than a crowded ceiling.
Room study 05
Put comfortable facial lighting first.
Room study 06
Choose the height from where you actually sit.
Room study 07
Light the page without exposing the source.
03 · Before the tools come out
Bring the product instructions, room measurements and fixture weight to your installer.
01 / Fit
Check door swings, seated views, shade gaps and the lowest point. Include the canopy and suspension in every drop measurement.
02 / Support
Have a qualified installer confirm the box, fixing points and structural support for the complete fixture weight.
03 / Compatibility
Confirm supply voltage, lamp or LED driver, dimmer compatibility, ceiling type and location rating for the exact model.
Hardwired fixtures should be installed by a qualified electrician following the supplied instructions and local requirements. This page explains planning and placement; it does not provide wiring instructions.
04 · The last few details
Measure vertically from the finished ceiling to the lowest point of the assembled fitting. Over a table or counter, measure the remaining gap from that point to the surface.
No. Diameter describes the physical size. Compare lumen output, shade opacity, beam direction and the room’s other light sources separately.
Start with the shade diameter, then draw the complete row to scale. Two larger shades and three small shades can both work; use actual edge gaps and counter-end clearances to decide.
Compare a shorter suspension or a flush alternative that the manufacturer supports. Never shorten a rigid stem or modify wiring without the appropriate product guidance.
No. Check the exact product specification and installation position. Ask a qualified installer to confirm the required damp or wet rating and canopy compatibility.
Include a room photo, ceiling height, room or furniture dimensions, the fixture link and your proposed installation location. For heavier fittings, include any available mounting information.
