
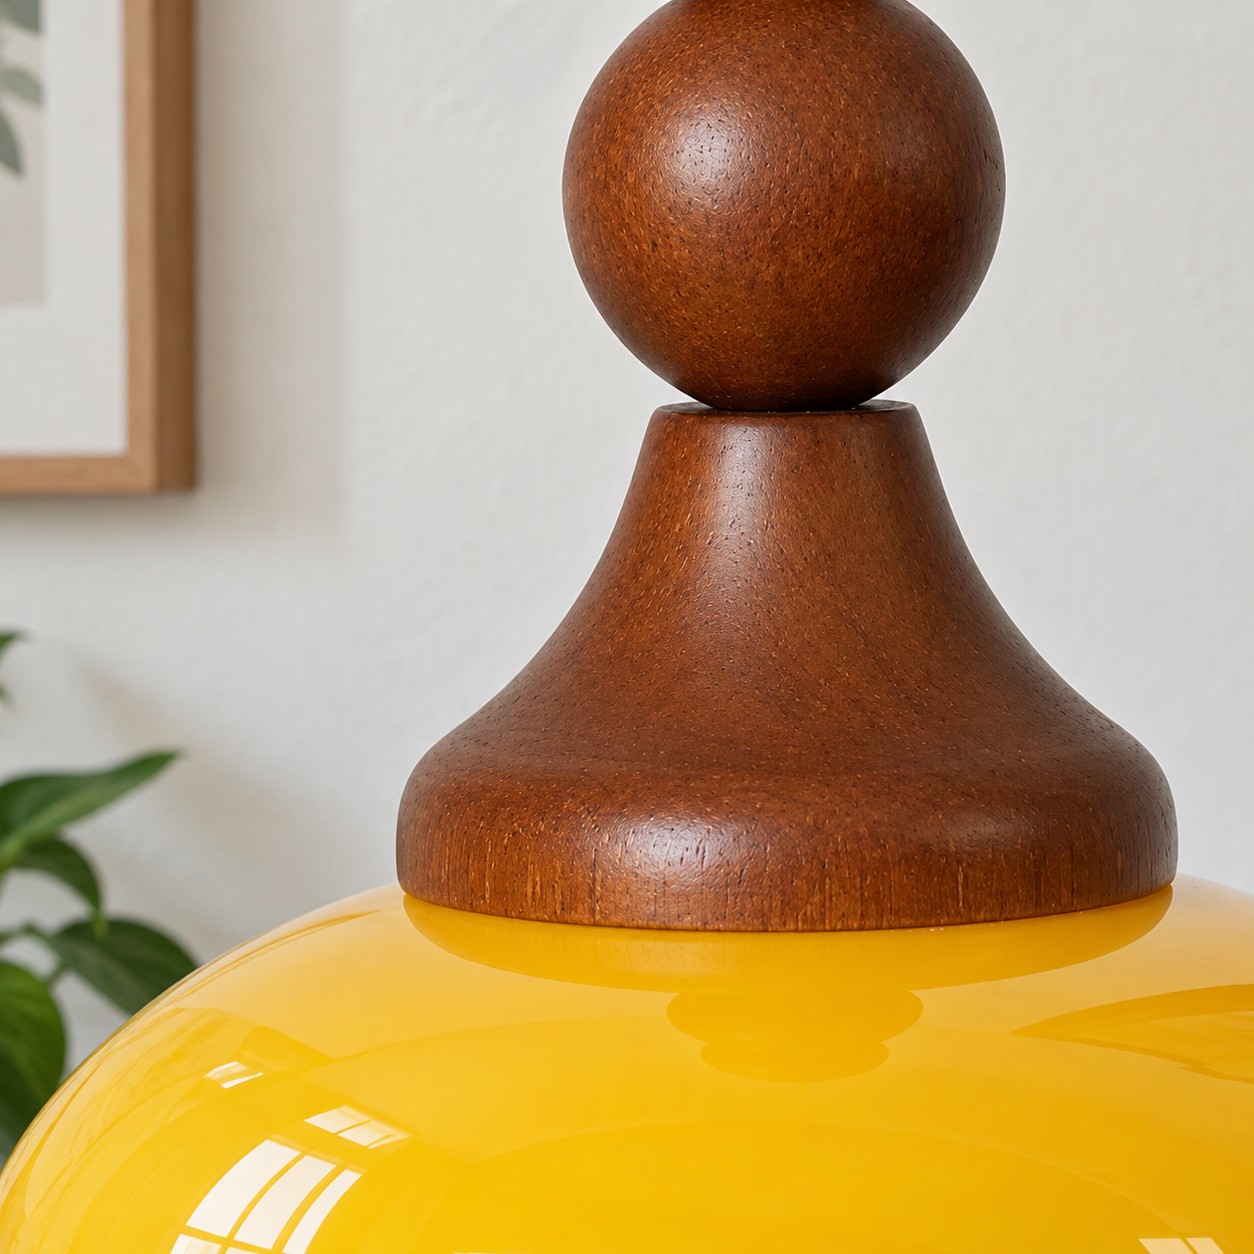
Toque cálido
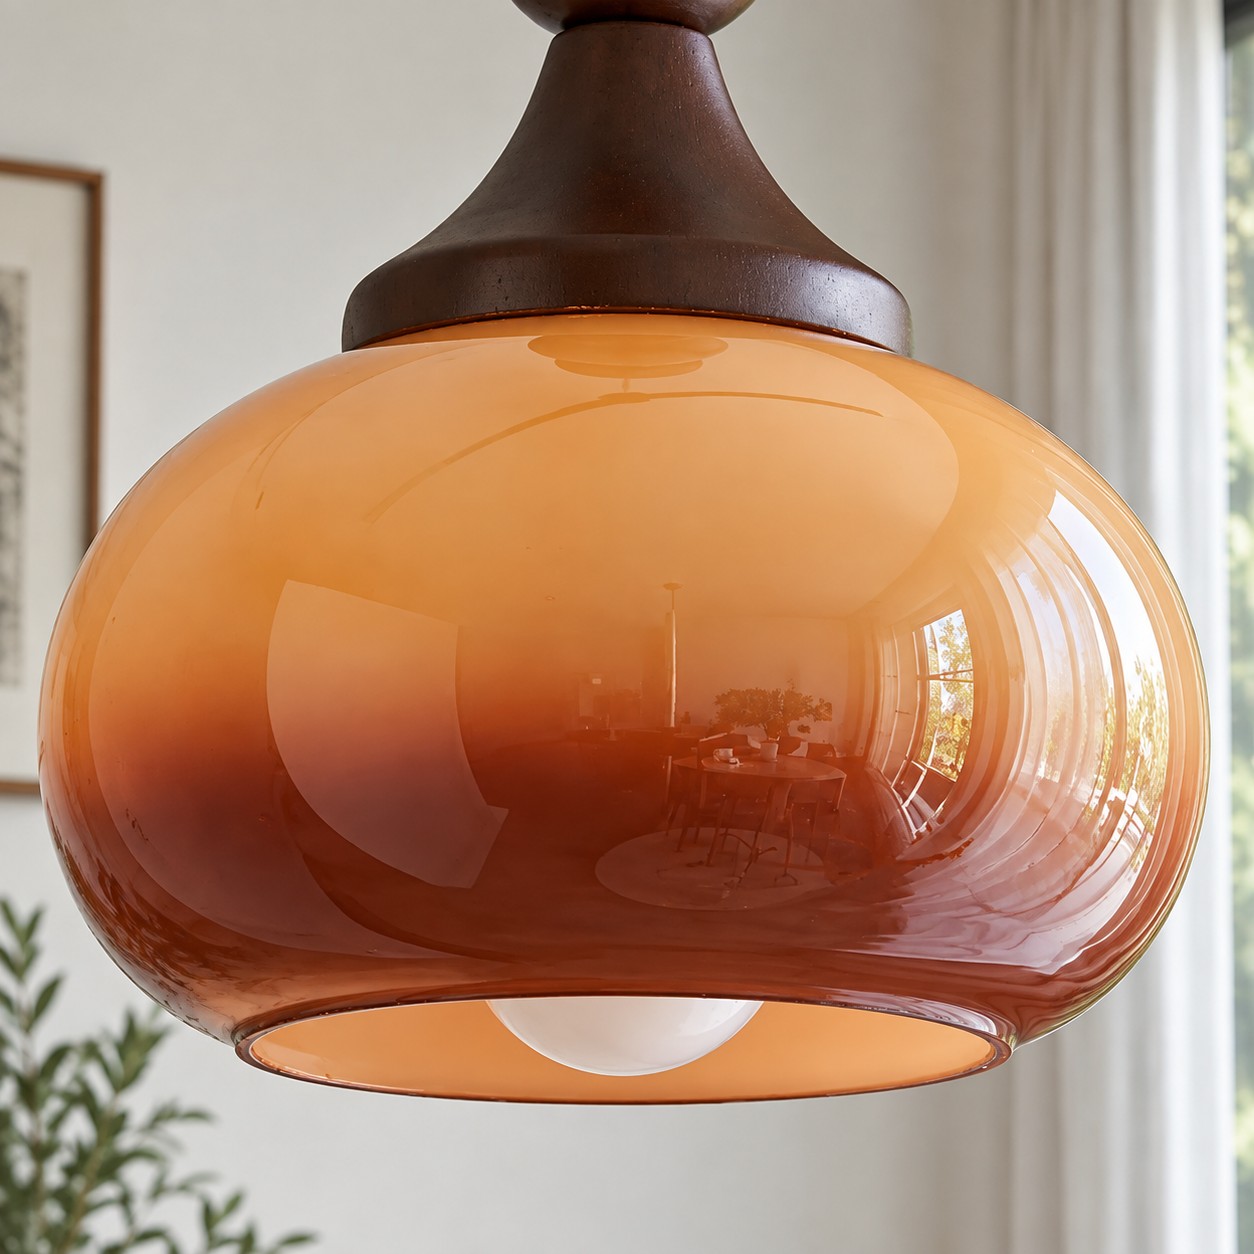
Madera de caucho torneada
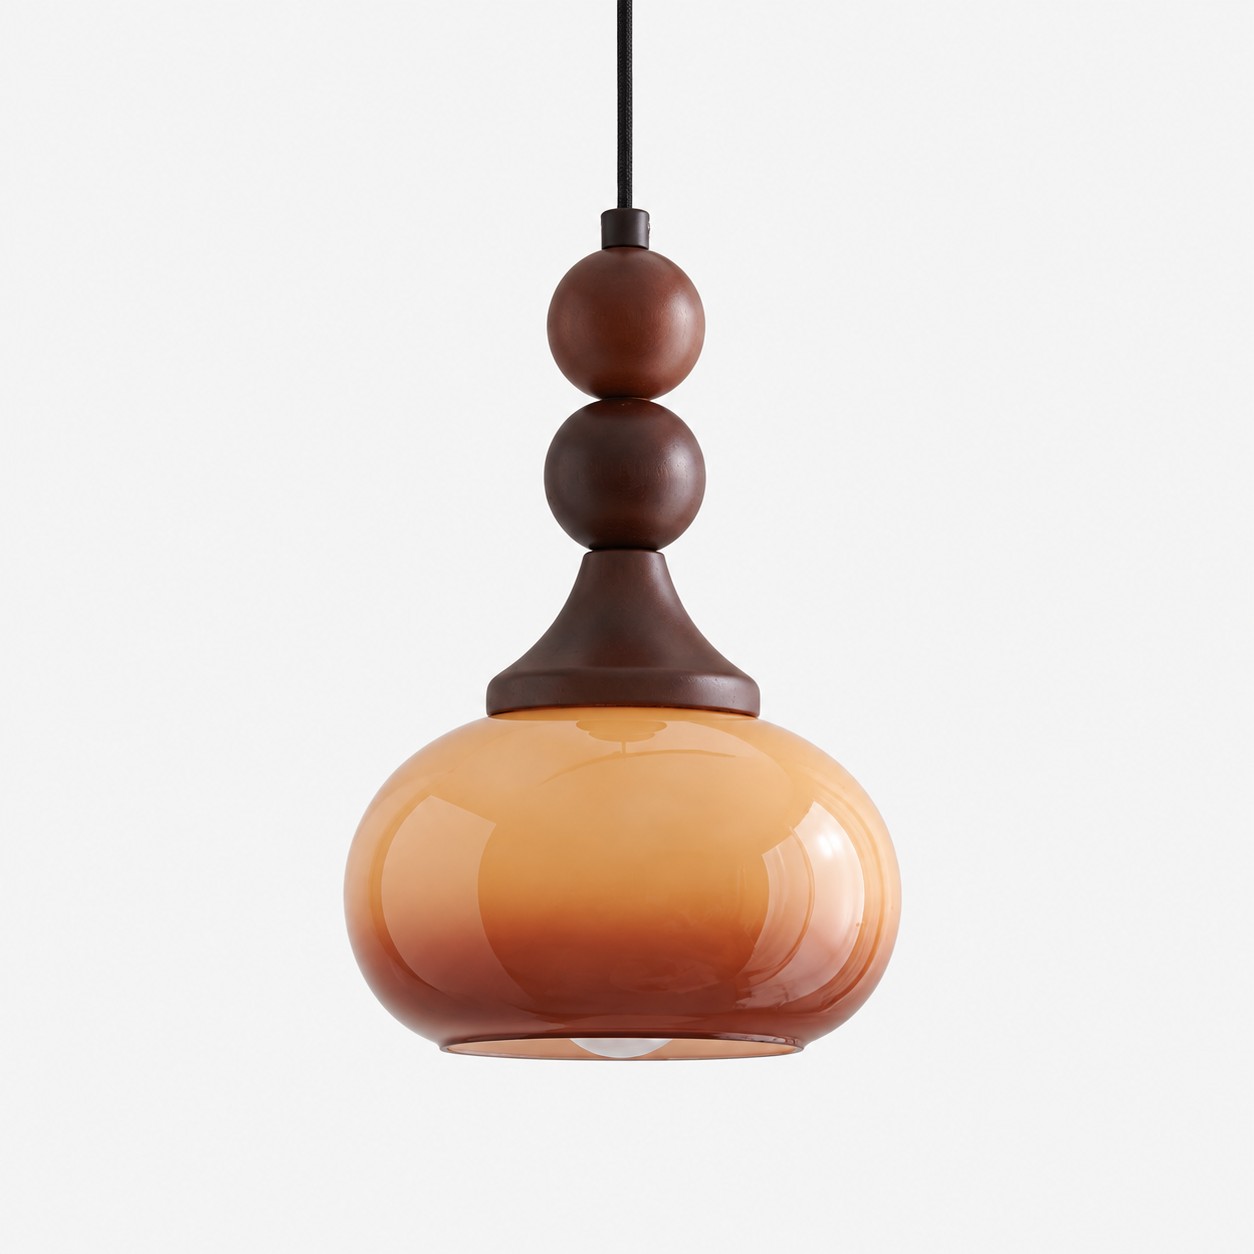
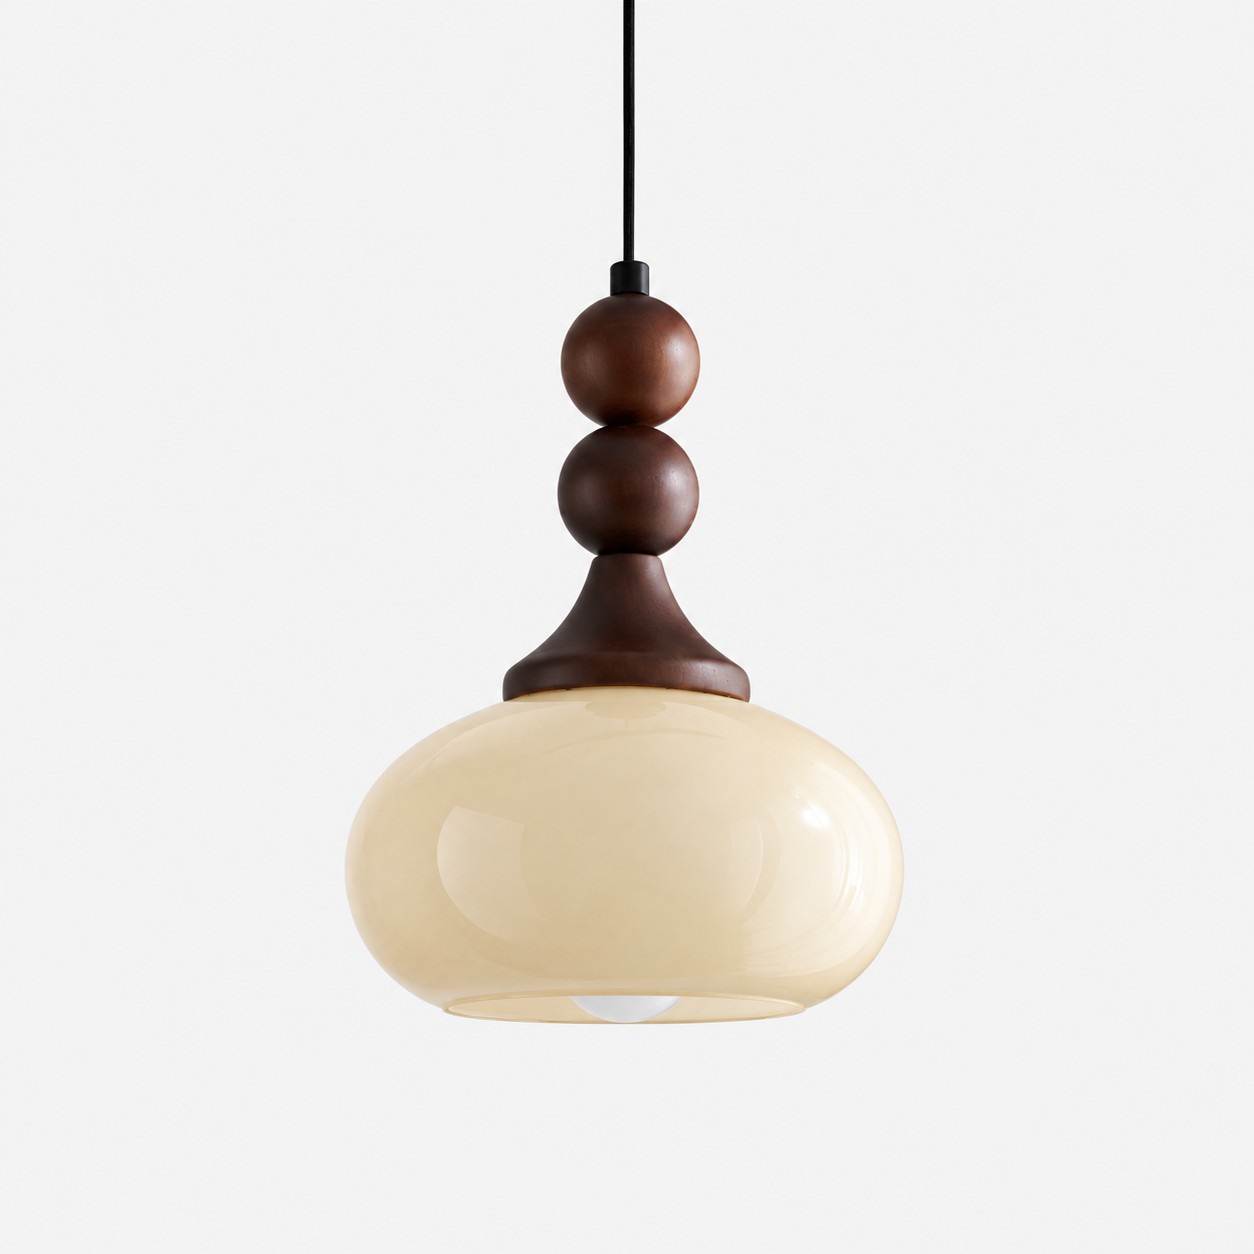
Los detalles redondeados de madera de caucho aportan textura táctil y una calidez natural, propia de un mueble, a la pantalla escultural.


Compra 1
Compra 2
Compra 3 o más
Pedidos superiores a $330
Pedidos superiores a $500
Política de devoluciones: Tienes 14 días después de recibir tu pedido para solicitar una devolución.
Disponibilidad: Realizamos envíos a Estados Unidos.
Tiempo de procesamiento: El tiempo de gestión del pedido es de 1 – 2 días hábiles (de lunes a viernes).
 Envío gratuito
 Devoluciones en un plazo de 14 días
 Pago seguro
 Atención al cliente
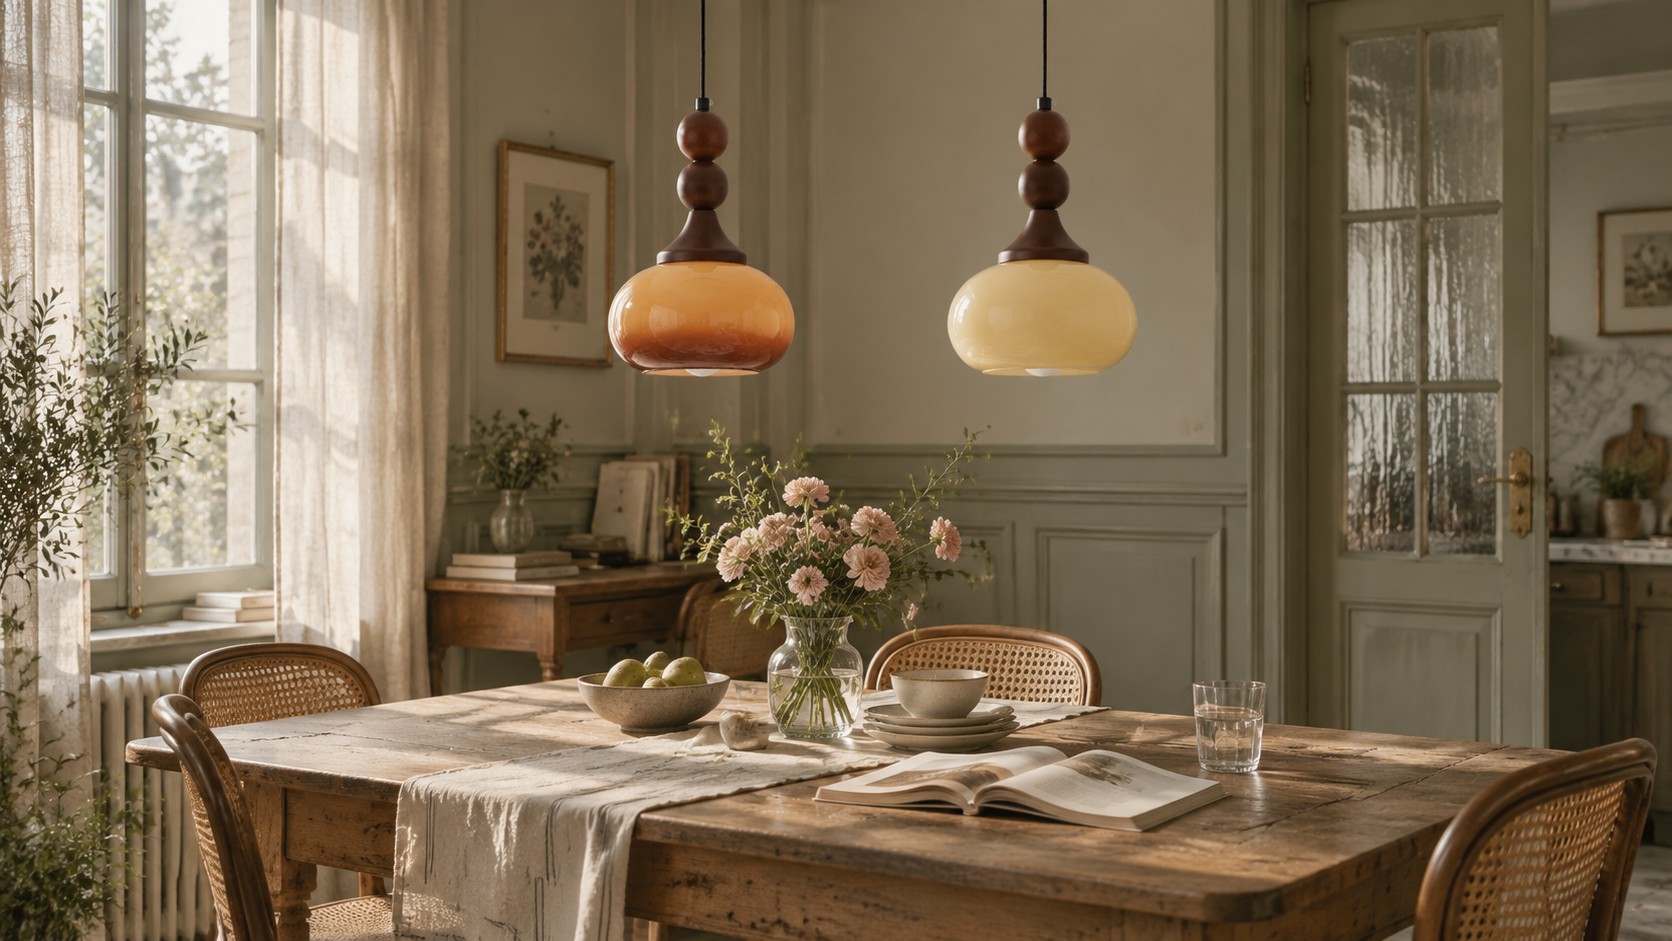
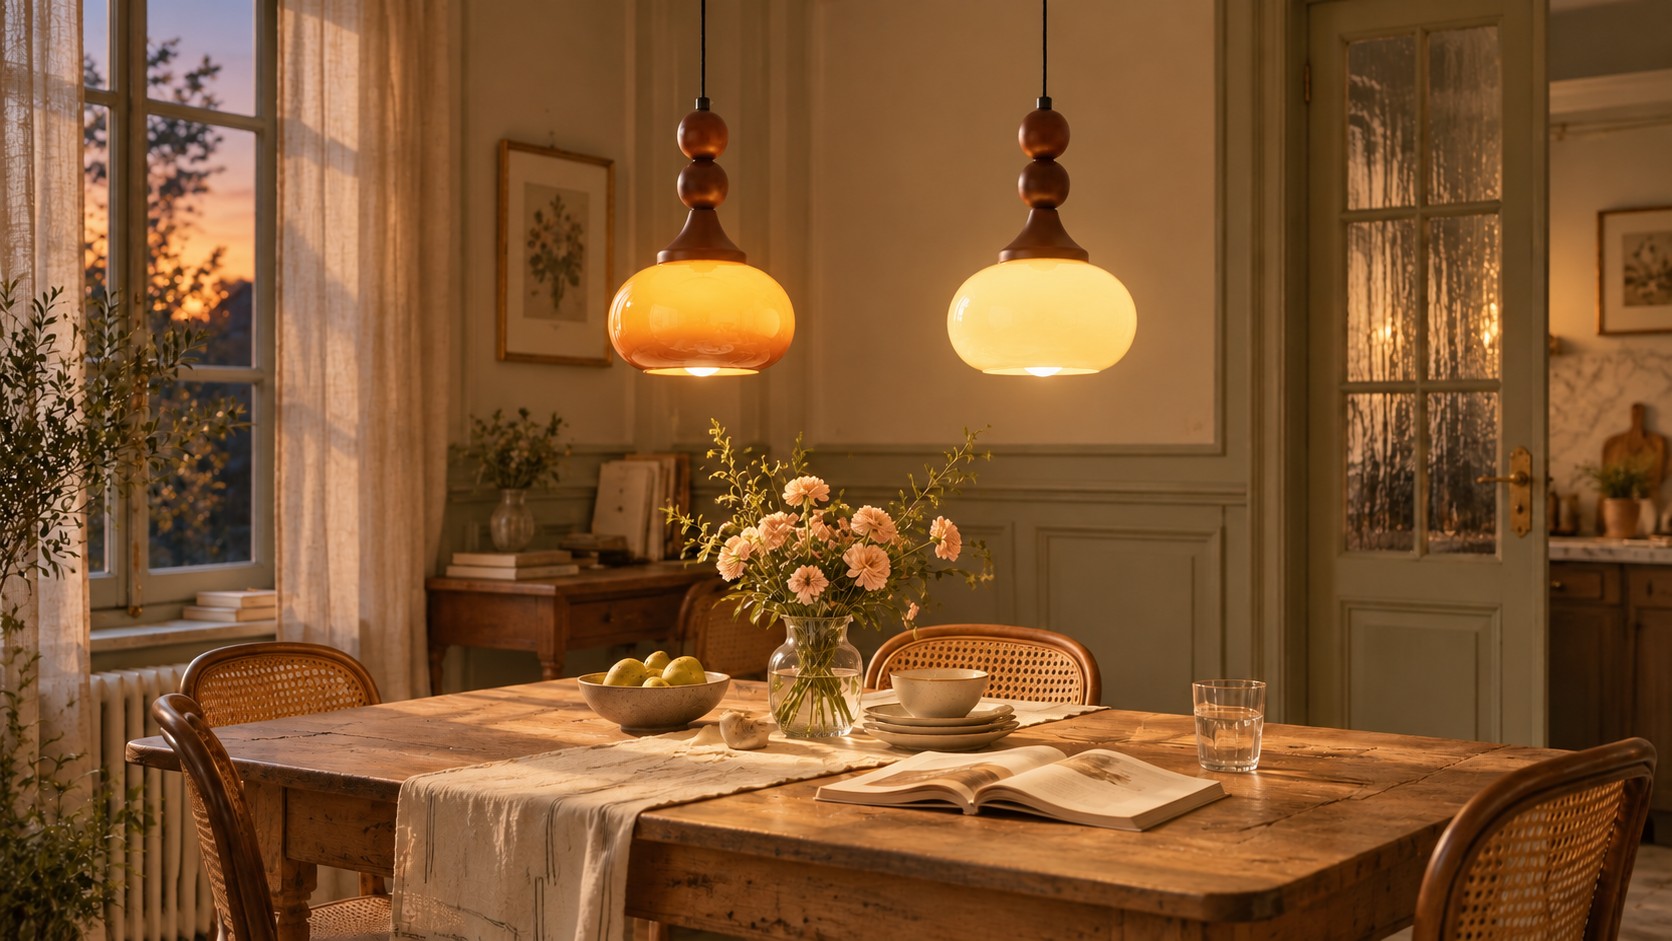
Vidrio escultural con detalles de madera de caucho torneada
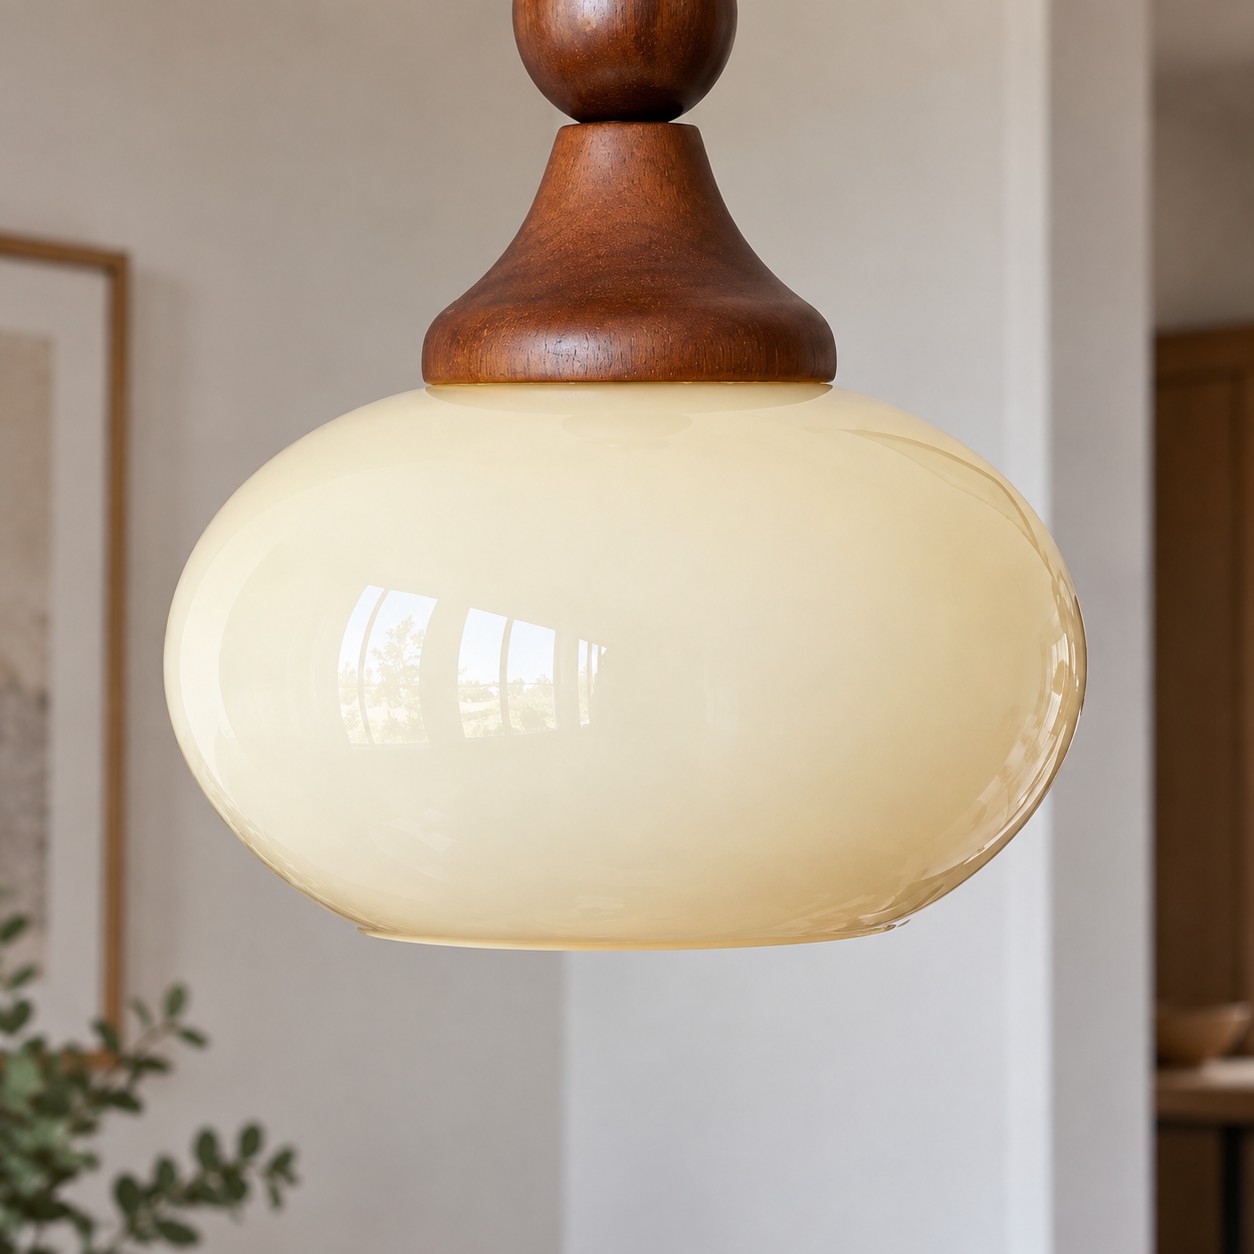
Vidrio moldeado ámbar o crema equilibrado por cuentas de madera de caucho torneadas. La forma visible y la conexión de montaje facilitan entender el diseño antes de encender la luz. La conexión visible mantiene la lámpara integrada desde diferentes ángulos de visión.
Color del vidrio
Detalles cuidados
El vidrio de color define la luz, la madera torneada aporta calidez al perfil y el accesorio metálico sirve de firme punto de apoyo visual.
Dos ambientes de vidrio para espacios cotidianos
El marrón aporta profundidad junto a la madera y en ambientes nocturnos, mientras que el crema mantiene suaves y luminosos los dormitorios y las estancias llenas de luz. Seis escenas muestran la lámpara en distintos espacios.
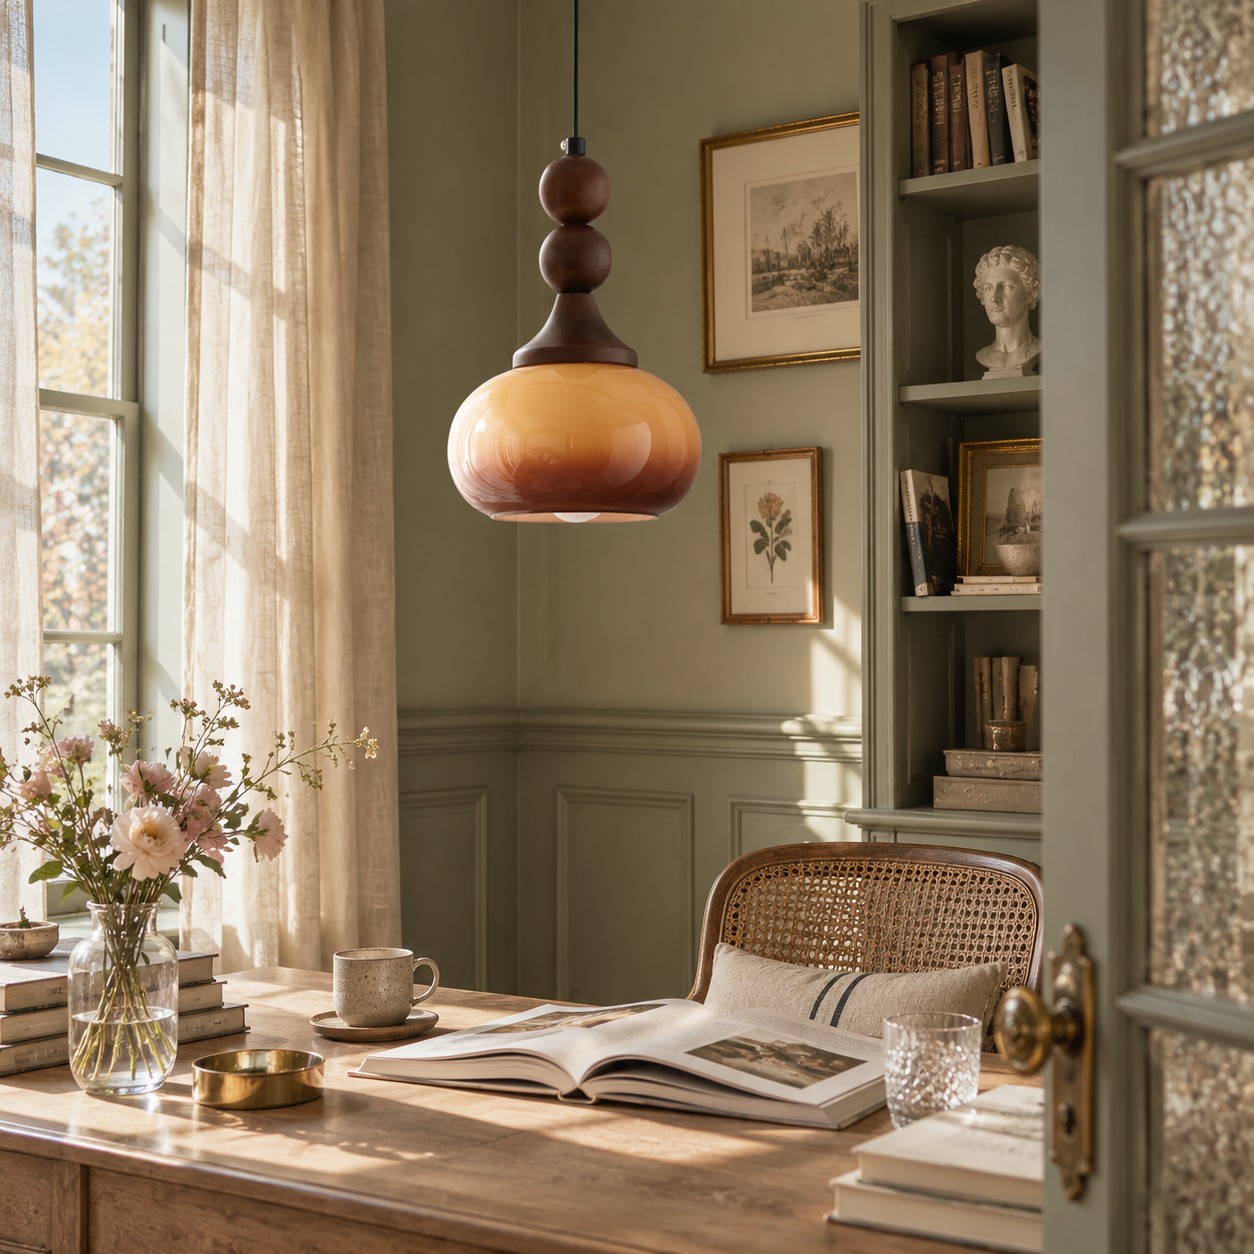
El vidrio marrón crea un cálido punto focal en un espacio dedicado al escritorio y la lectura.
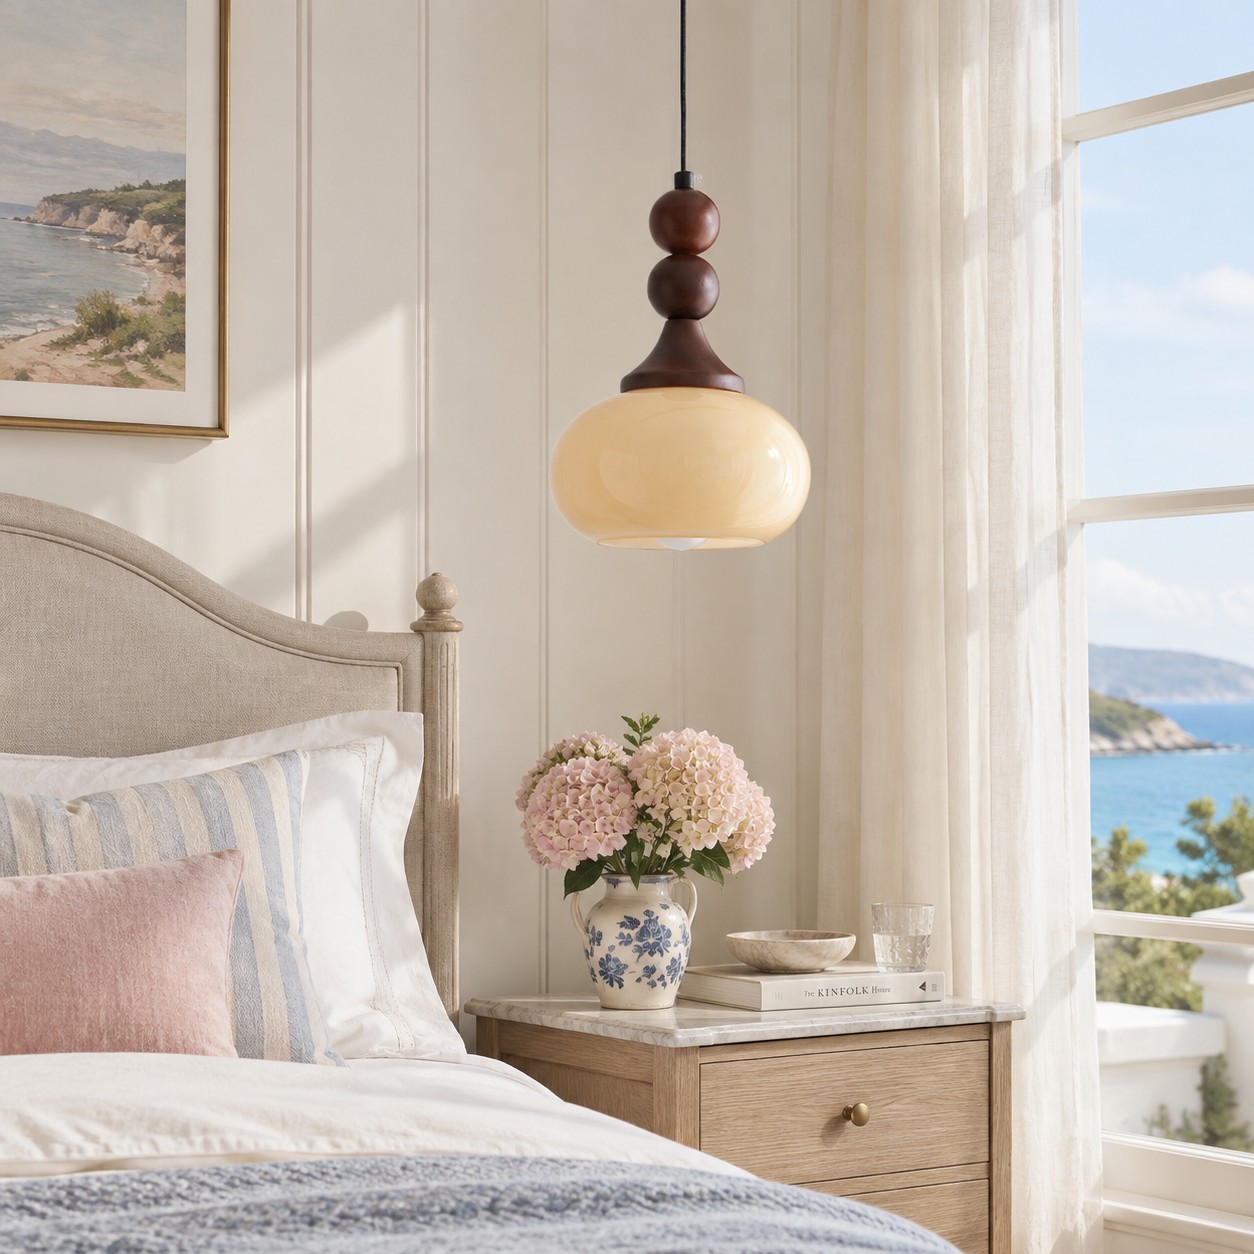
El vidrio color crema mantiene luminoso un dormitorio costero, mientras que la madera torneada aporta un acento táctil y natural.
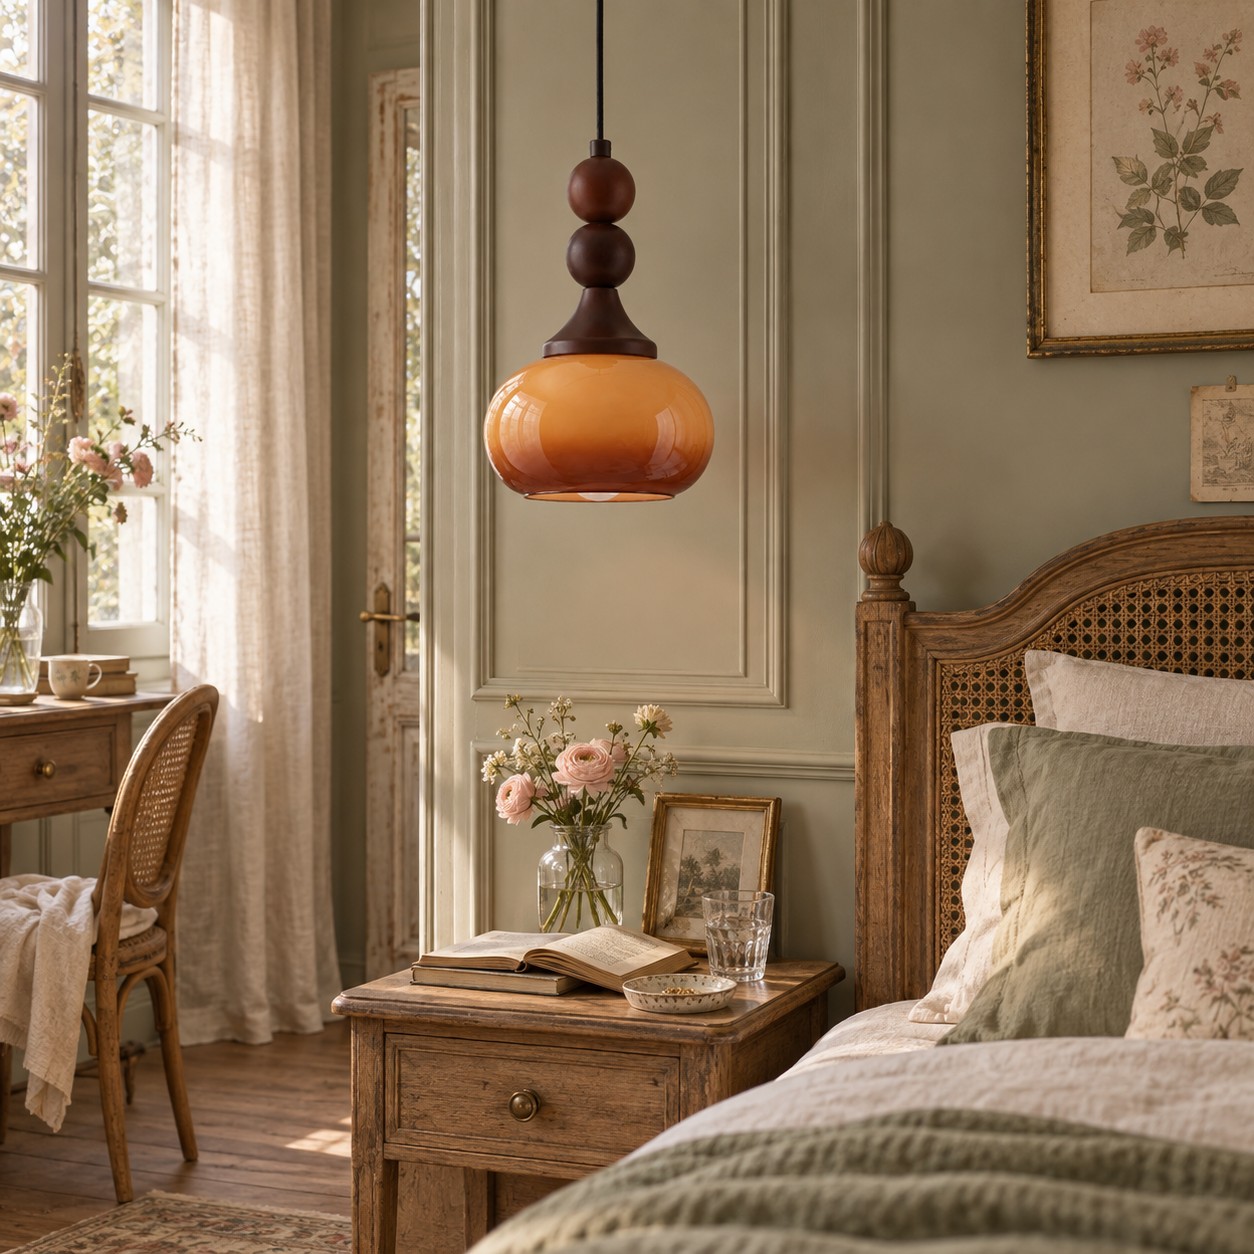
Una pantalla marrón intenso proyecta una suave luz junto a la cama.
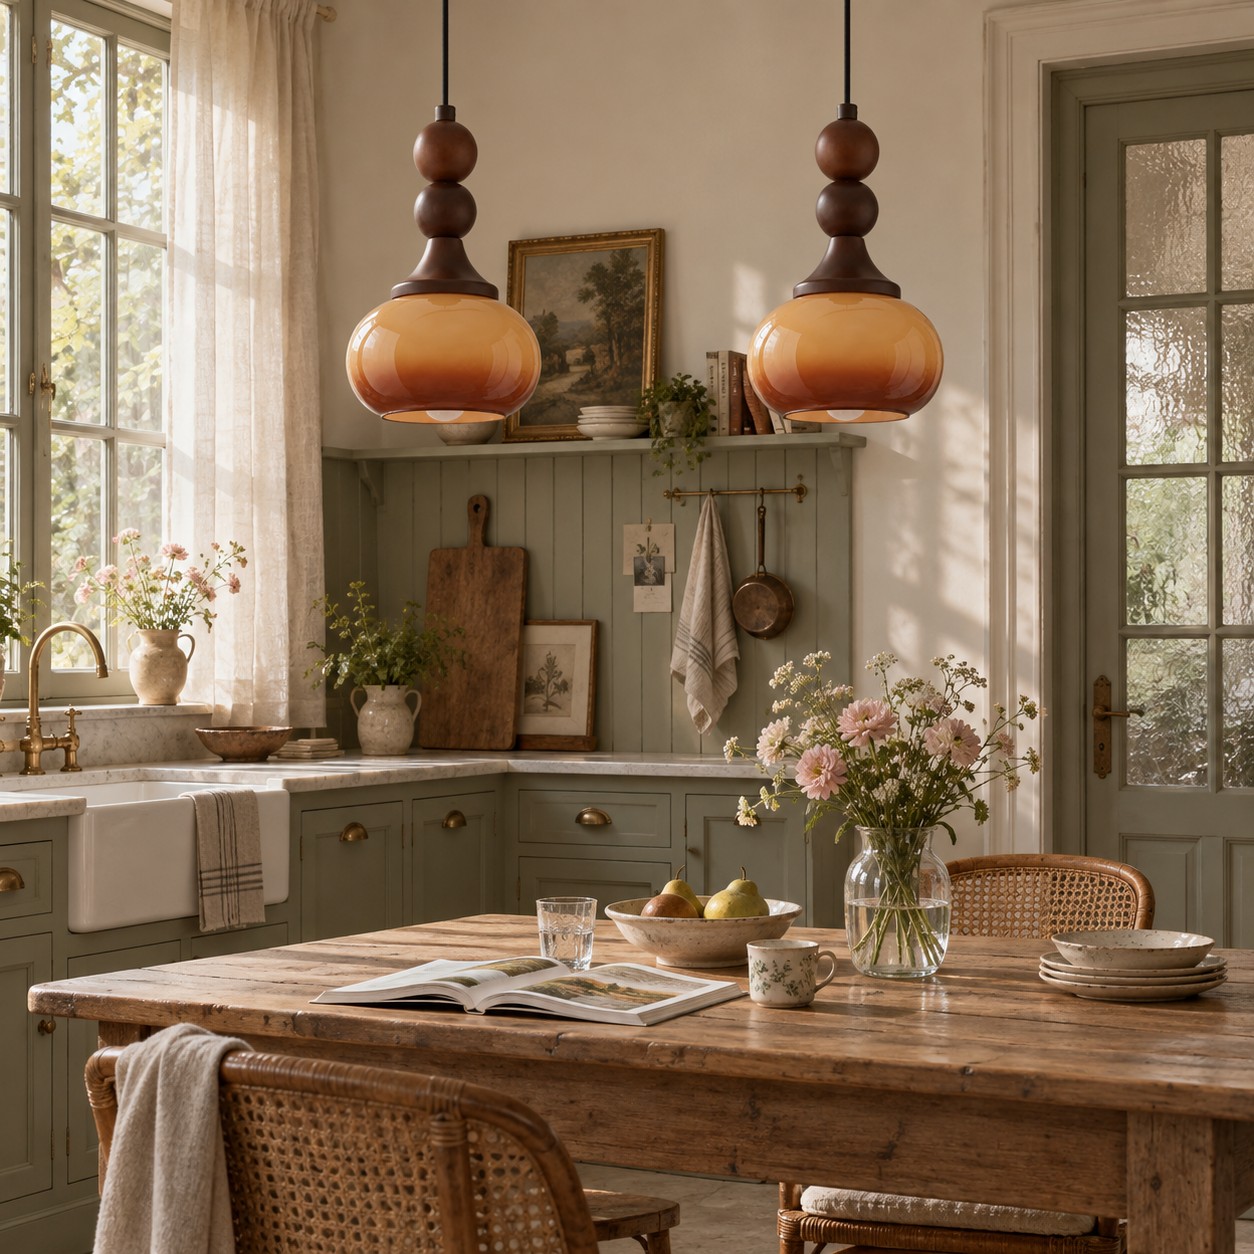
Colocado sobre la mesa, el vidrio marrón aporta un contraste cálido y acompaña las comidas cotidianas.
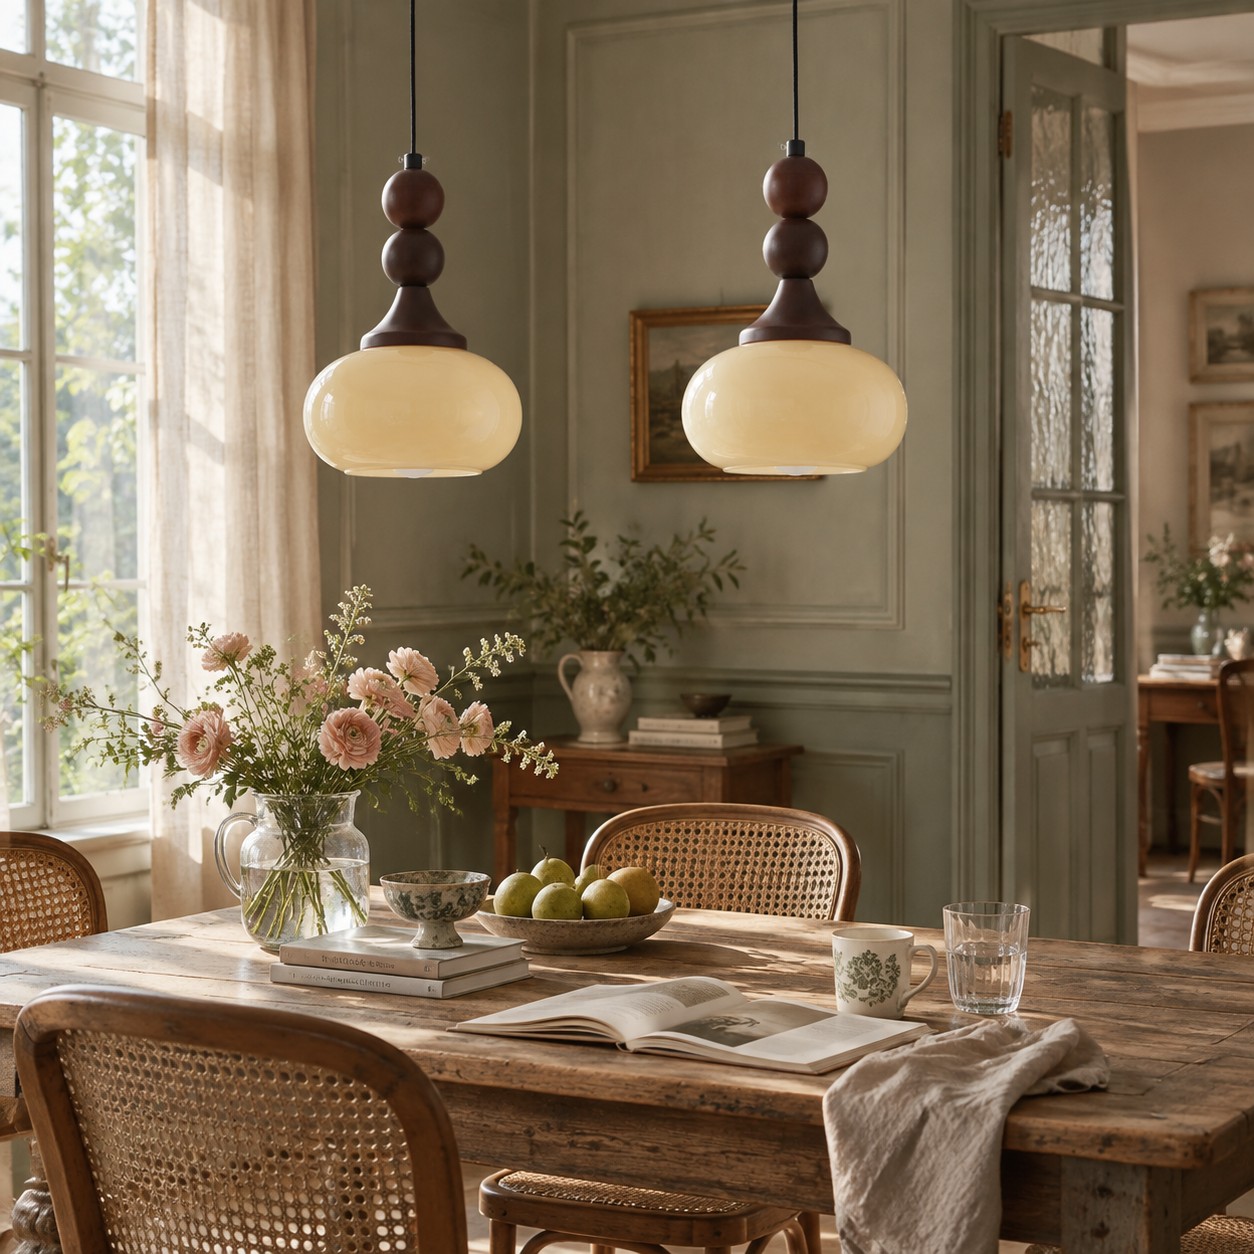
La pantalla más clara realza la mesa, mientras que los detalles de madera aportan un aspecto arraigado.
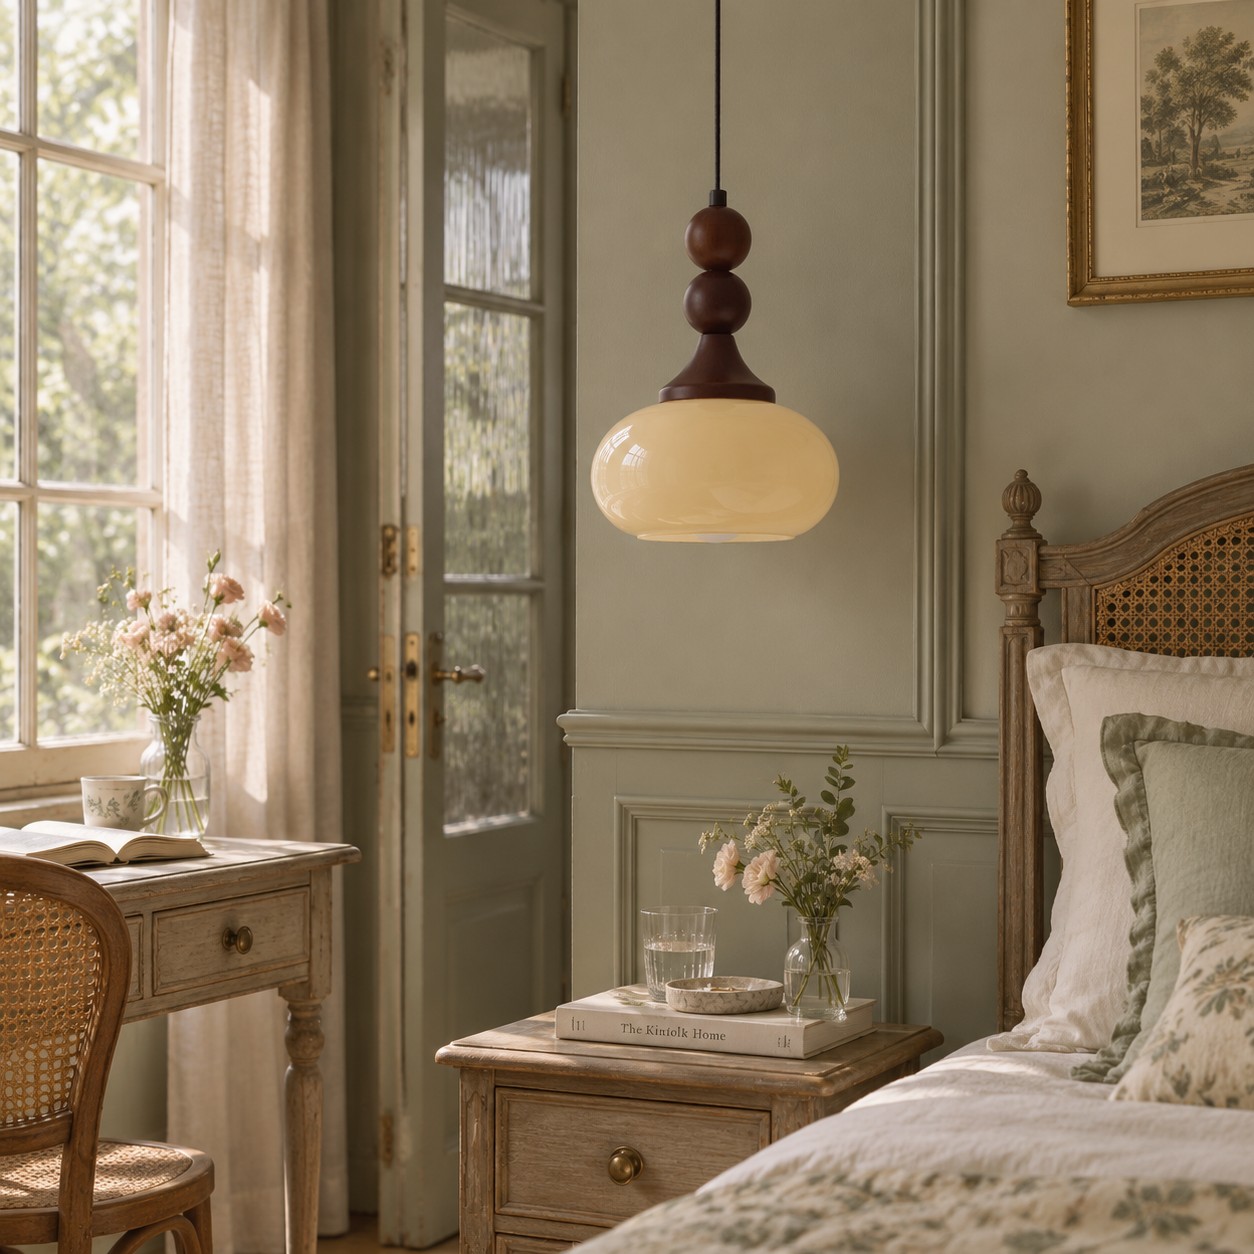
El vidrio color crema aporta calma al espacio junto a la cama y conserva el carácter ligero de la forma escultural.
Instalación y ajuste
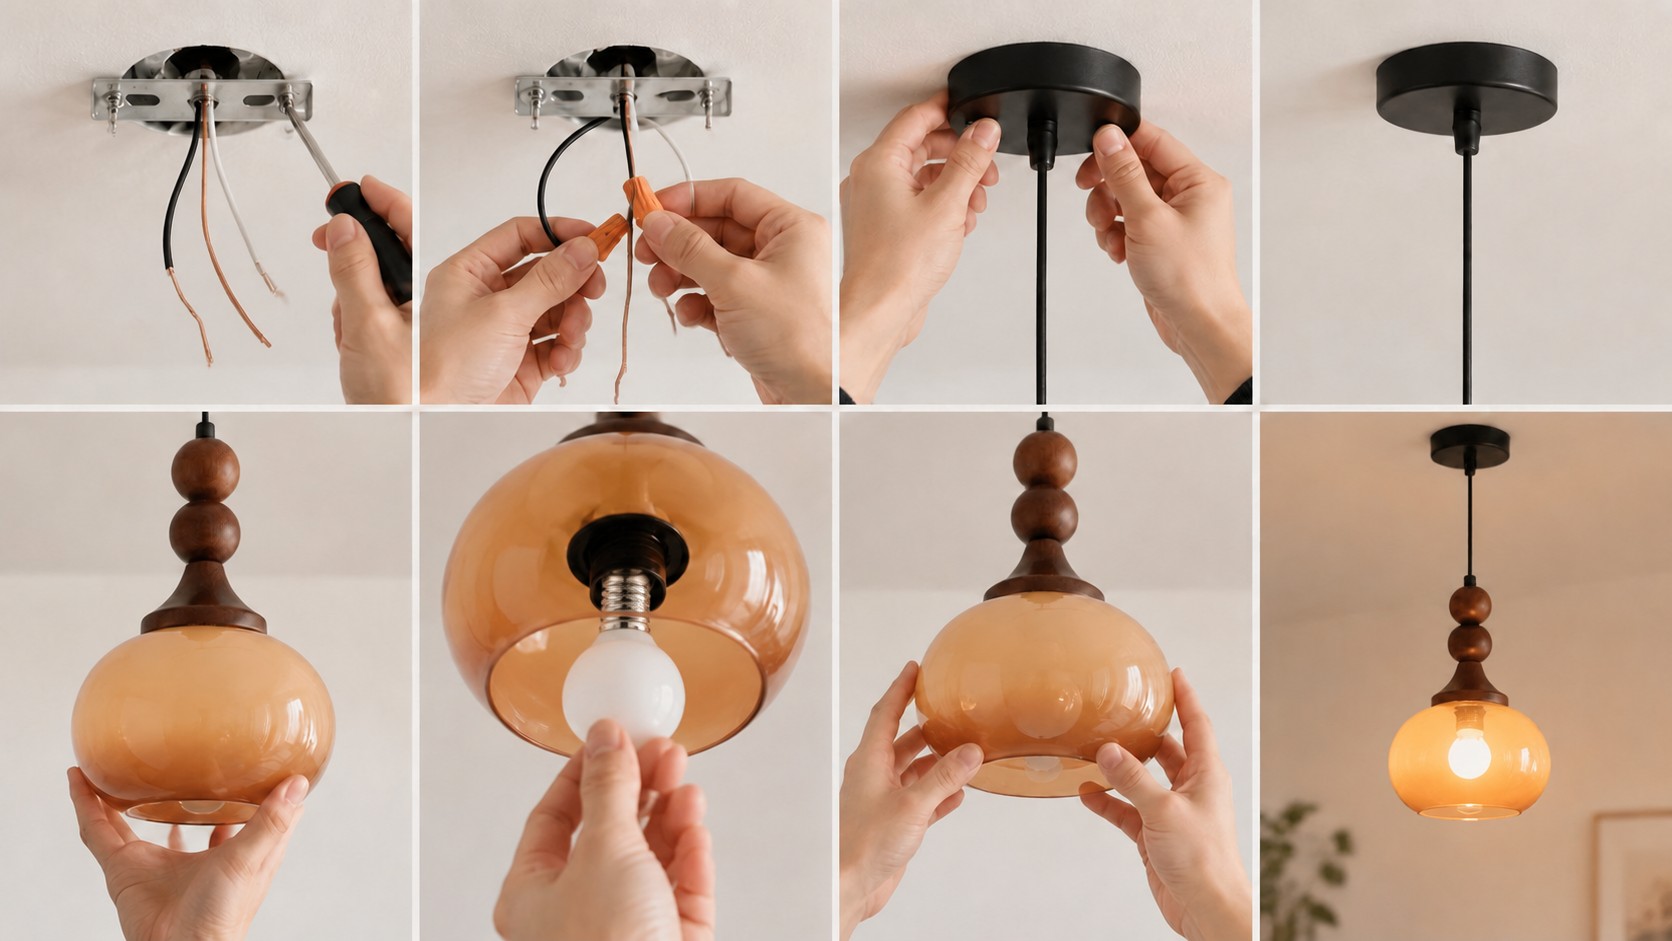
Esta lámpara colgante con conexión fija está diseñada para quedar perfectamente rematada en el punto de luz del techo. Fija la base, ajusta la suspensión, instala la bombilla y la pantalla, y deja que el vidrio dé forma al ambiente.
Especificaciones
Una pantalla compacta de vidrio moldeado, una suspensión ajustable y una sola fuente de luz E26 ofrecen un diseño sencillo y versátil para distintos espacios.
Monulo · The practical guide
Find a starting size, see where to place it, and know what to check before installation.
Find your starting size01 · Get the scale right
For a central ceiling light, enter your room dimensions. For lights above furniture, use the table or island guide below instead.
Measure first, then mock up the actual shape. Suggested dimensions are design starting points; product instructions and applicable local requirements take priority.
02 · Look up
The available drop matters as much as the fixture diameter.
Around 8 ft / 2.44 m
Start with a flush or compact semi-flush design in walking areas. Check the complete installed height.
Around 9–10 ft / 2.74–3.05 m
Pendants become easier to accommodate. Reserve enough clearance below the lowest part of the fitting.
Above 10 ft / 3.05 m
Test larger forms or longer suspension. Confirm cable length, access for maintenance and ceiling support.
Sloped ceiling? Compatibility is model-specific. Confirm the canopy, suspension angle and required drop before ordering.
Room study 01
Let the furniture define the focal point.
Room study 02
Plan the whole row before choosing the quantity.
Room study 03
Use the room formula as a visual starting point.
Room study 04
A consistent rhythm works better than a crowded ceiling.
Room study 05
Put comfortable facial lighting first.
Room study 06
Choose the height from where you actually sit.
Room study 07
Light the page without exposing the source.
03 · Before the tools come out
Bring the product instructions, room measurements and fixture weight to your installer.
01 / Fit
Check door swings, seated views, shade gaps and the lowest point. Include the canopy and suspension in every drop measurement.
02 / Support
Have a qualified installer confirm the box, fixing points and structural support for the complete fixture weight.
03 / Compatibility
Confirm supply voltage, lamp or LED driver, dimmer compatibility, ceiling type and location rating for the exact model.
Hardwired fixtures should be installed by a qualified electrician following the supplied instructions and local requirements. This page explains planning and placement; it does not provide wiring instructions.
04 · The last few details
Measure vertically from the finished ceiling to the lowest point of the assembled fitting. Over a table or counter, measure the remaining gap from that point to the surface.
No. Diameter describes the physical size. Compare lumen output, shade opacity, beam direction and the room’s other light sources separately.
Start with the shade diameter, then draw the complete row to scale. Two larger shades and three small shades can both work; use actual edge gaps and counter-end clearances to decide.
Compare a shorter suspension or a flush alternative that the manufacturer supports. Never shorten a rigid stem or modify wiring without the appropriate product guidance.
No. Check the exact product specification and installation position. Ask a qualified installer to confirm the required damp or wet rating and canopy compatibility.
Include a room photo, ceiling height, room or furniture dimensions, the fixture link and your proposed installation location. For heavier fittings, include any available mounting information.
