
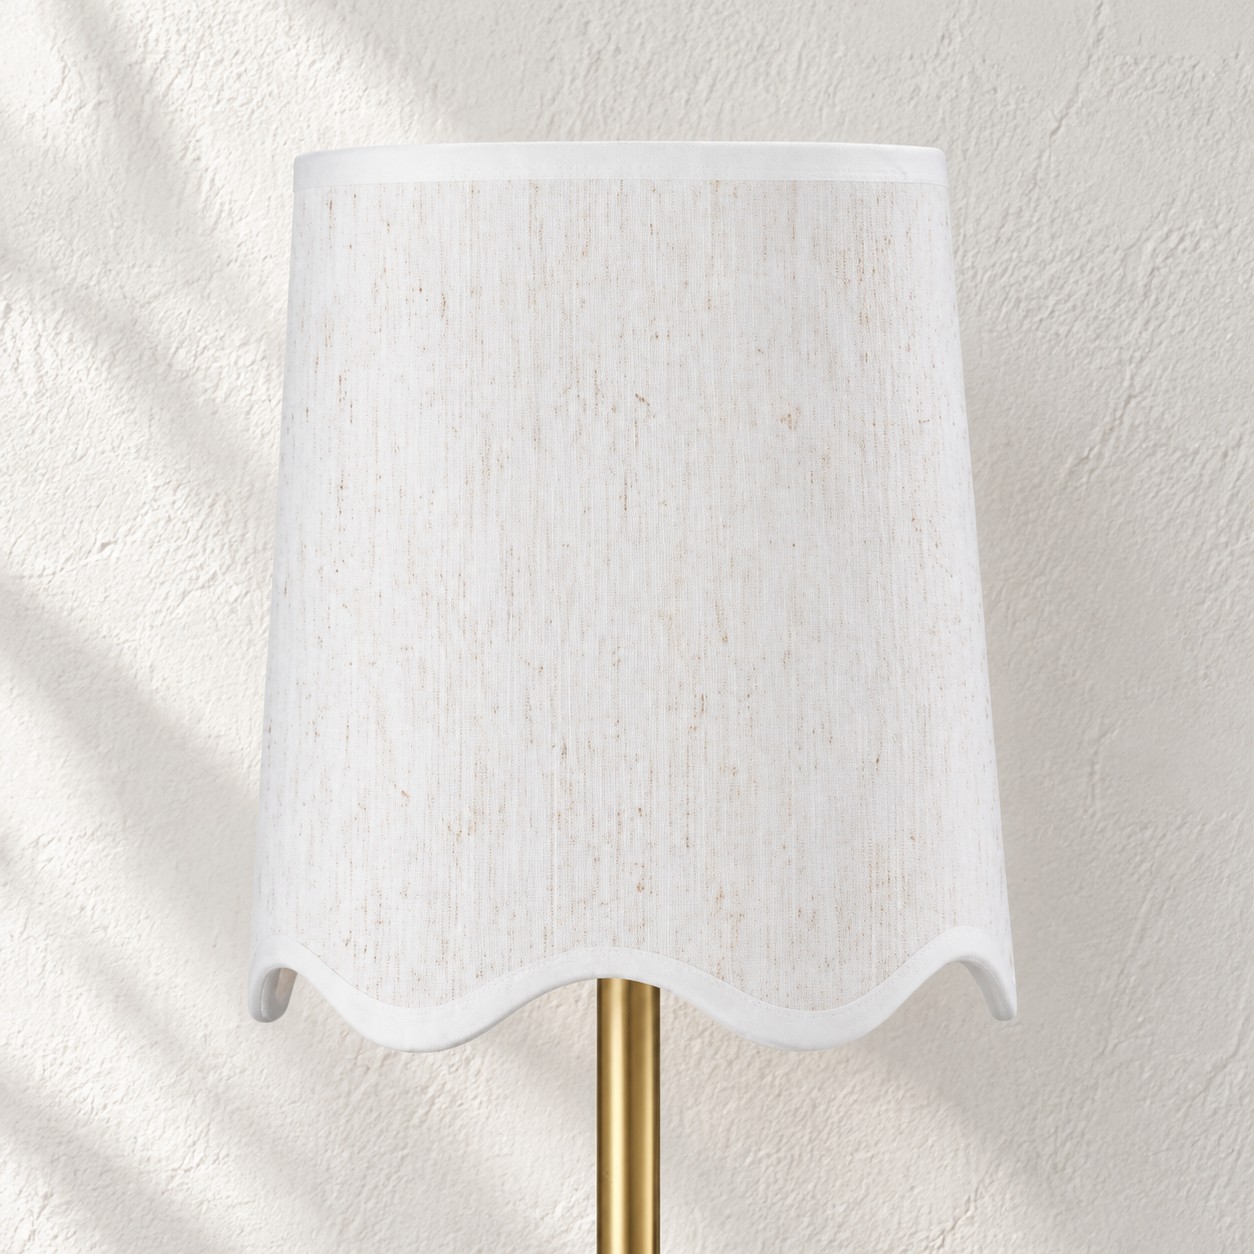
Soft Fabric Shade
The white fabric shade diffuses the bulb into a gentle glow and adds a calm, tailored finish.


Achetez-en 1
Achetez-en 2
Achetez 3 ou plus
Commandes de plus de 330 $
Commandes de plus de 500 $
Politique de retour : Vous disposez de 14 jours après réception de votre commande pour demander un retour.
Disponibilité : Nous livrons aux États-Unis.
Délai de traitement : Le traitement des commandes prend 1 à 2 jours ouvrés (du lundi au vendredi).
 Livraison gratuite
 Retours sous 14 jours
 Paiement sécurisé
 Service client
A brass plug-in wall sconce with a soft white fabric shade brings flexible, welcoming light to bedrooms, hallways, and favorite reading corners.
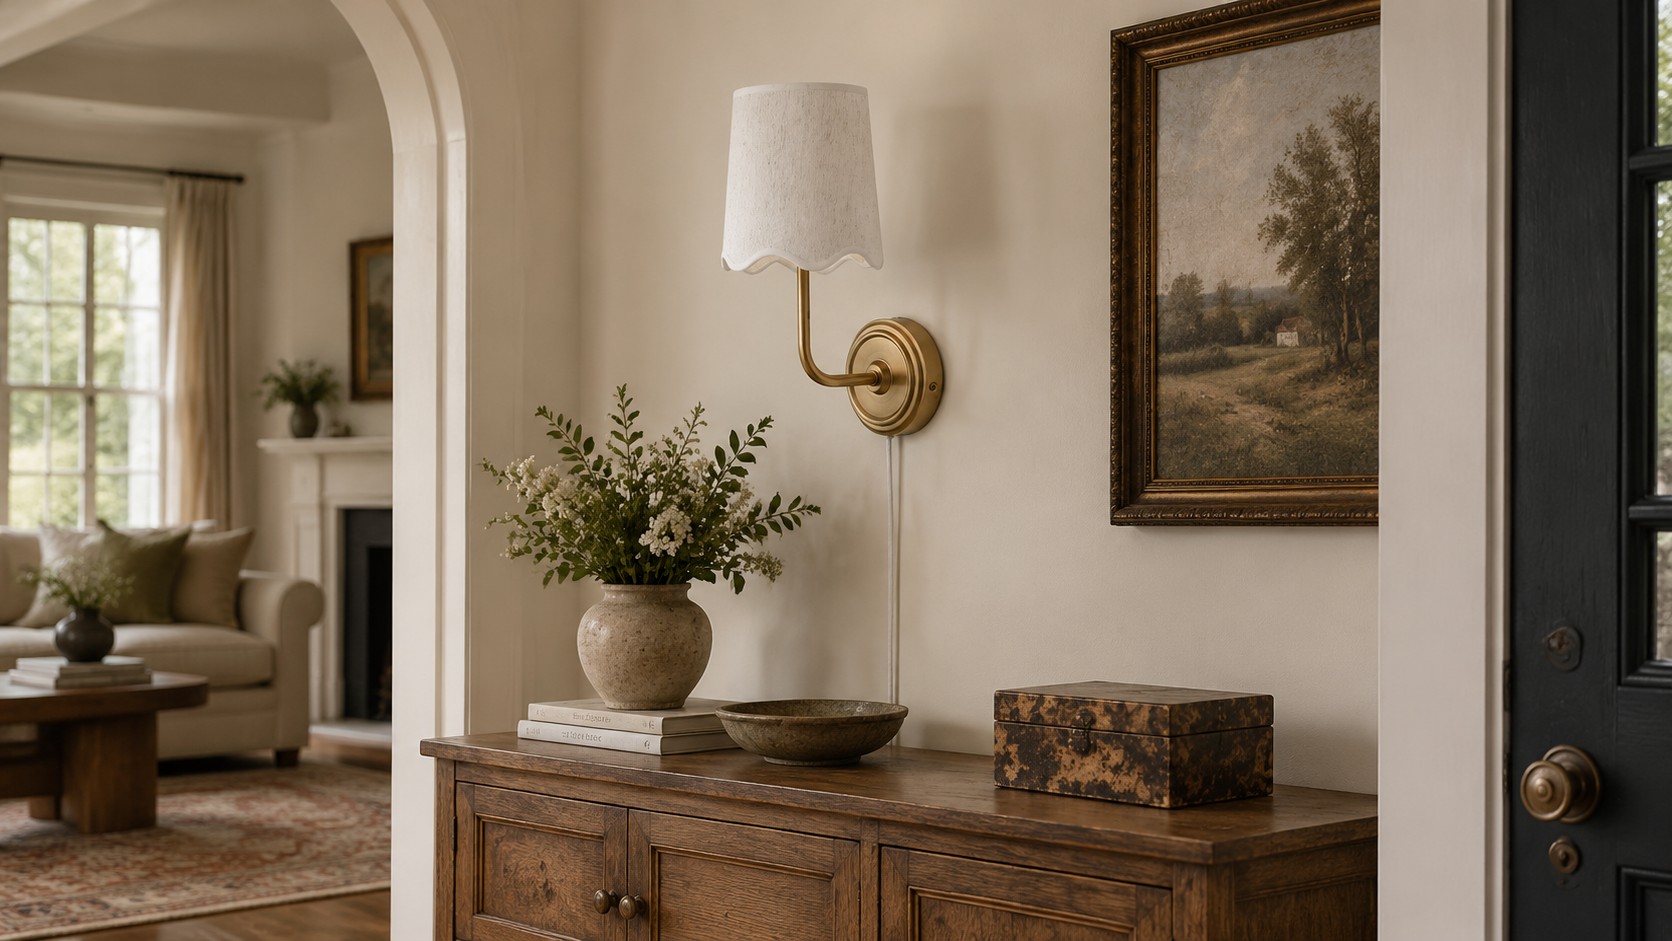
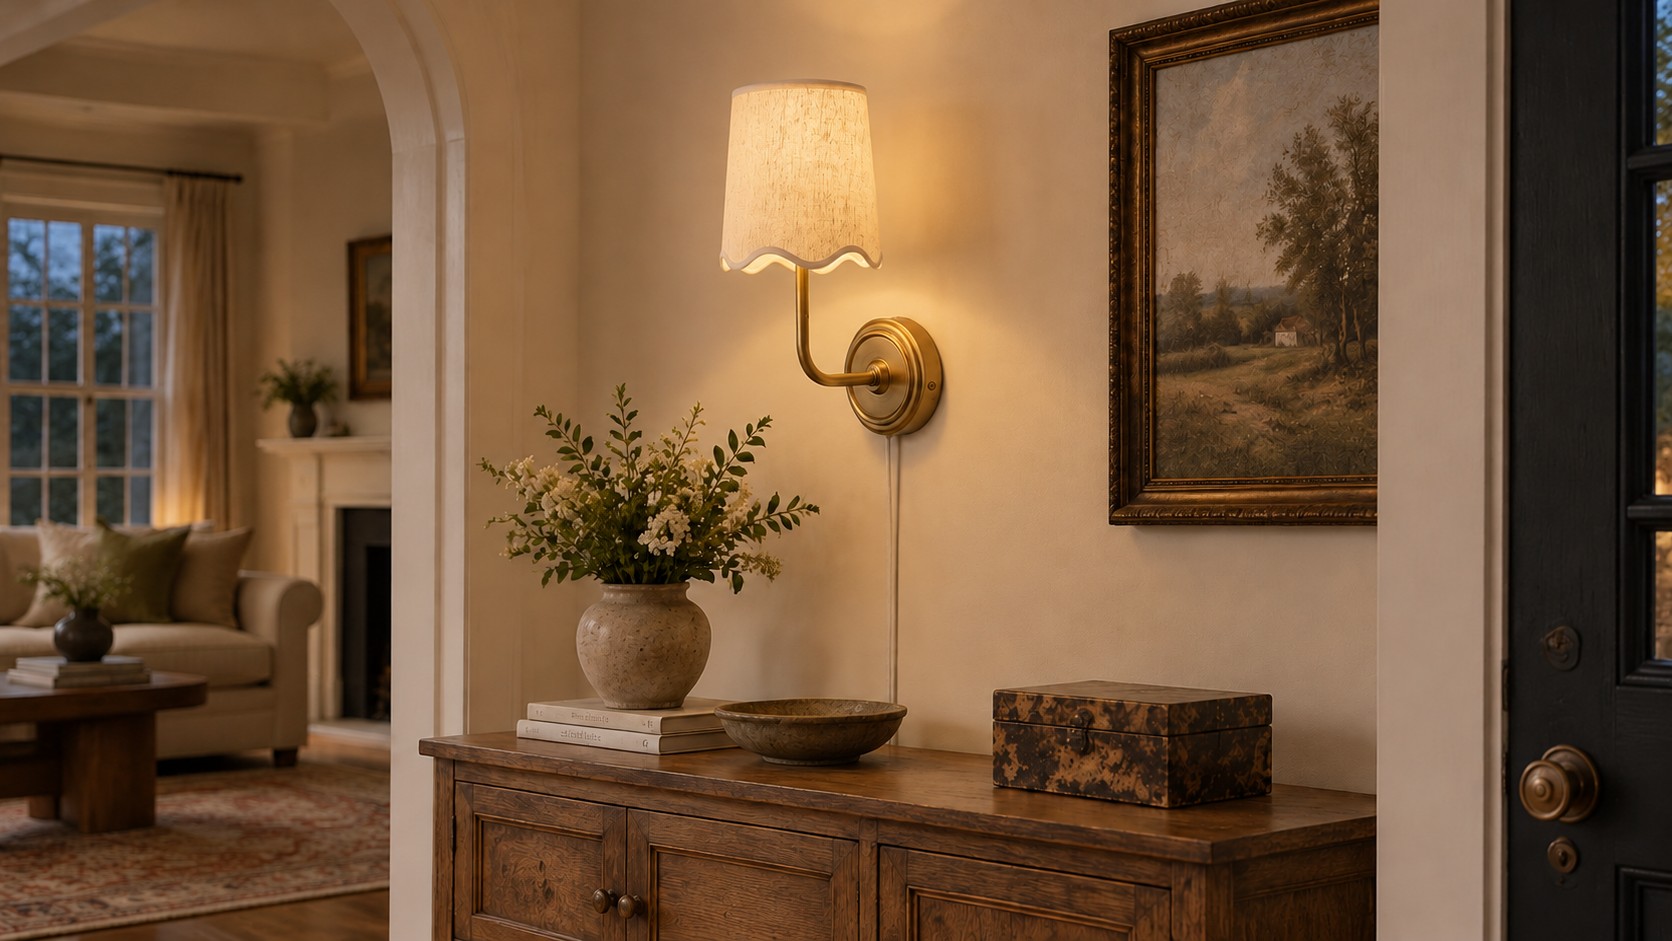
From the softly scalloped shade to the satin brass hardware, each close-up shows how this wall light balances comfort, character, and everyday function.
The white fabric shade diffuses the bulb into a gentle glow and adds a calm, tailored finish.
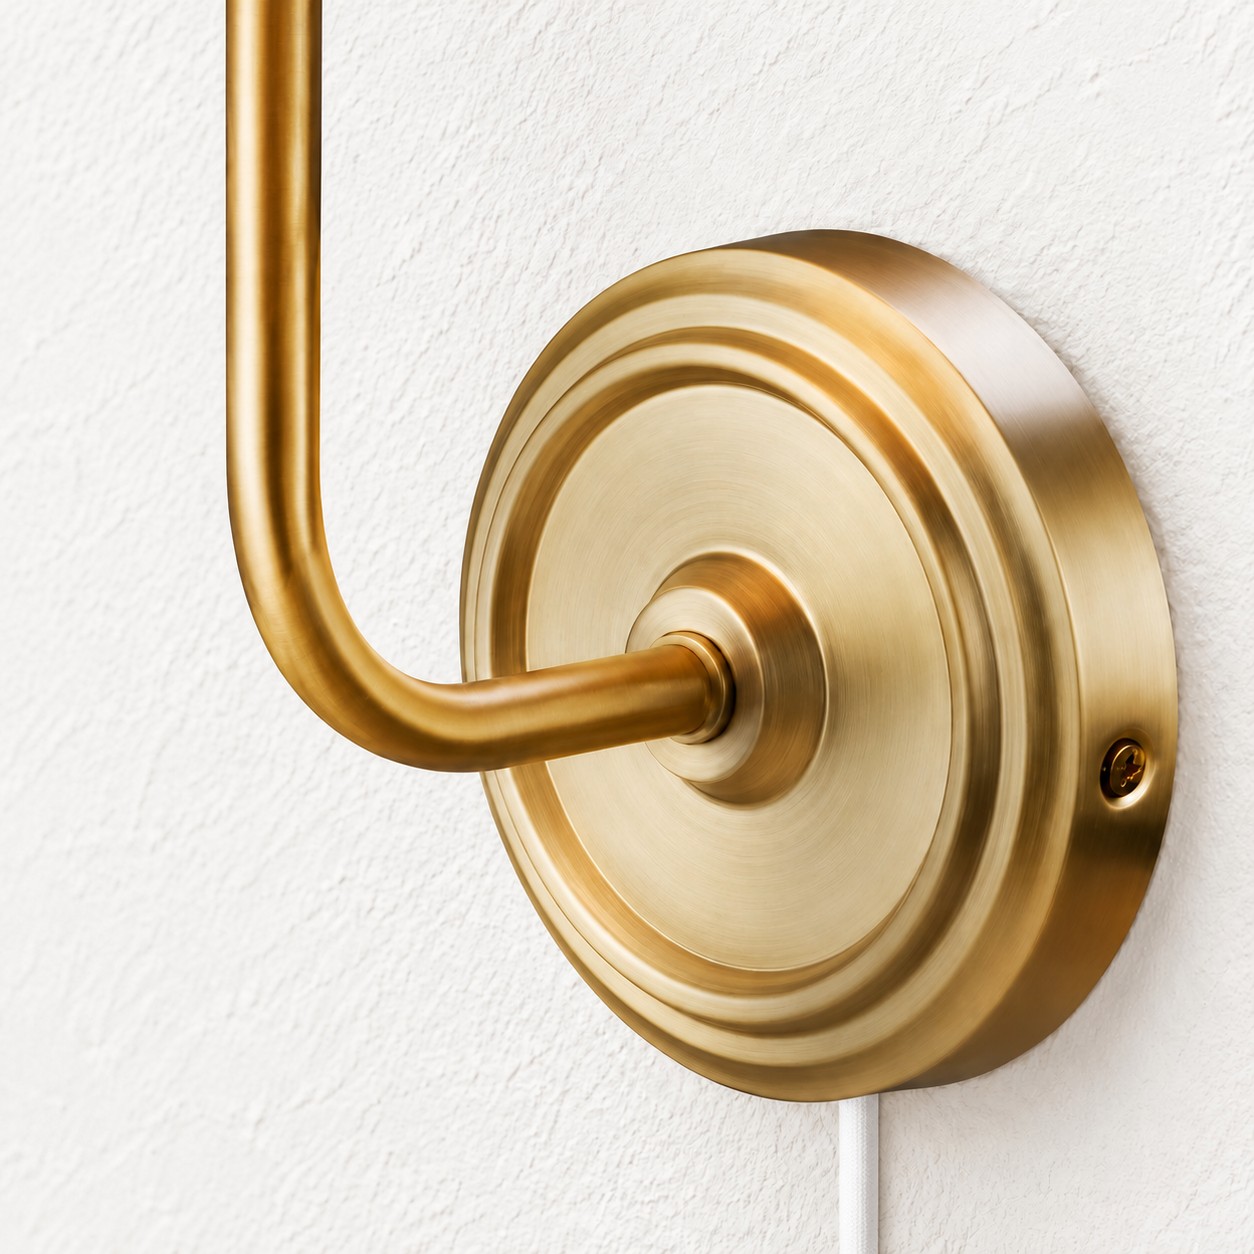
A rounded wall plate and curved arm create a polished silhouette with warm metallic contrast.
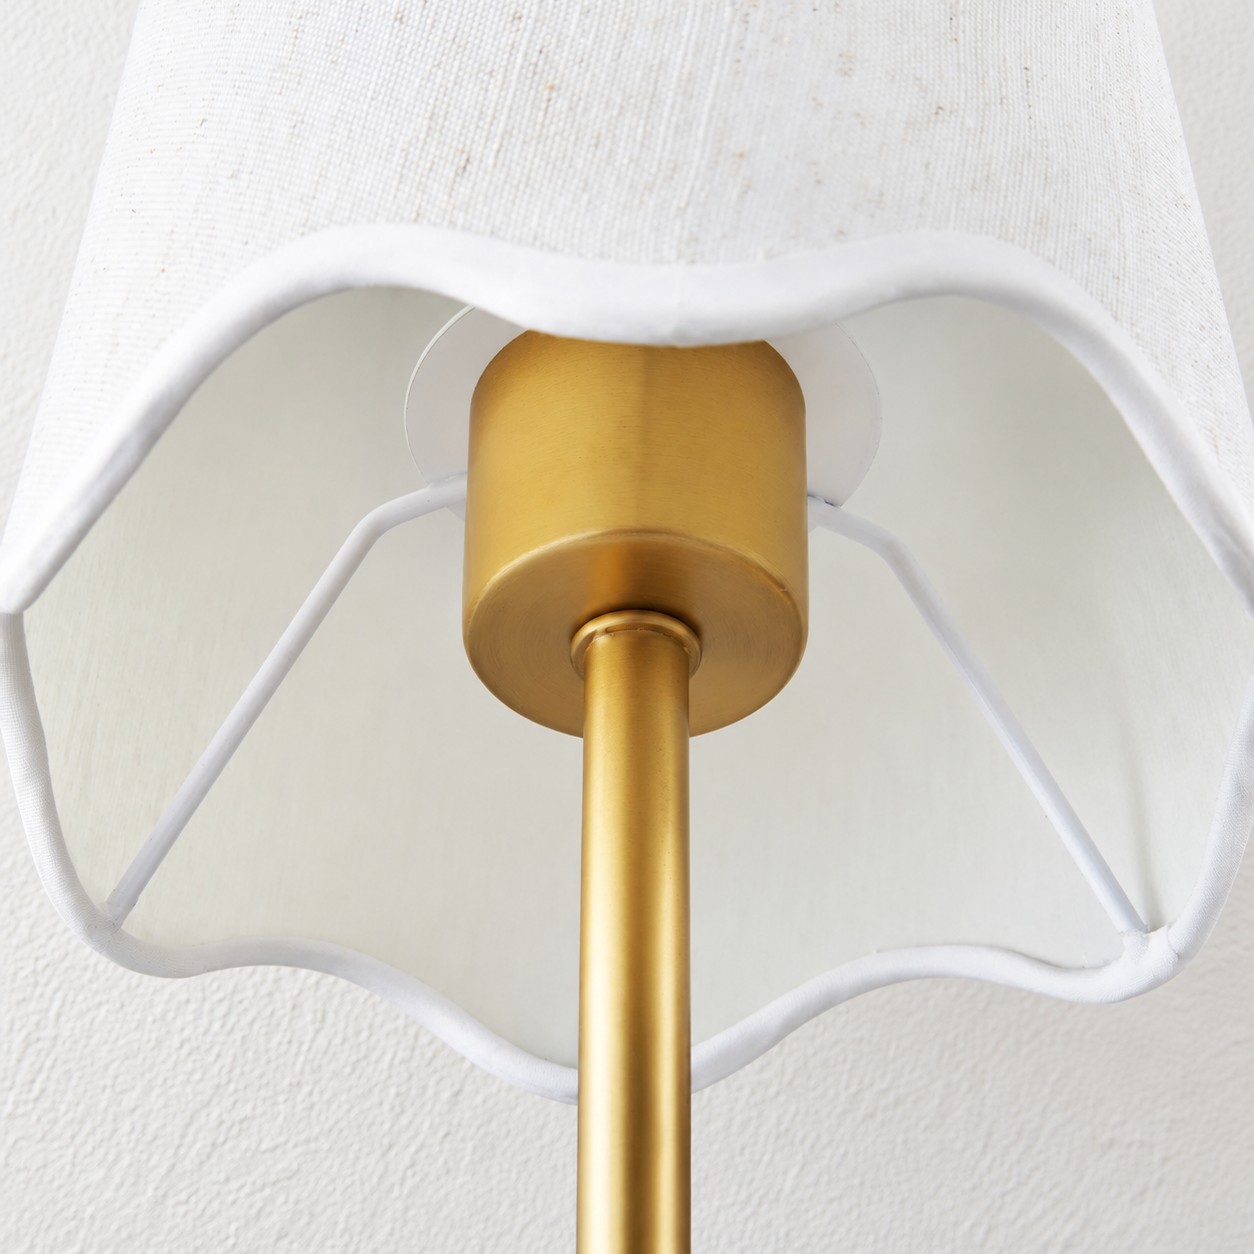
The metal stem, socket, and shade support work together to keep the fabric shade securely aligned for lasting everyday use.
The white fabric shade diffuses the bulb into a gentle glow and adds a calm, tailored finish.
A rounded wall plate and curved arm create a polished silhouette with warm metallic contrast.
The metal stem, socket, and shade support work together to keep the fabric shade securely aligned for lasting everyday use.
Use its compact profile and warm finish to create a practical light layer in everyday rooms.
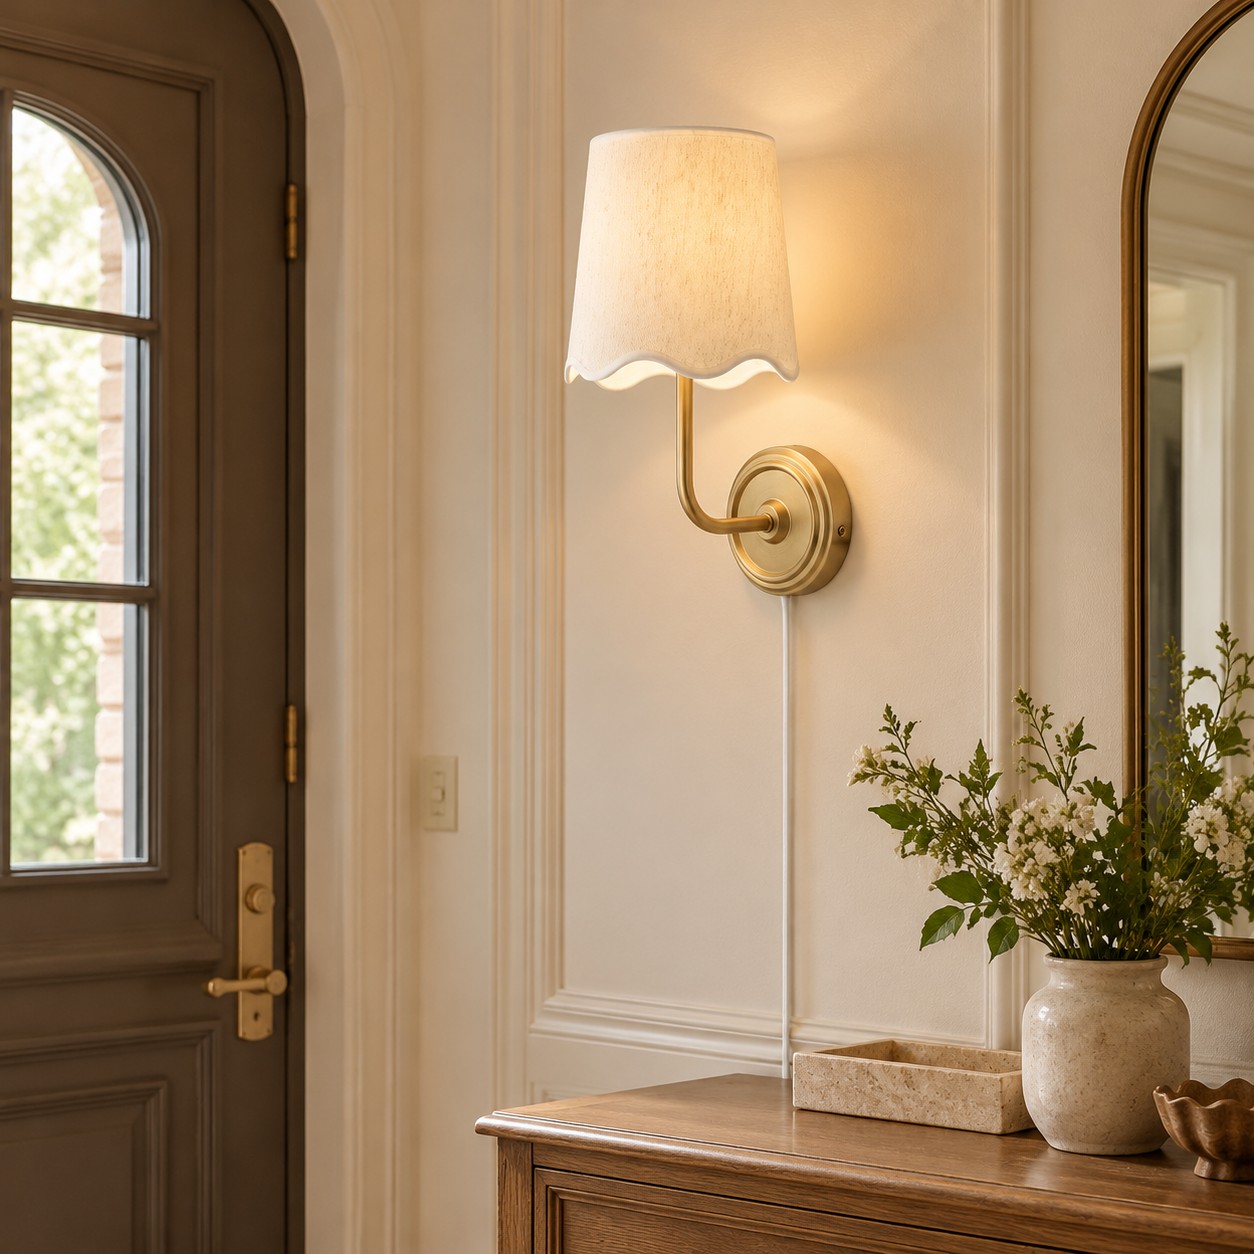
Place it near the door for a warm first impression and useful evening light.
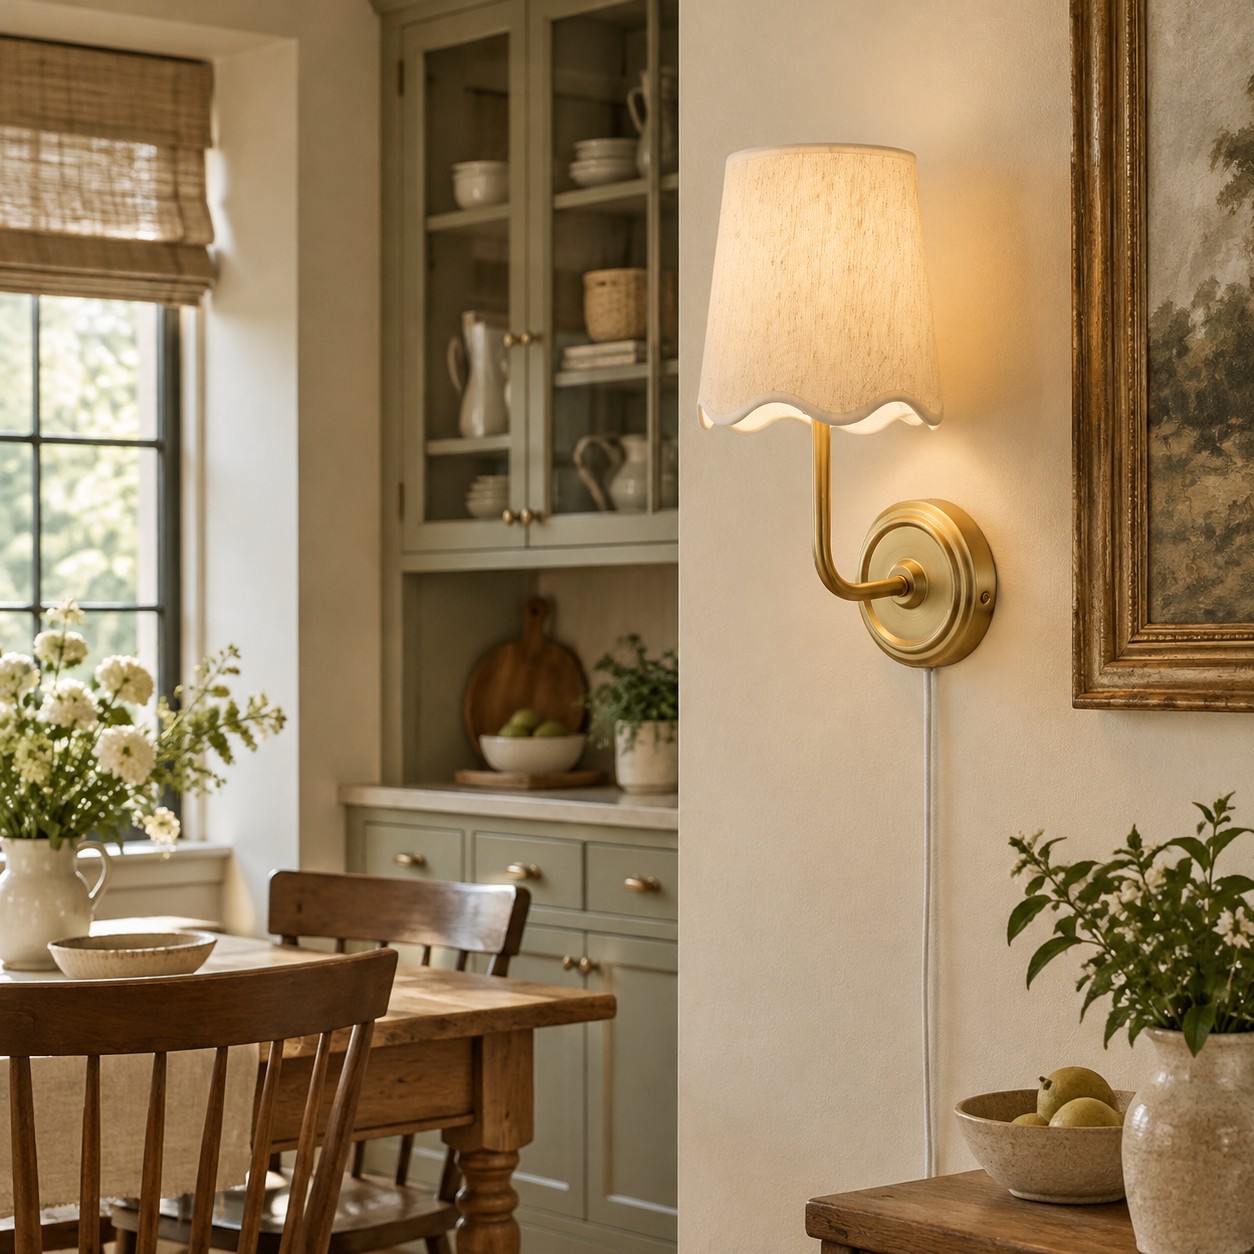
Layer it beside a sideboard or dining area to soften the room after sunset.
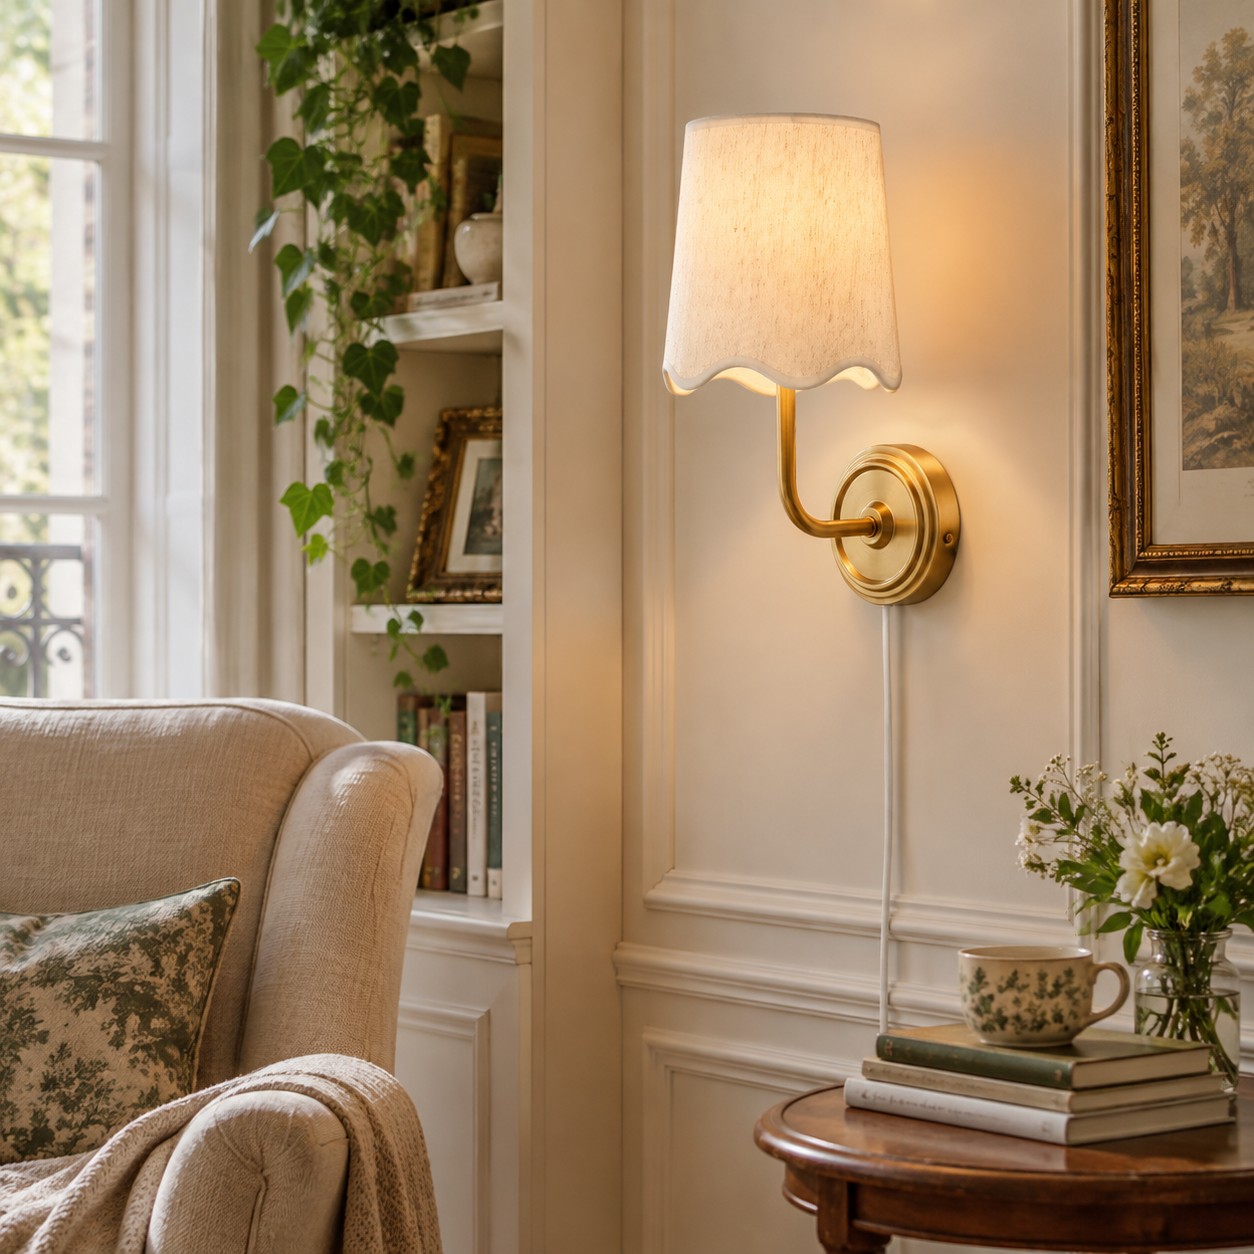
Place it beside a lounge chair or reading nook to add focused light and a warm decorative accent.
Place it near the door for a warm first impression and useful evening light.
Layer it beside a sideboard or dining area to soften the room after sunset.
Place it beside a lounge chair or reading nook to add focused light and a warm decorative accent.
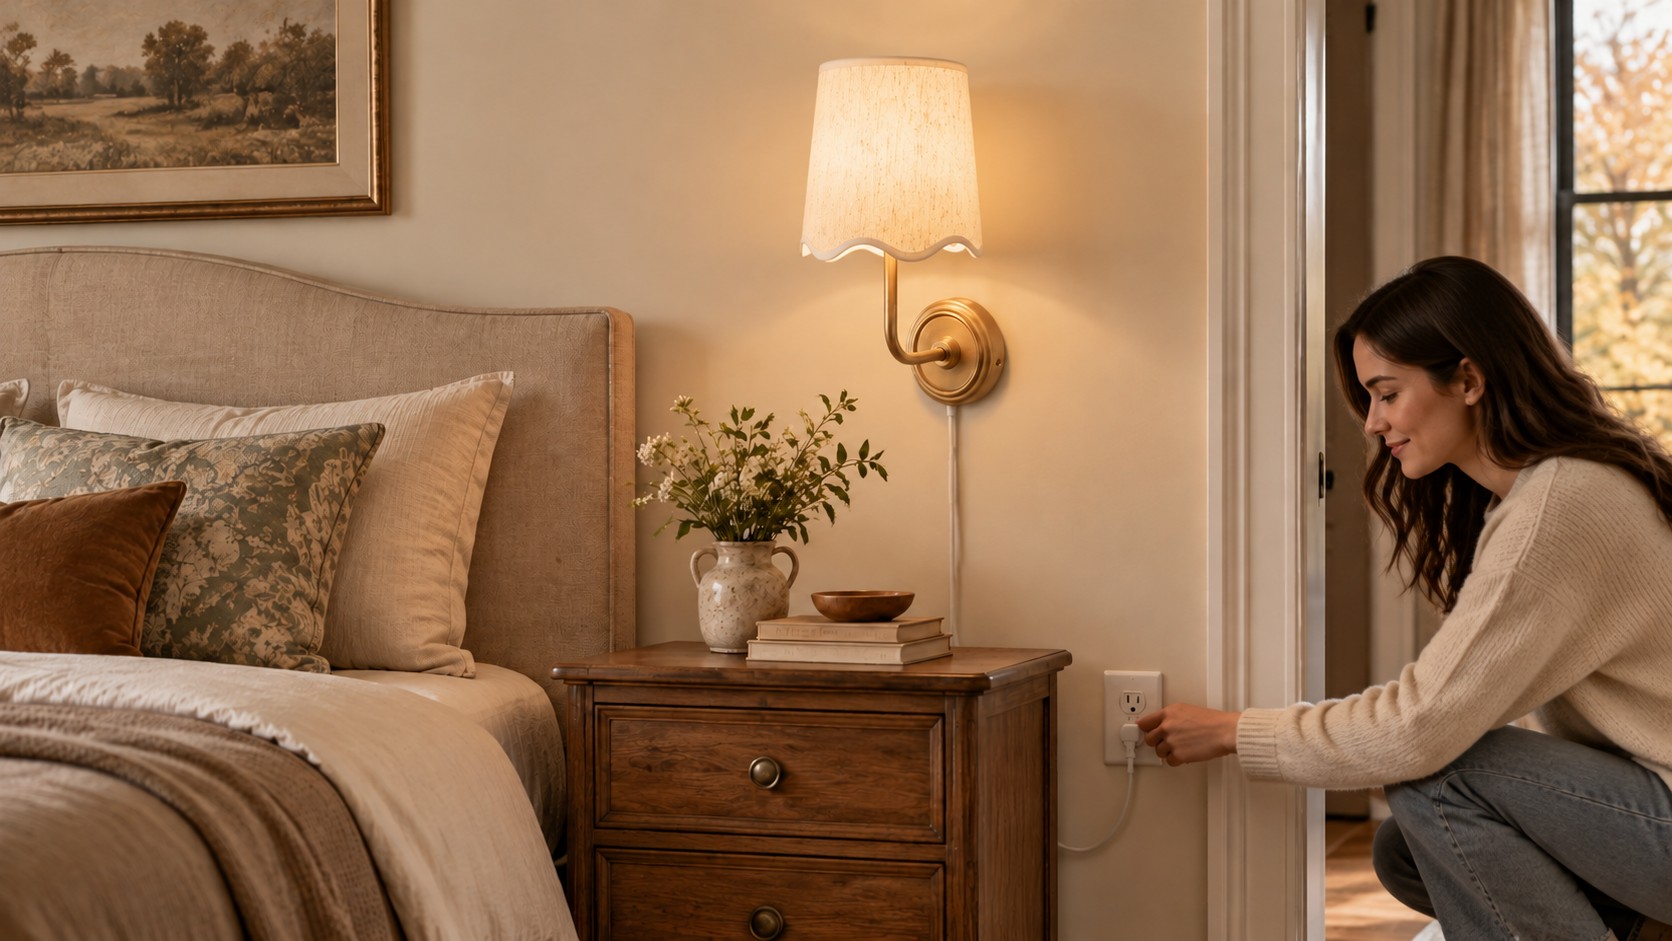
A plug-in format makes installation approachable while the brass and fabric combination gives the room a considered, built-in feel.
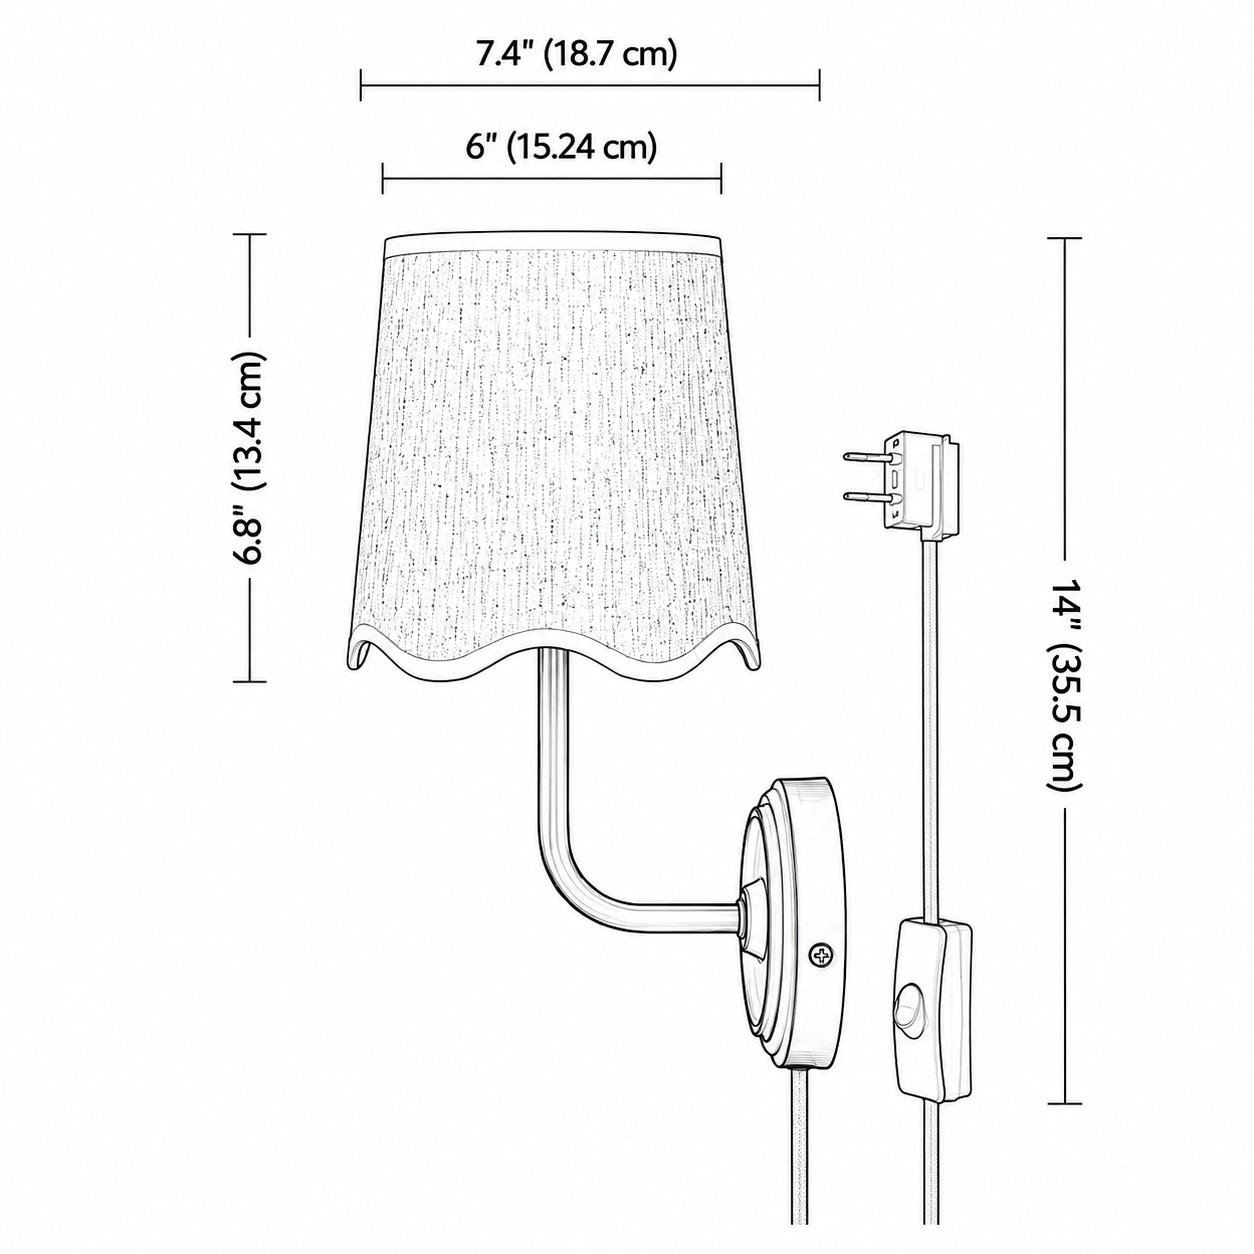
Review the key electrical, material, and installation details before choosing your wall light.
| Number of Lights | 1 |
|---|---|
| Maximum Wattage (Per Bulb) | 60 Watt |
| Bulb Base | E26 / Medium (Standard) |
| Voltage | 100–240V |
| Power Source | Plug-in |
| Cord Included | Yes, 70.9 in / 180 cm |
| Mounting Direction | Not Reversible |
| Dry, Damp or Wet Location Rated | Dry |
| Material | Metal and Fabric |
| Bulb Included | No (bulb not included) |
Monulo · The practical guide
Find a starting size, see where to place it, and know what to check before installation.
Find your starting size01 · Get the scale right
For a central ceiling light, enter your room dimensions. For lights above furniture, use the table or island guide below instead.
Measure first, then mock up the actual shape. Suggested dimensions are design starting points; product instructions and applicable local requirements take priority.
02 · Look up
The available drop matters as much as the fixture diameter.
Around 8 ft / 2.44 m
Start with a flush or compact semi-flush design in walking areas. Check the complete installed height.
Around 9–10 ft / 2.74–3.05 m
Pendants become easier to accommodate. Reserve enough clearance below the lowest part of the fitting.
Above 10 ft / 3.05 m
Test larger forms or longer suspension. Confirm cable length, access for maintenance and ceiling support.
Sloped ceiling? Compatibility is model-specific. Confirm the canopy, suspension angle and required drop before ordering.
Room study 01
Let the furniture define the focal point.
Room study 02
Plan the whole row before choosing the quantity.
Room study 03
Use the room formula as a visual starting point.
Room study 04
A consistent rhythm works better than a crowded ceiling.
Room study 05
Put comfortable facial lighting first.
Room study 06
Choose the height from where you actually sit.
Room study 07
Light the page without exposing the source.
03 · Before the tools come out
Bring the product instructions, room measurements and fixture weight to your installer.
01 / Fit
Check door swings, seated views, shade gaps and the lowest point. Include the canopy and suspension in every drop measurement.
02 / Support
Have a qualified installer confirm the box, fixing points and structural support for the complete fixture weight.
03 / Compatibility
Confirm supply voltage, lamp or LED driver, dimmer compatibility, ceiling type and location rating for the exact model.
Hardwired fixtures should be installed by a qualified electrician following the supplied instructions and local requirements. This page explains planning and placement; it does not provide wiring instructions.
04 · The last few details
Measure vertically from the finished ceiling to the lowest point of the assembled fitting. Over a table or counter, measure the remaining gap from that point to the surface.
No. Diameter describes the physical size. Compare lumen output, shade opacity, beam direction and the room’s other light sources separately.
Start with the shade diameter, then draw the complete row to scale. Two larger shades and three small shades can both work; use actual edge gaps and counter-end clearances to decide.
Compare a shorter suspension or a flush alternative that the manufacturer supports. Never shorten a rigid stem or modify wiring without the appropriate product guidance.
No. Check the exact product specification and installation position. Ask a qualified installer to confirm the required damp or wet rating and canopy compatibility.
Include a room photo, ceiling height, room or furniture dimensions, the fixture link and your proposed installation location. For heavier fittings, include any available mounting information.
