
Around 8 ft / 2.44 m
Keep it close
Start with a flush or compact semi-flush design in walking areas. Check the complete installed height.


Achetez-en 1
Achetez-en 2
Achetez 3 ou plus
Commandes de plus de 330 $
Commandes de plus de 500 $
Politique de retour : Vous disposez de 14 jours après réception de votre commande pour demander un retour.
Disponibilité : Nous livrons aux États-Unis.
Délai de traitement : Le traitement des commandes prend 1 à 2 jours ouvrés (du lundi au vendredi).
 Livraison gratuite
 Retours sous 14 jours
 Paiement sécurisé
 Service client
Présentation des détails
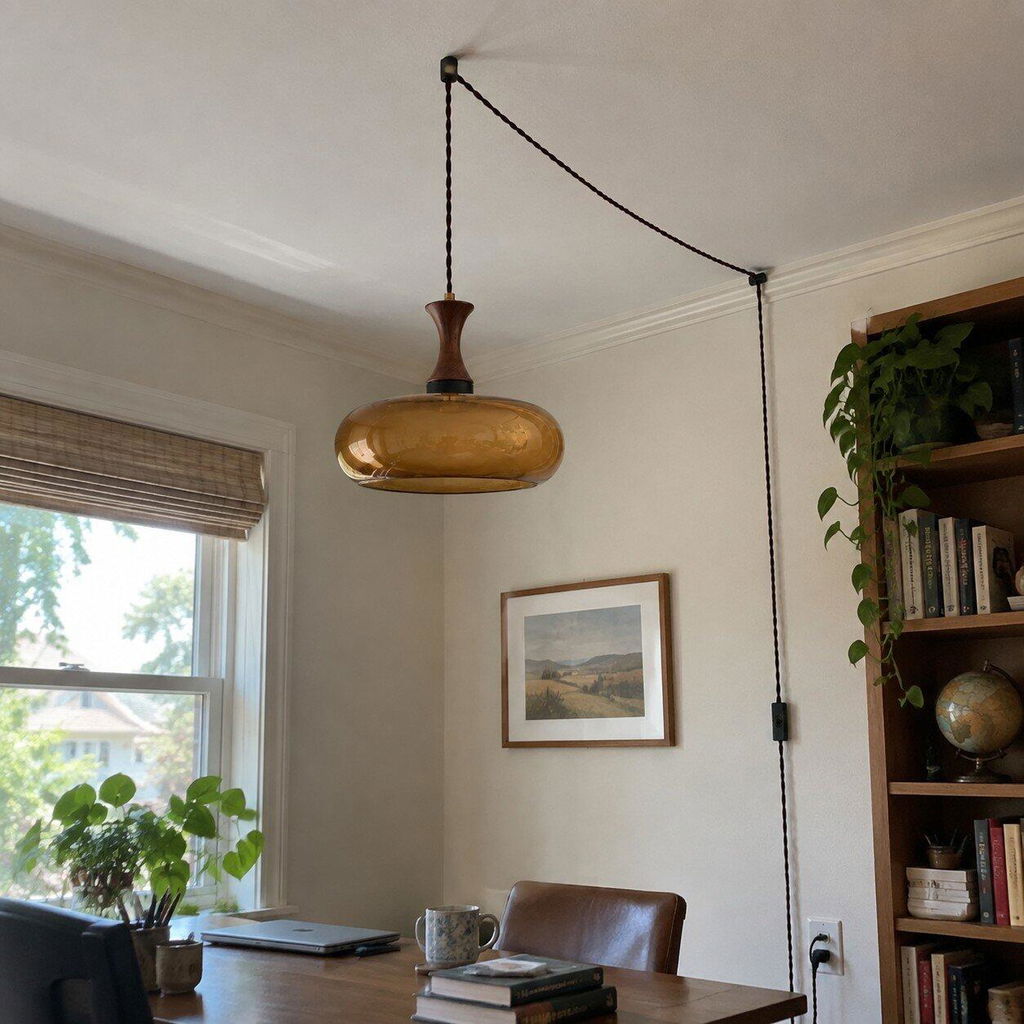
Un abat-jour arrondi en verre brun rencontre une tige sculpturale en bois et un col en métal sombre, apportant de la profondeur et une douce touche vintage à la lampe.


Histoire et inspiration
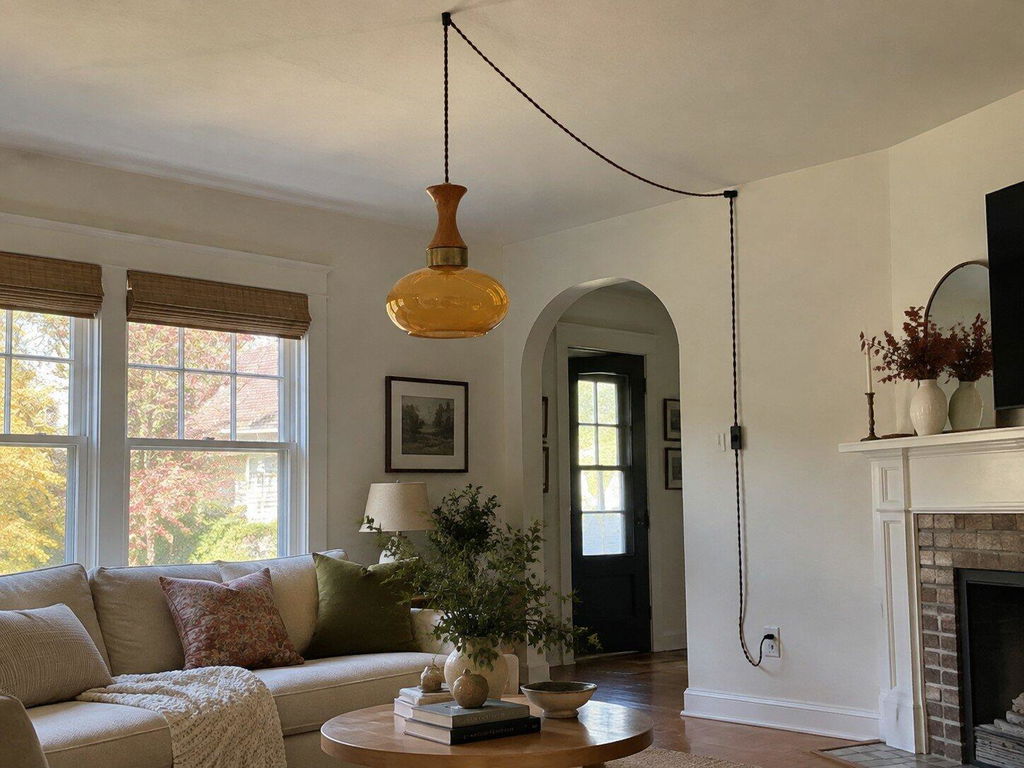
Inspirée par la richesse discrète des intérieurs vintage, Mayon associe du verre couleur miel avec du bois et du métal sombre. Son format à brancher vous permet de vous créez une lumière ciblée sans vous engager à utiliser un point d’éclairage fixe au plafond.
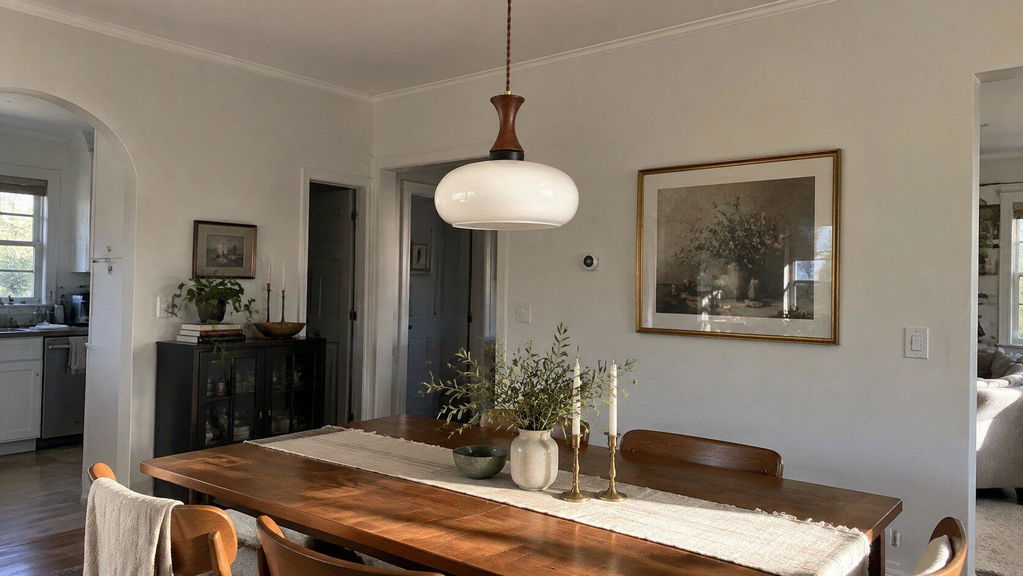
Coins lecture, espaces près du lit, recoins repas, salons et les espaces d’accueil chaleureux et décontractés.
Associations de styles : moderne chaleureux, milieu du siècle, vintage, éclectique et les intérieurs traditionnels.
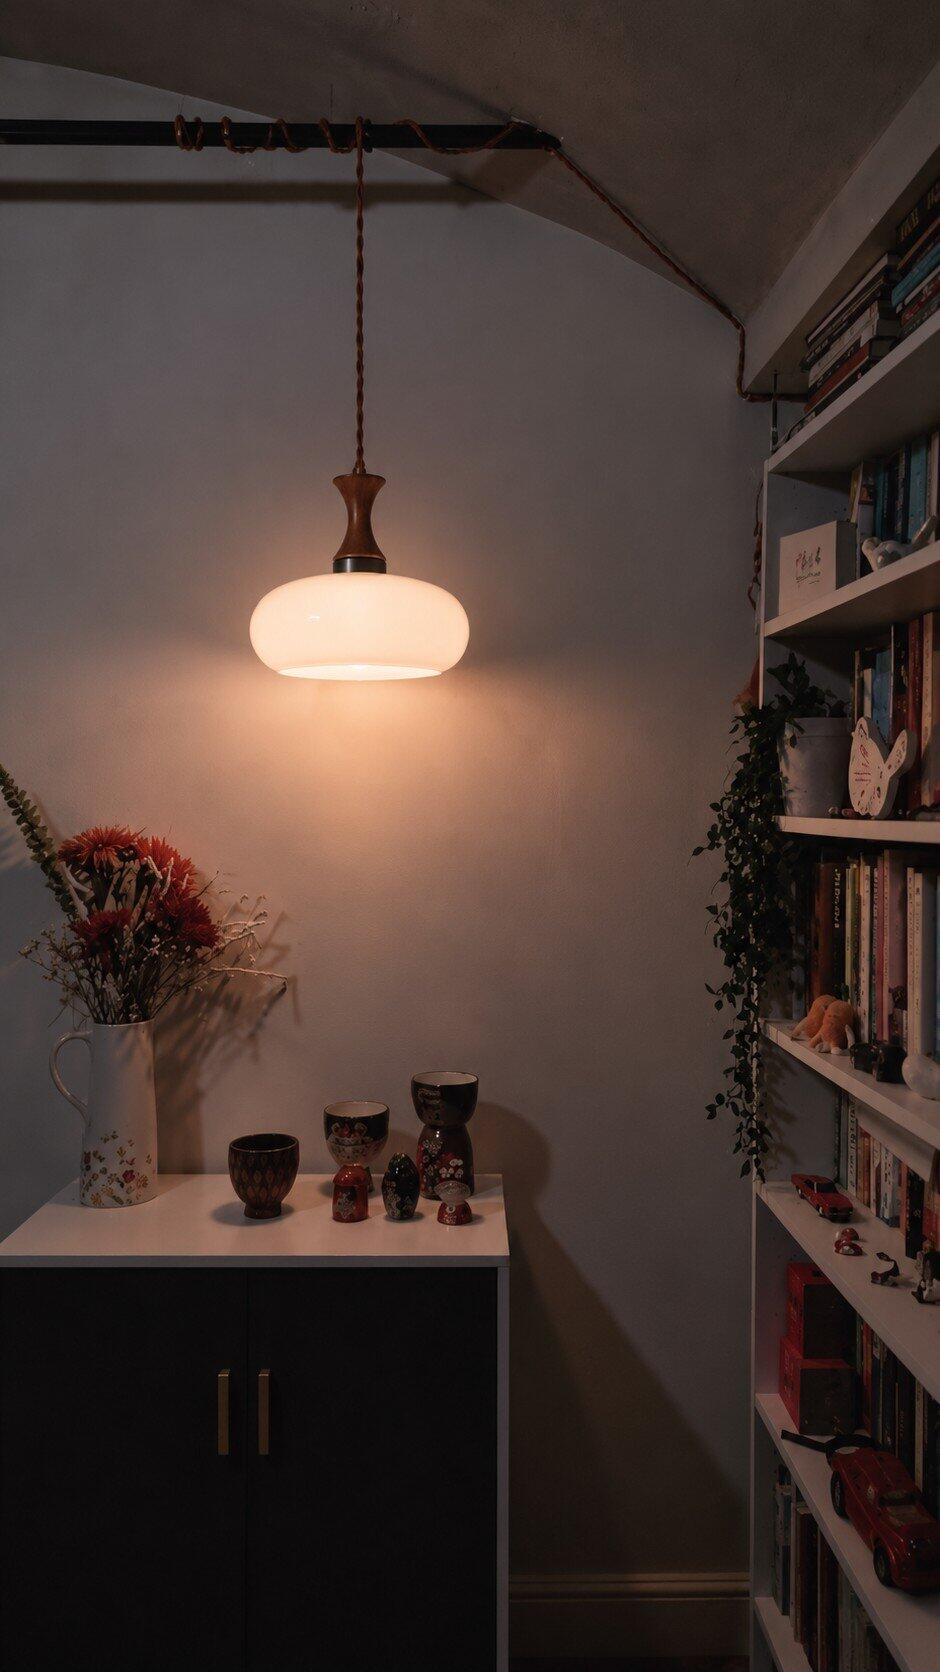
Positionnez solidement le cordon et les points de fixation, en gardant l’abat-jour à l’écart des passages et des surfaces sensibles à la chaleur.
Spécifications et styles
Les deux tailles d’abat-jour partagent la même palette de matériaux chaleureux et cordon à brancher réglable.
| Type de produit | Suspension à brancher |
|---|---|
| Matériaux | Verre, bois et métal |
| Finition | Verre brun ambré, bois brun et métal noir |
| Modèle A | Dia. 18 cm × H 24 cm / ∅ 7″ × H 9.4″ |
| Modèle B | Dia. 28 cm × H 24 cm / ∅ 11″ × H 9.4″ |
| Culot d’ampoule | E26 ou E27, selon la destination (ampoule non incluse) |
| Puissance maximale | 40 W à incandescence ou équivalent LED |
| Tension | CA 110–240 V |
| Commande | Interrupteur marche/arrêt intégré au cordon ; compatible avec une ampoule et variateur compatibles (non inclus) |
| Longueur du cordon | 177″ / 450 cm ; réglable lors de l’installation |
| Certification | Conforme aux exigences de l’Amérique du Nord, Australie, Europe et Moyen-Orient |
| Entretien | Éteignez la lampe et laissez-la refroidir. Essuyez le verre, le bois et le métal avec un chiffon doux et sec. |


Les mesures sont prises manuellement ; de légères variations peuvent survenir. La teinte du verre peut sembler différente selon les conditions d’éclairage. et les réglages de l’écran.
Easy to put up, absolutely solid, beautiful, and the cord length is adjustable. I just coiled it up inside the ceiling plate. so thick and great quality. Definitely worth it!
Bought for my daughter’s home, she loves it and it is beautiful when lit. Very thick and heavy glass, and fittings look a good quality also.
Bought this as part of my partners birthday gifts. She loves it. Must say I do too. Easy to install. I simply wrapped the cord around one of the ceiling bars we have in our lounge and attached the cable to the ceiling and wall using cable clips. Job done!
Highly recommended.
Perfectly described.
Easy to install and thrilled with the results .
Really nice quality
Monulo · The practical guide
Find a starting size, see where to place it, and know what to check before installation.
Find your starting size01 · Get the scale right
For a central ceiling light, enter your room dimensions. For lights above furniture, use the table or island guide below instead.
Measure first, then mock up the actual shape. Suggested dimensions are design starting points; product instructions and applicable local requirements take priority.
02 · Look up
The available drop matters as much as the fixture diameter.
Around 8 ft / 2.44 m
Start with a flush or compact semi-flush design in walking areas. Check the complete installed height.
Around 9–10 ft / 2.74–3.05 m
Pendants become easier to accommodate. Reserve enough clearance below the lowest part of the fitting.
Above 10 ft / 3.05 m
Test larger forms or longer suspension. Confirm cable length, access for maintenance and ceiling support.
Sloped ceiling? Compatibility is model-specific. Confirm the canopy, suspension angle and required drop before ordering.
Room study 01
Let the furniture define the focal point.
Room study 02
Plan the whole row before choosing the quantity.
Room study 03
Use the room formula as a visual starting point.
Room study 04
A consistent rhythm works better than a crowded ceiling.
Room study 05
Put comfortable facial lighting first.
Room study 06
Choose the height from where you actually sit.
Room study 07
Light the page without exposing the source.
03 · Before the tools come out
Bring the product instructions, room measurements and fixture weight to your installer.
01 / Fit
Check door swings, seated views, shade gaps and the lowest point. Include the canopy and suspension in every drop measurement.
02 / Support
Have a qualified installer confirm the box, fixing points and structural support for the complete fixture weight.
03 / Compatibility
Confirm supply voltage, lamp or LED driver, dimmer compatibility, ceiling type and location rating for the exact model.
Hardwired fixtures should be installed by a qualified electrician following the supplied instructions and local requirements. This page explains planning and placement; it does not provide wiring instructions.
04 · The last few details
Measure vertically from the finished ceiling to the lowest point of the assembled fitting. Over a table or counter, measure the remaining gap from that point to the surface.
No. Diameter describes the physical size. Compare lumen output, shade opacity, beam direction and the room’s other light sources separately.
Start with the shade diameter, then draw the complete row to scale. Two larger shades and three small shades can both work; use actual edge gaps and counter-end clearances to decide.
Compare a shorter suspension or a flush alternative that the manufacturer supports. Never shorten a rigid stem or modify wiring without the appropriate product guidance.
No. Check the exact product specification and installation position. Ask a qualified installer to confirm the required damp or wet rating and canopy compatibility.
Include a room photo, ceiling height, room or furniture dimensions, the fixture link and your proposed installation location. For heavier fittings, include any available mounting information.
